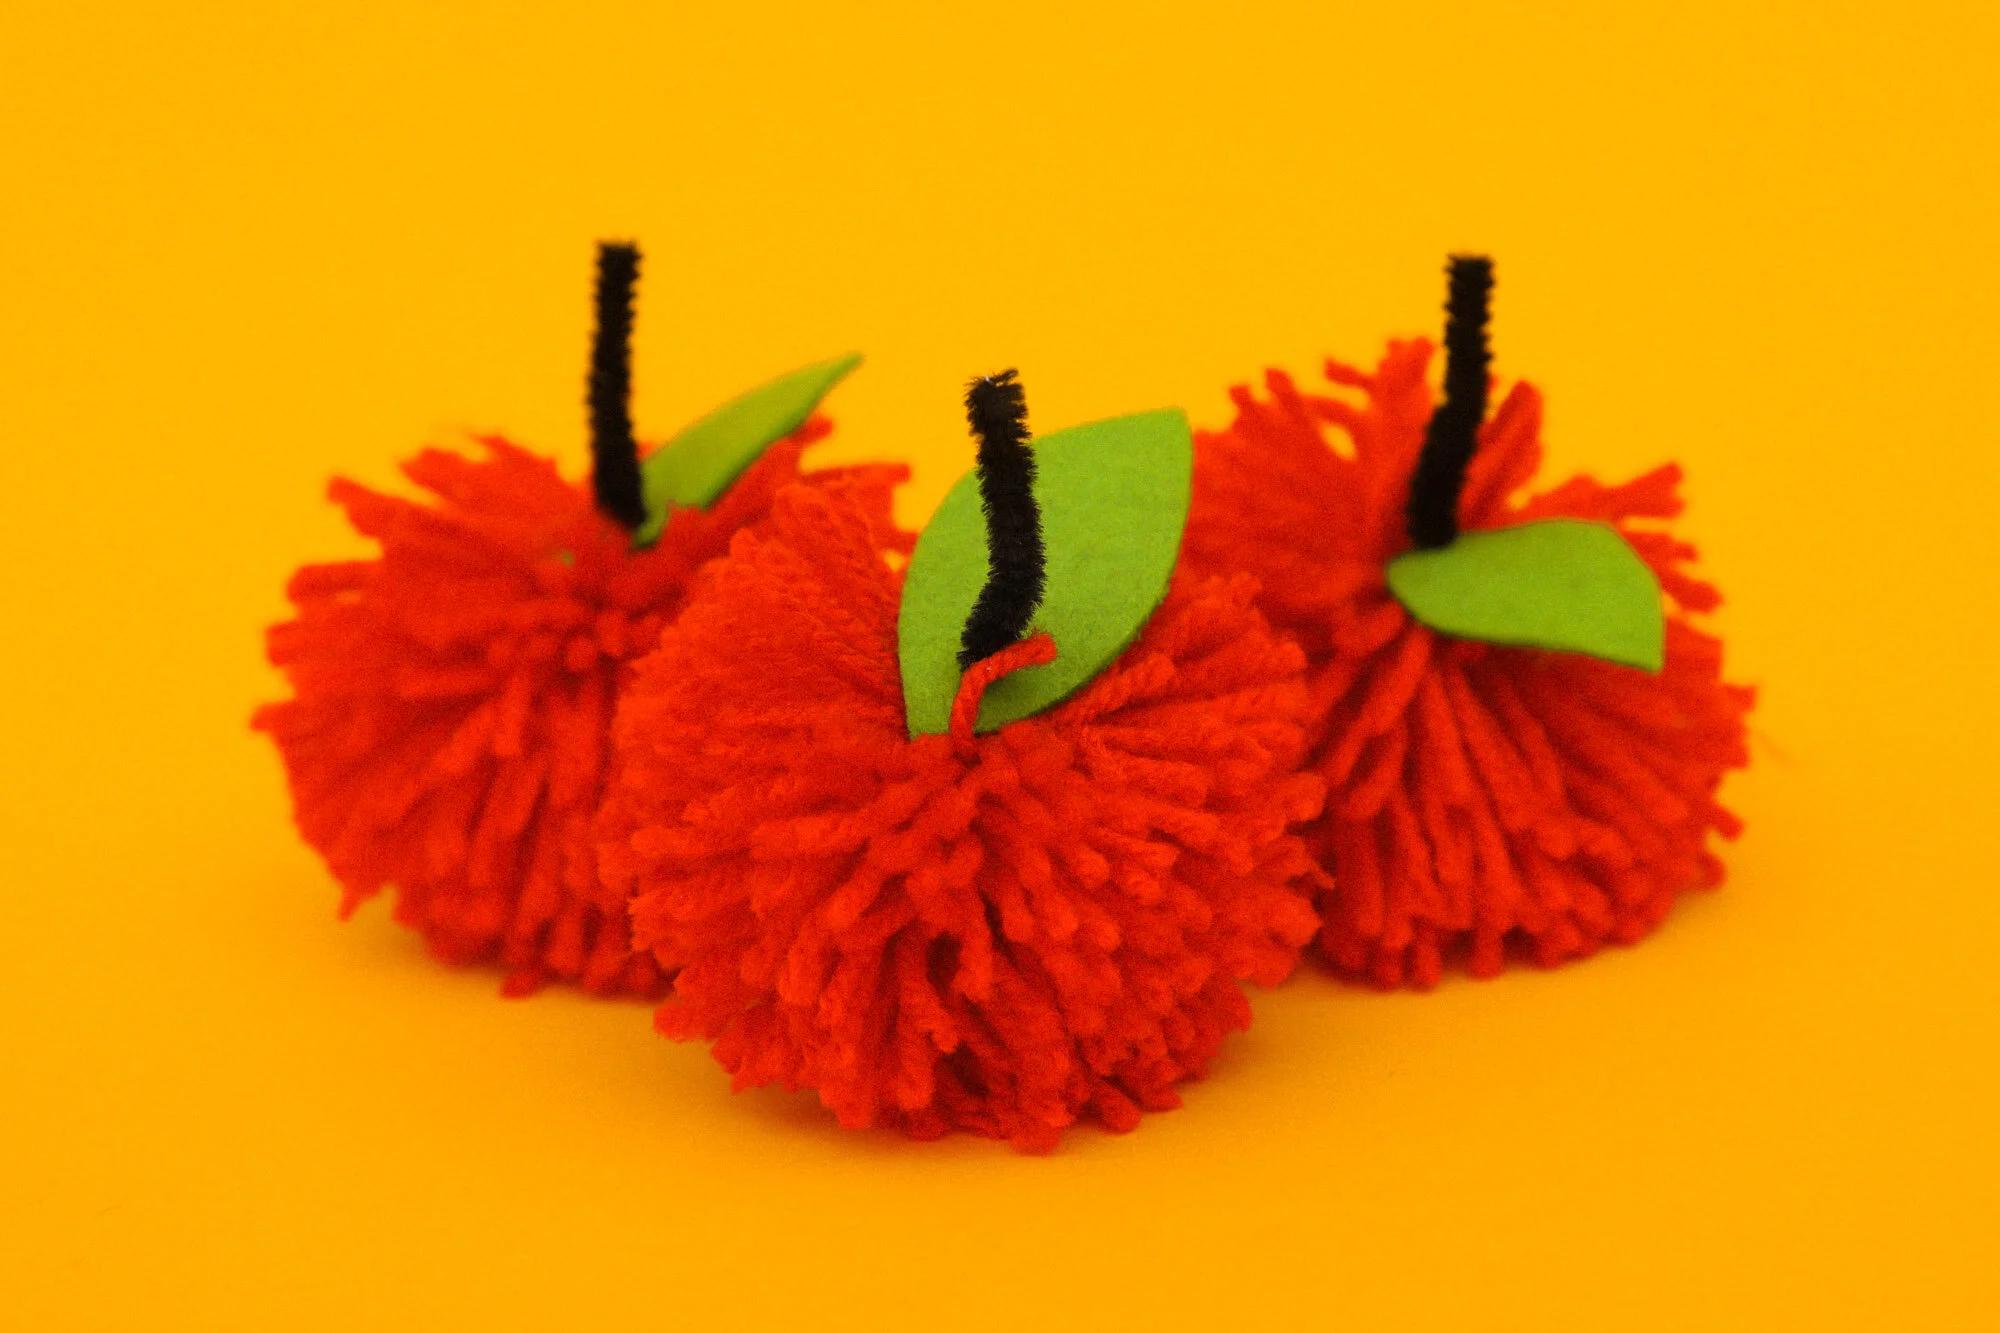
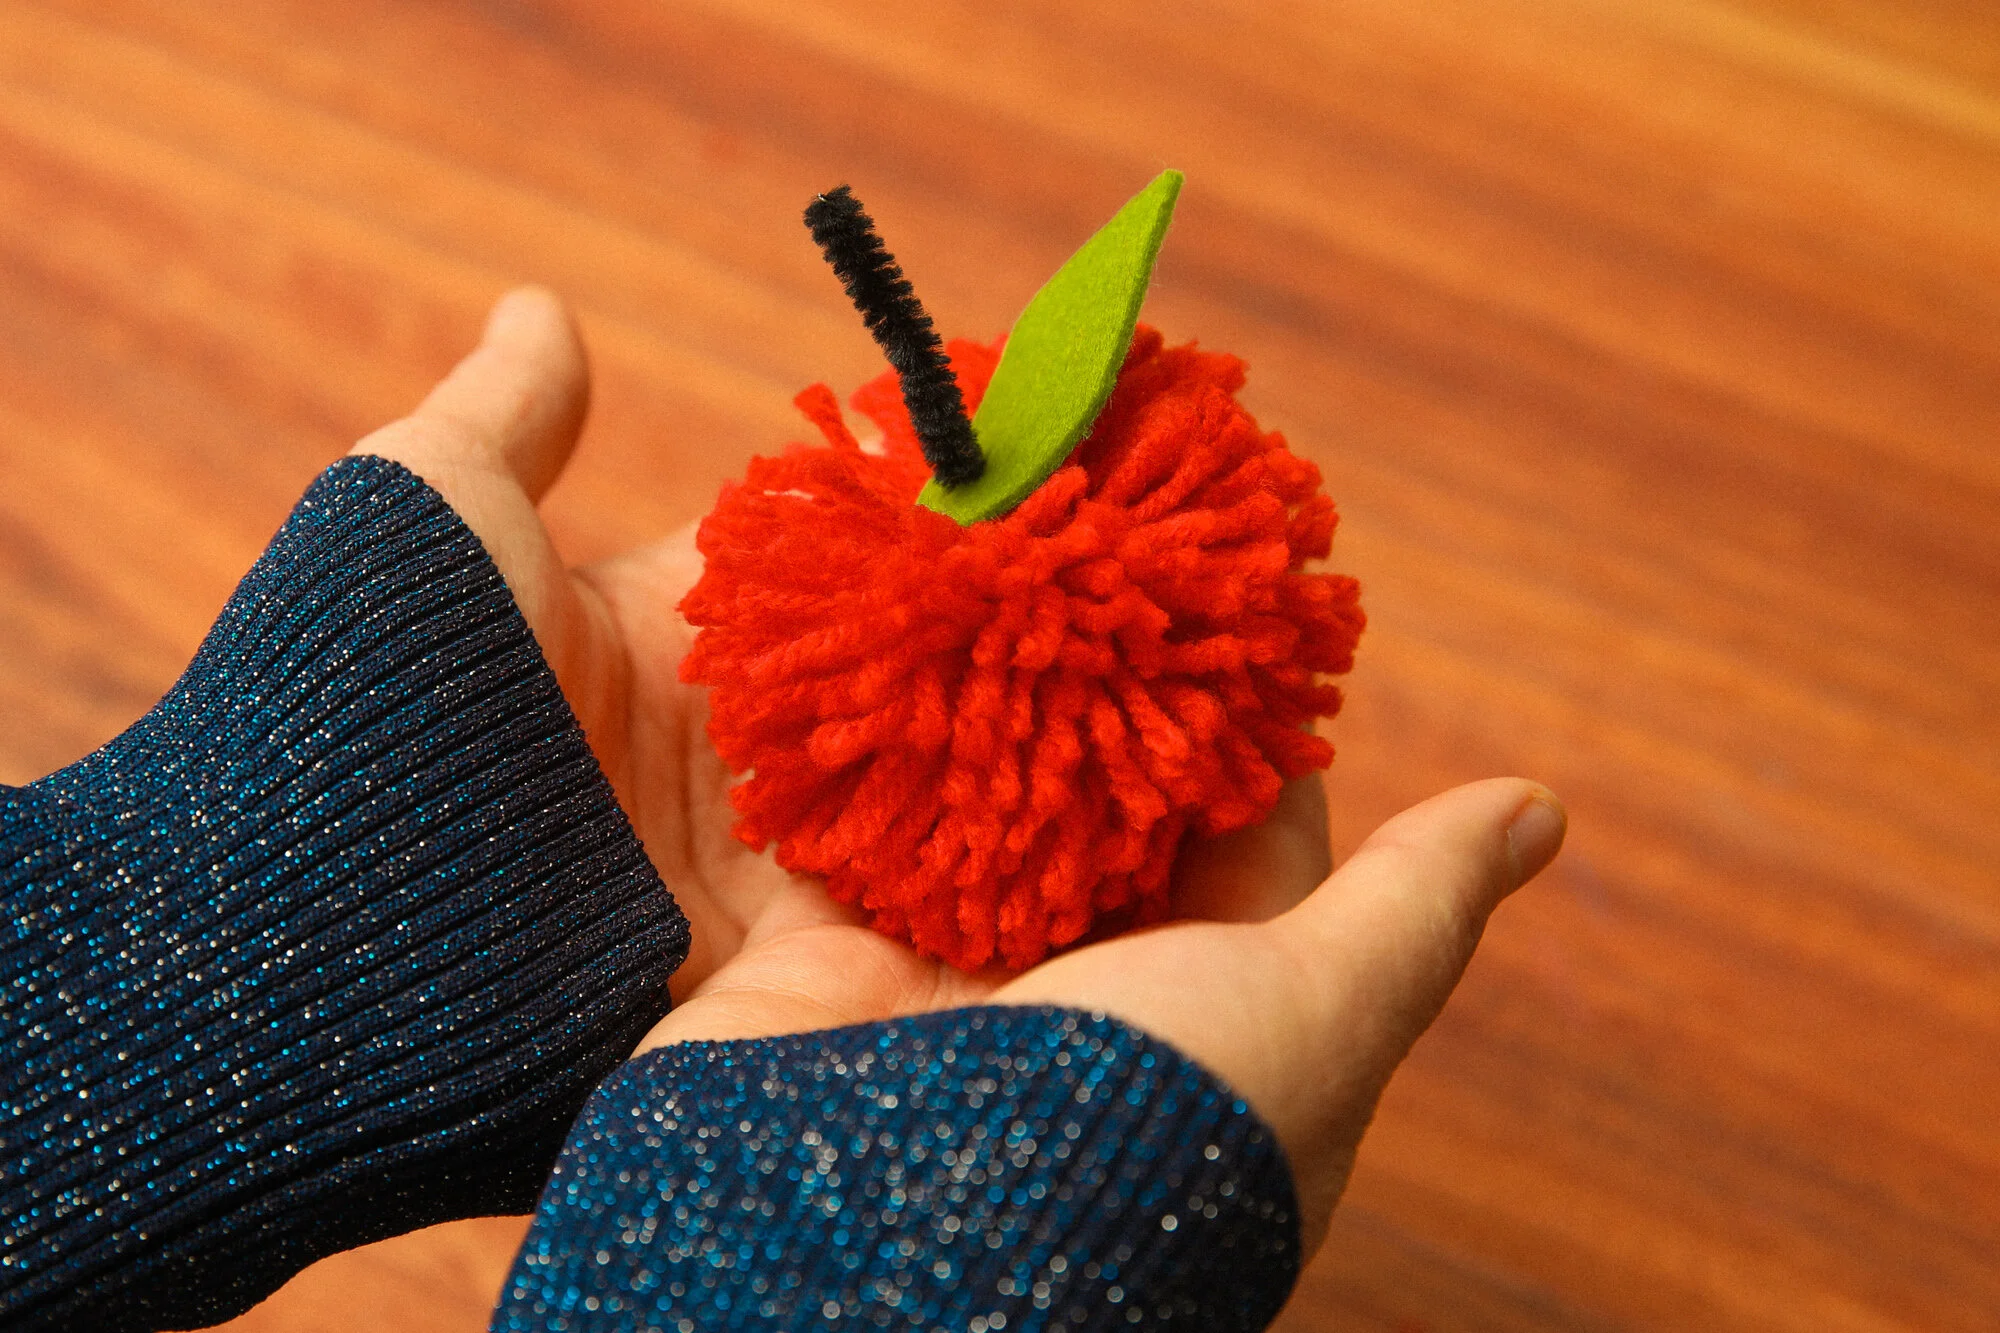
APPLE POM POMS
Fancy spending a cozy crafternoon making these apple pom poms? Sounds like fun! These cuties only take about 20 minutes and are suitable for ages 4 and beyond (little ones will need some help with scissors). Ready?
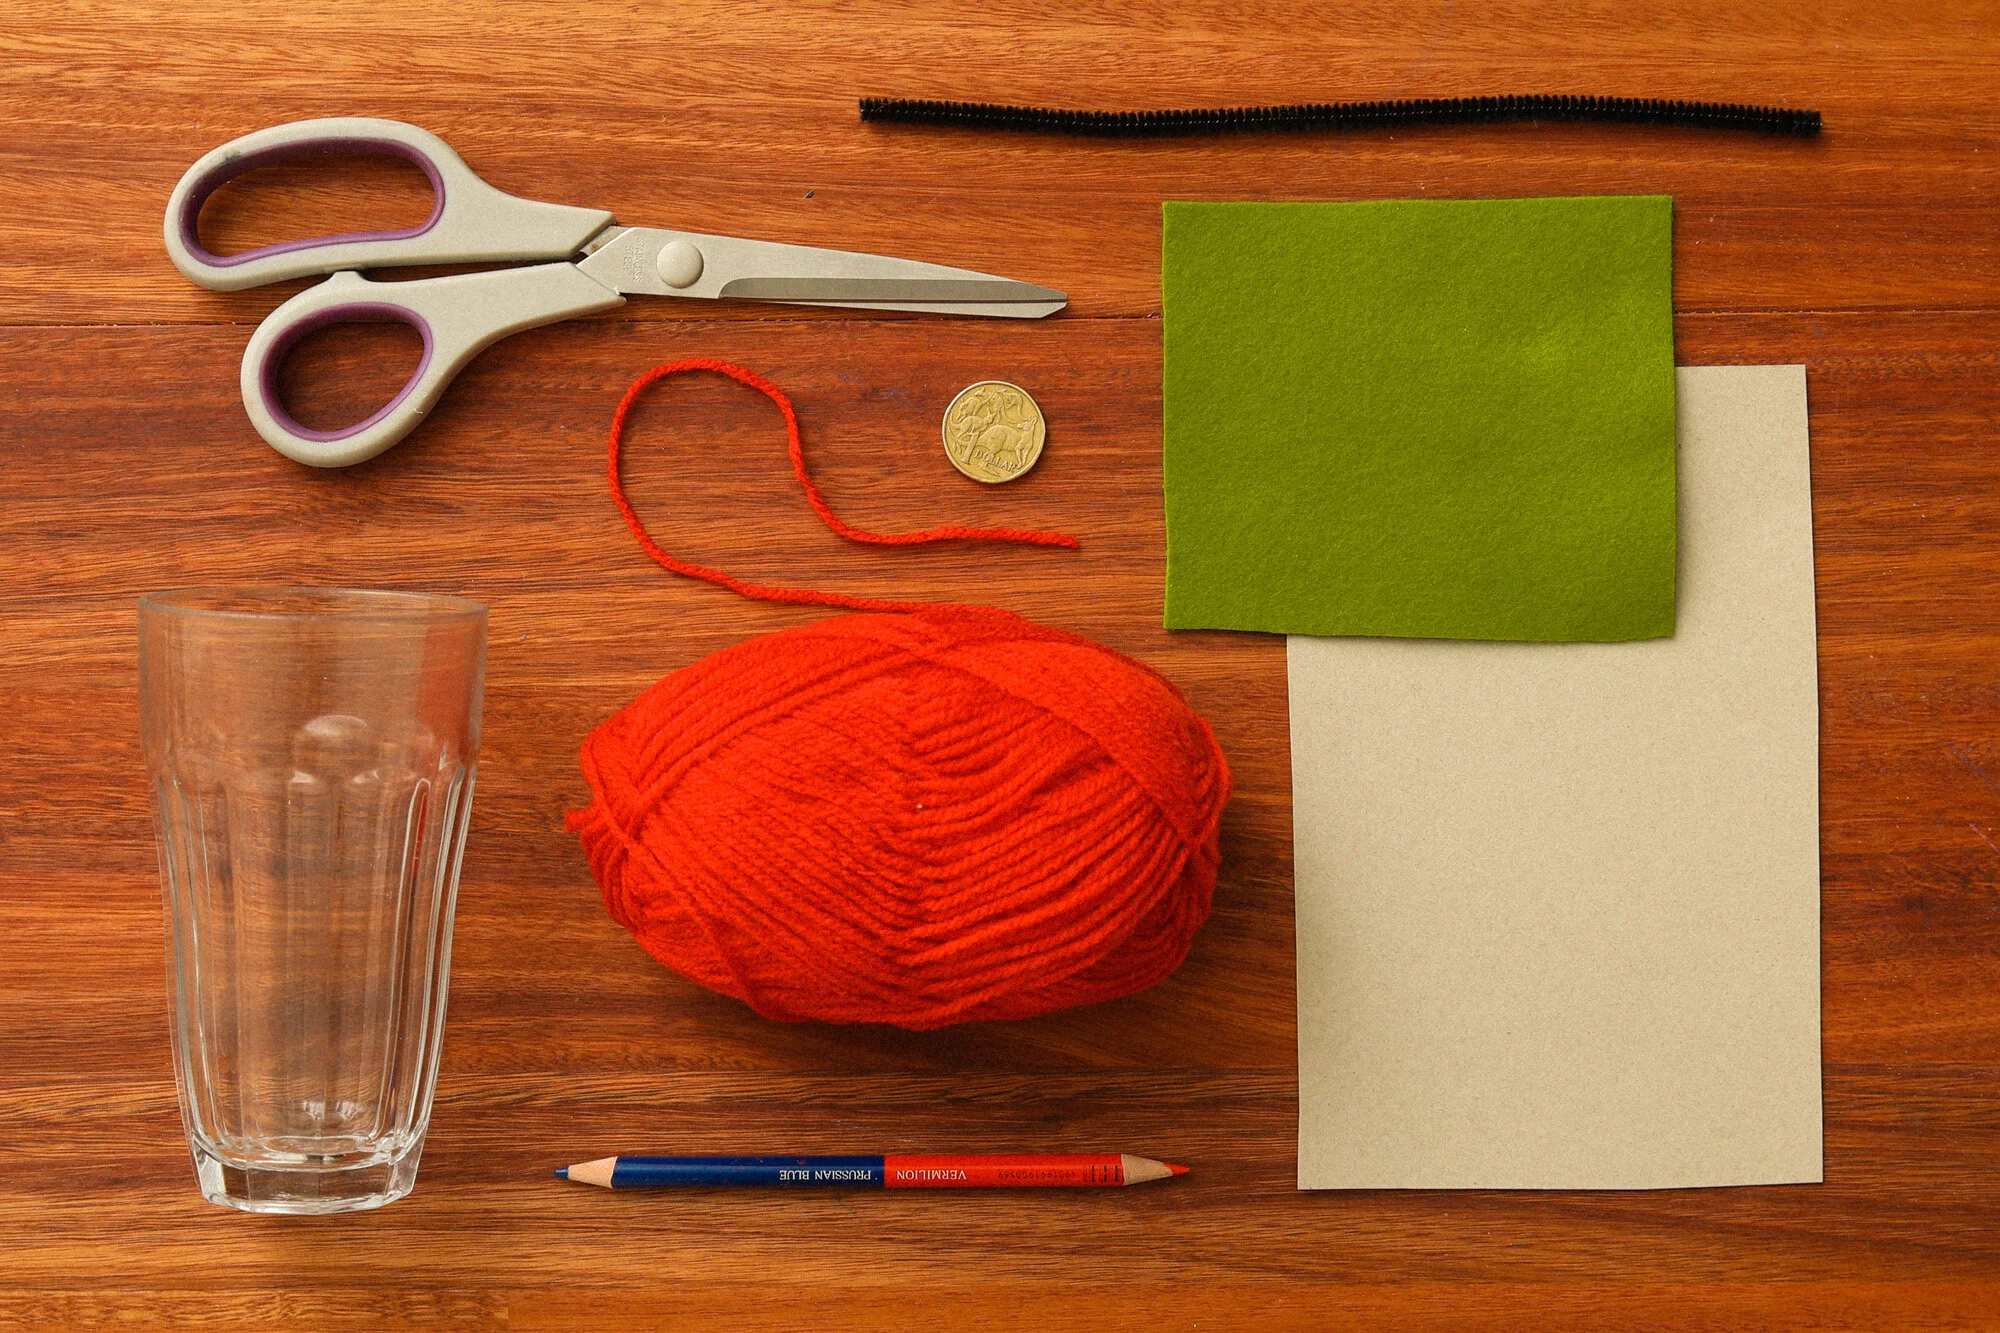
HERE’S WHAT YOU’LL NEED:
Cardboard
1 x Glass
1 x Coin
1 x Pencil
Scissors
Red Yarn
1 x Black / Brown Pipe-cleaner (Stem)
Green Felt / Card / Paper (Leaf)
LET’S MAKE APPLE POM POMS!
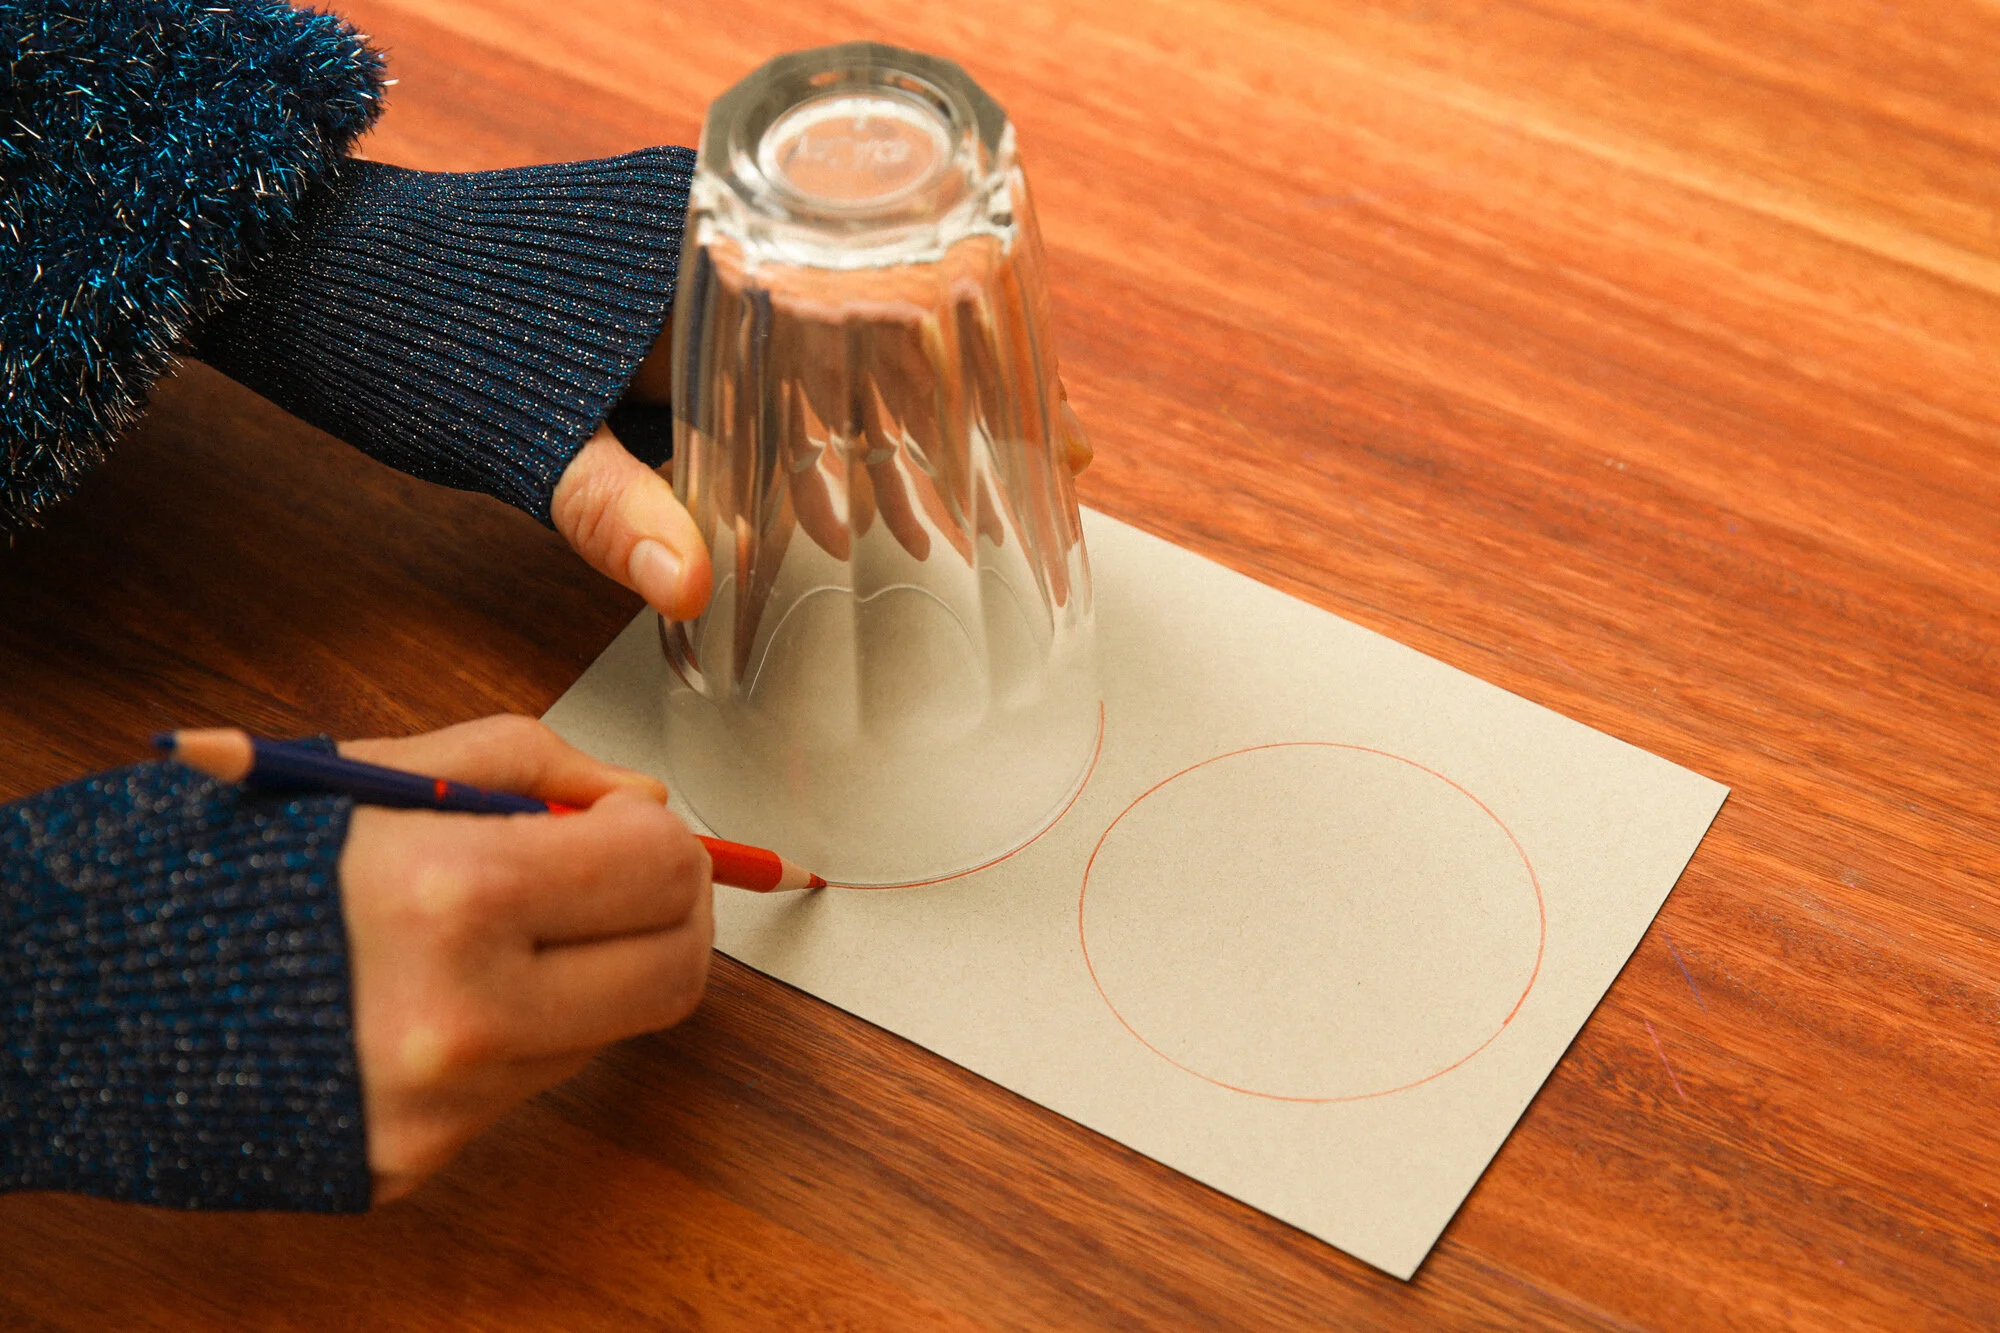
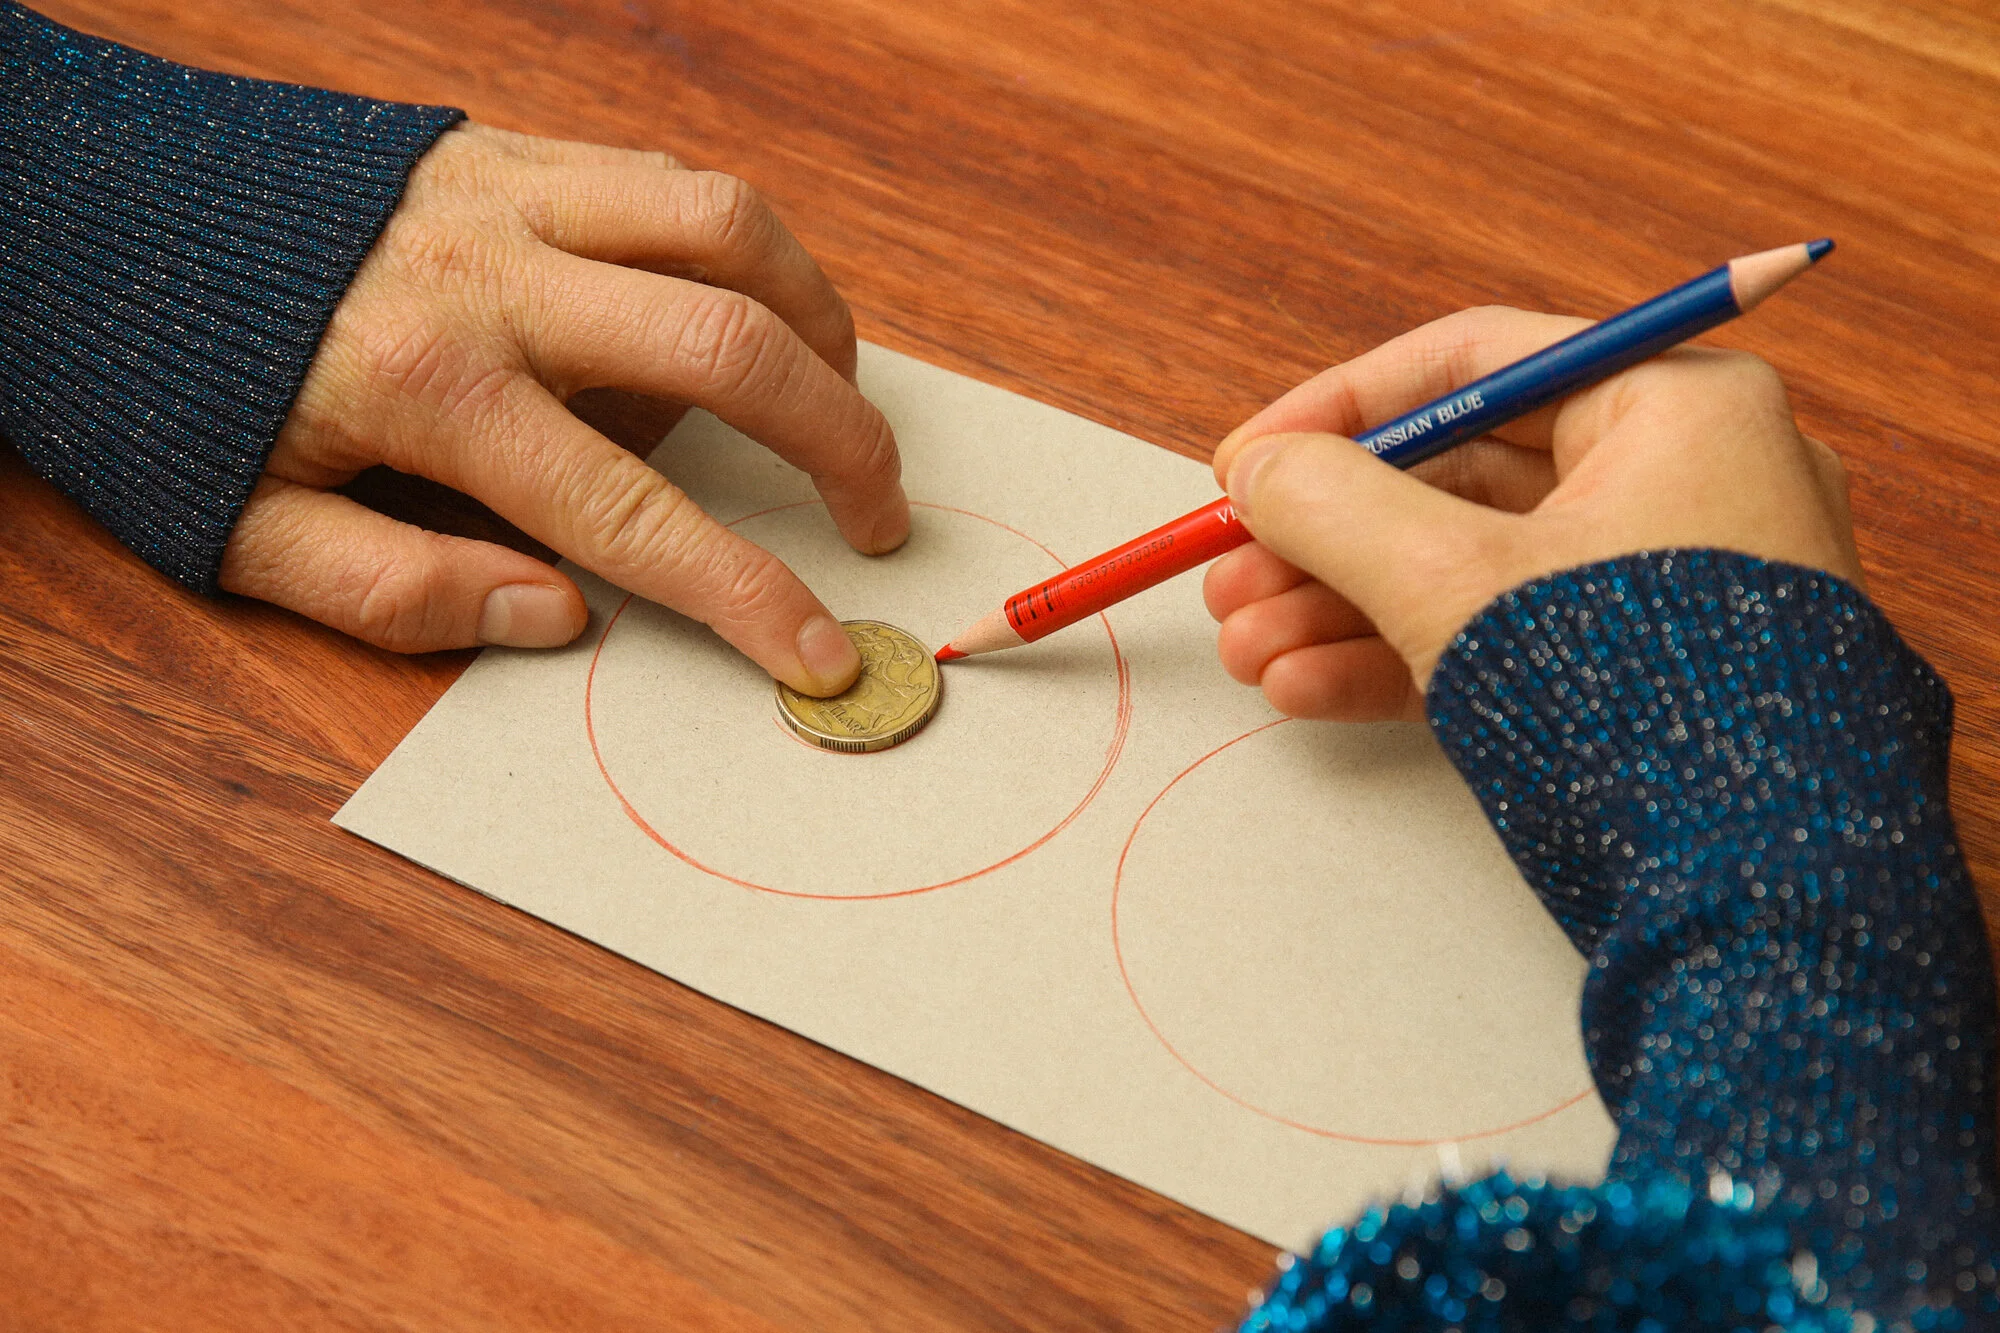
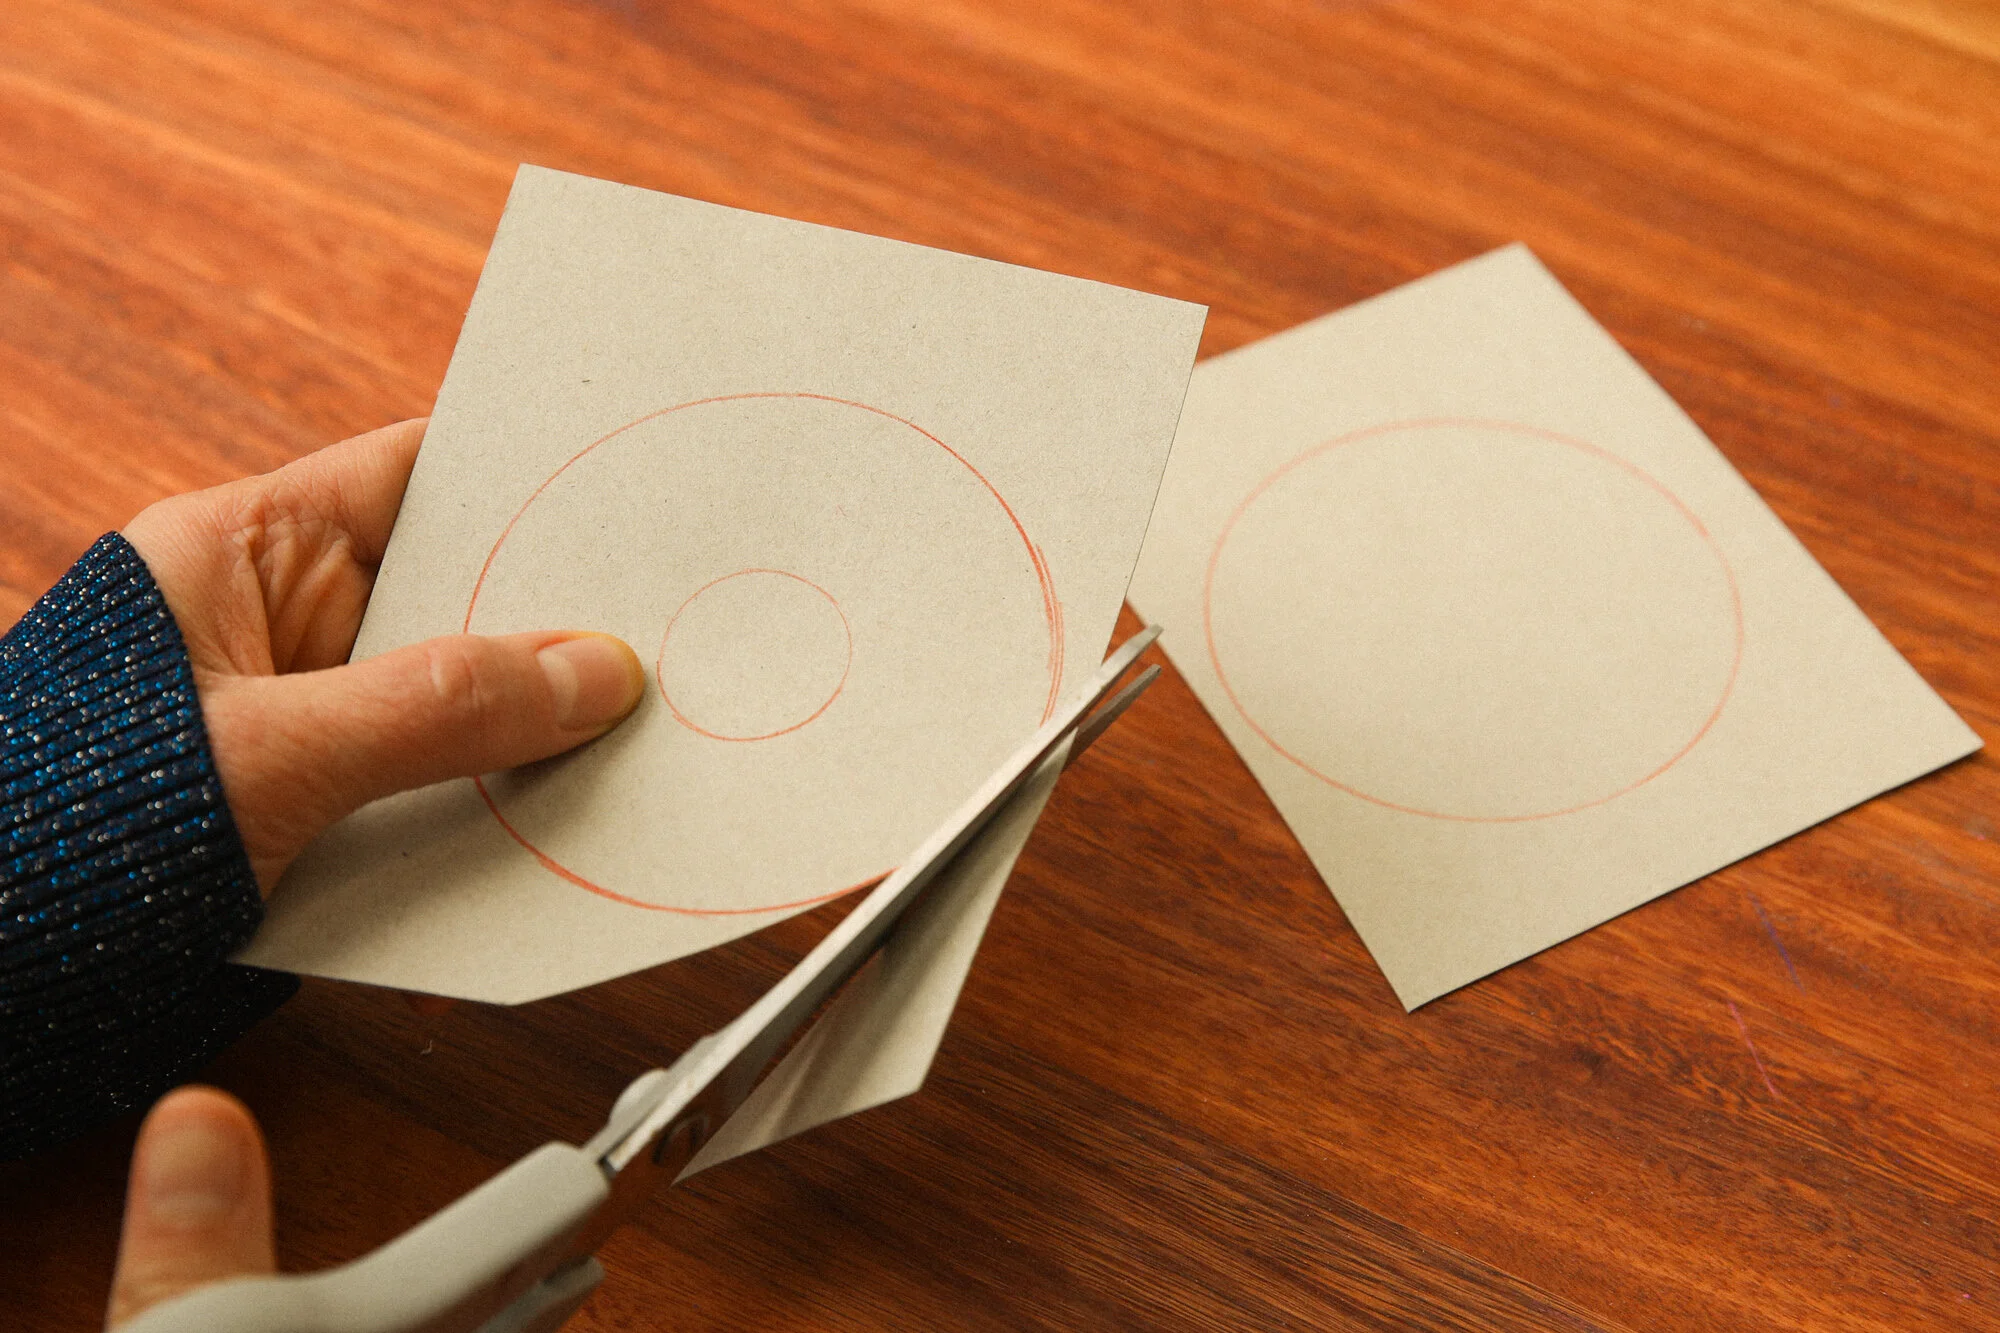
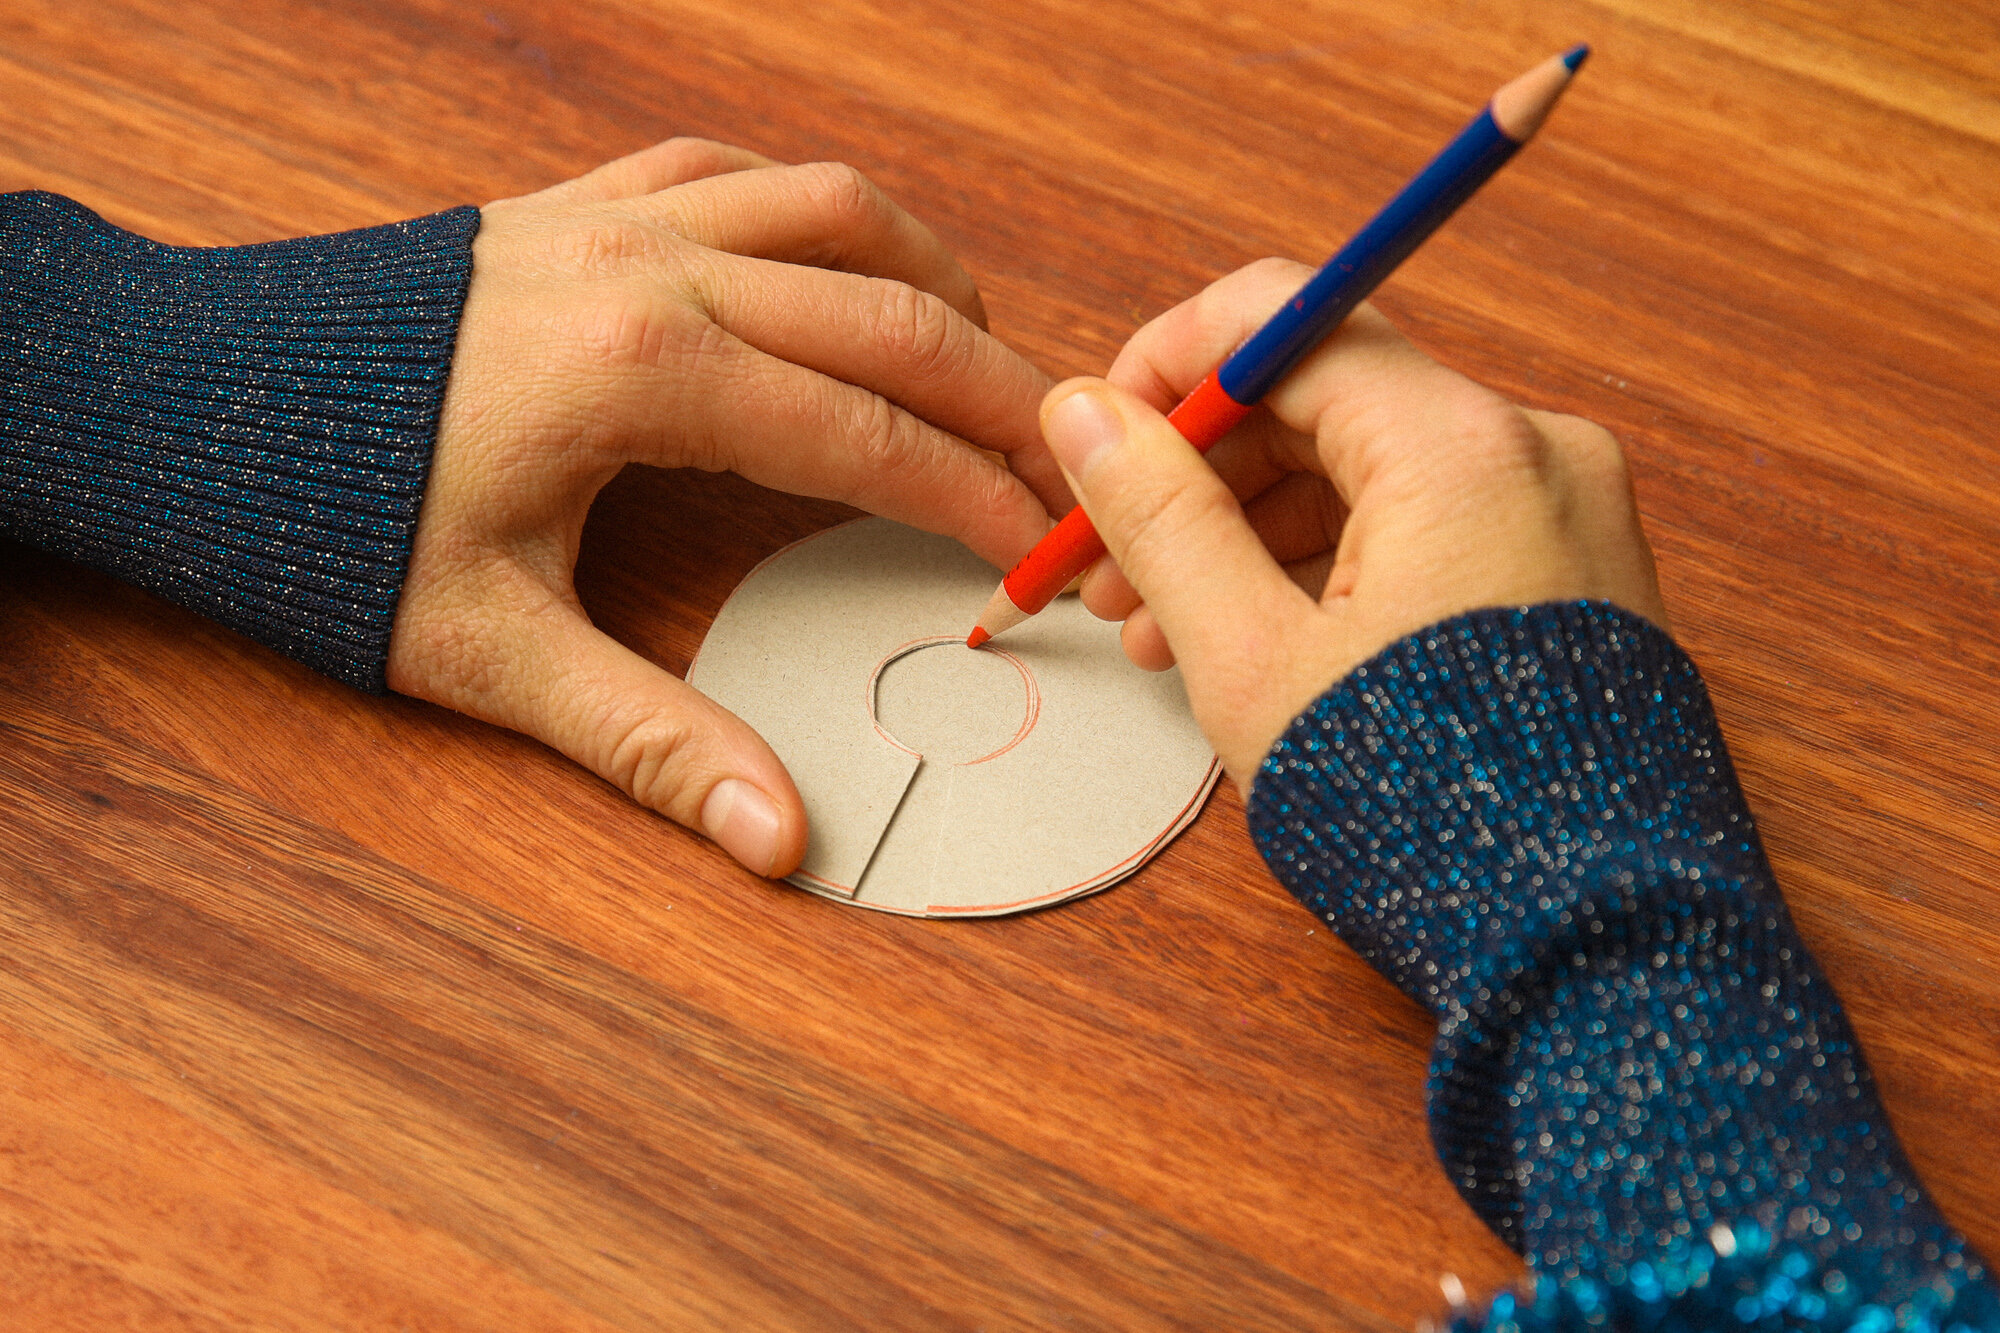
STEP ONE: Using your glass trace two large circles on your piece of cardboard. Take your coin and trace two smaller circles (one in each larger circle) to create two little doughnuts. This will be the tool you use to create your pom pom!
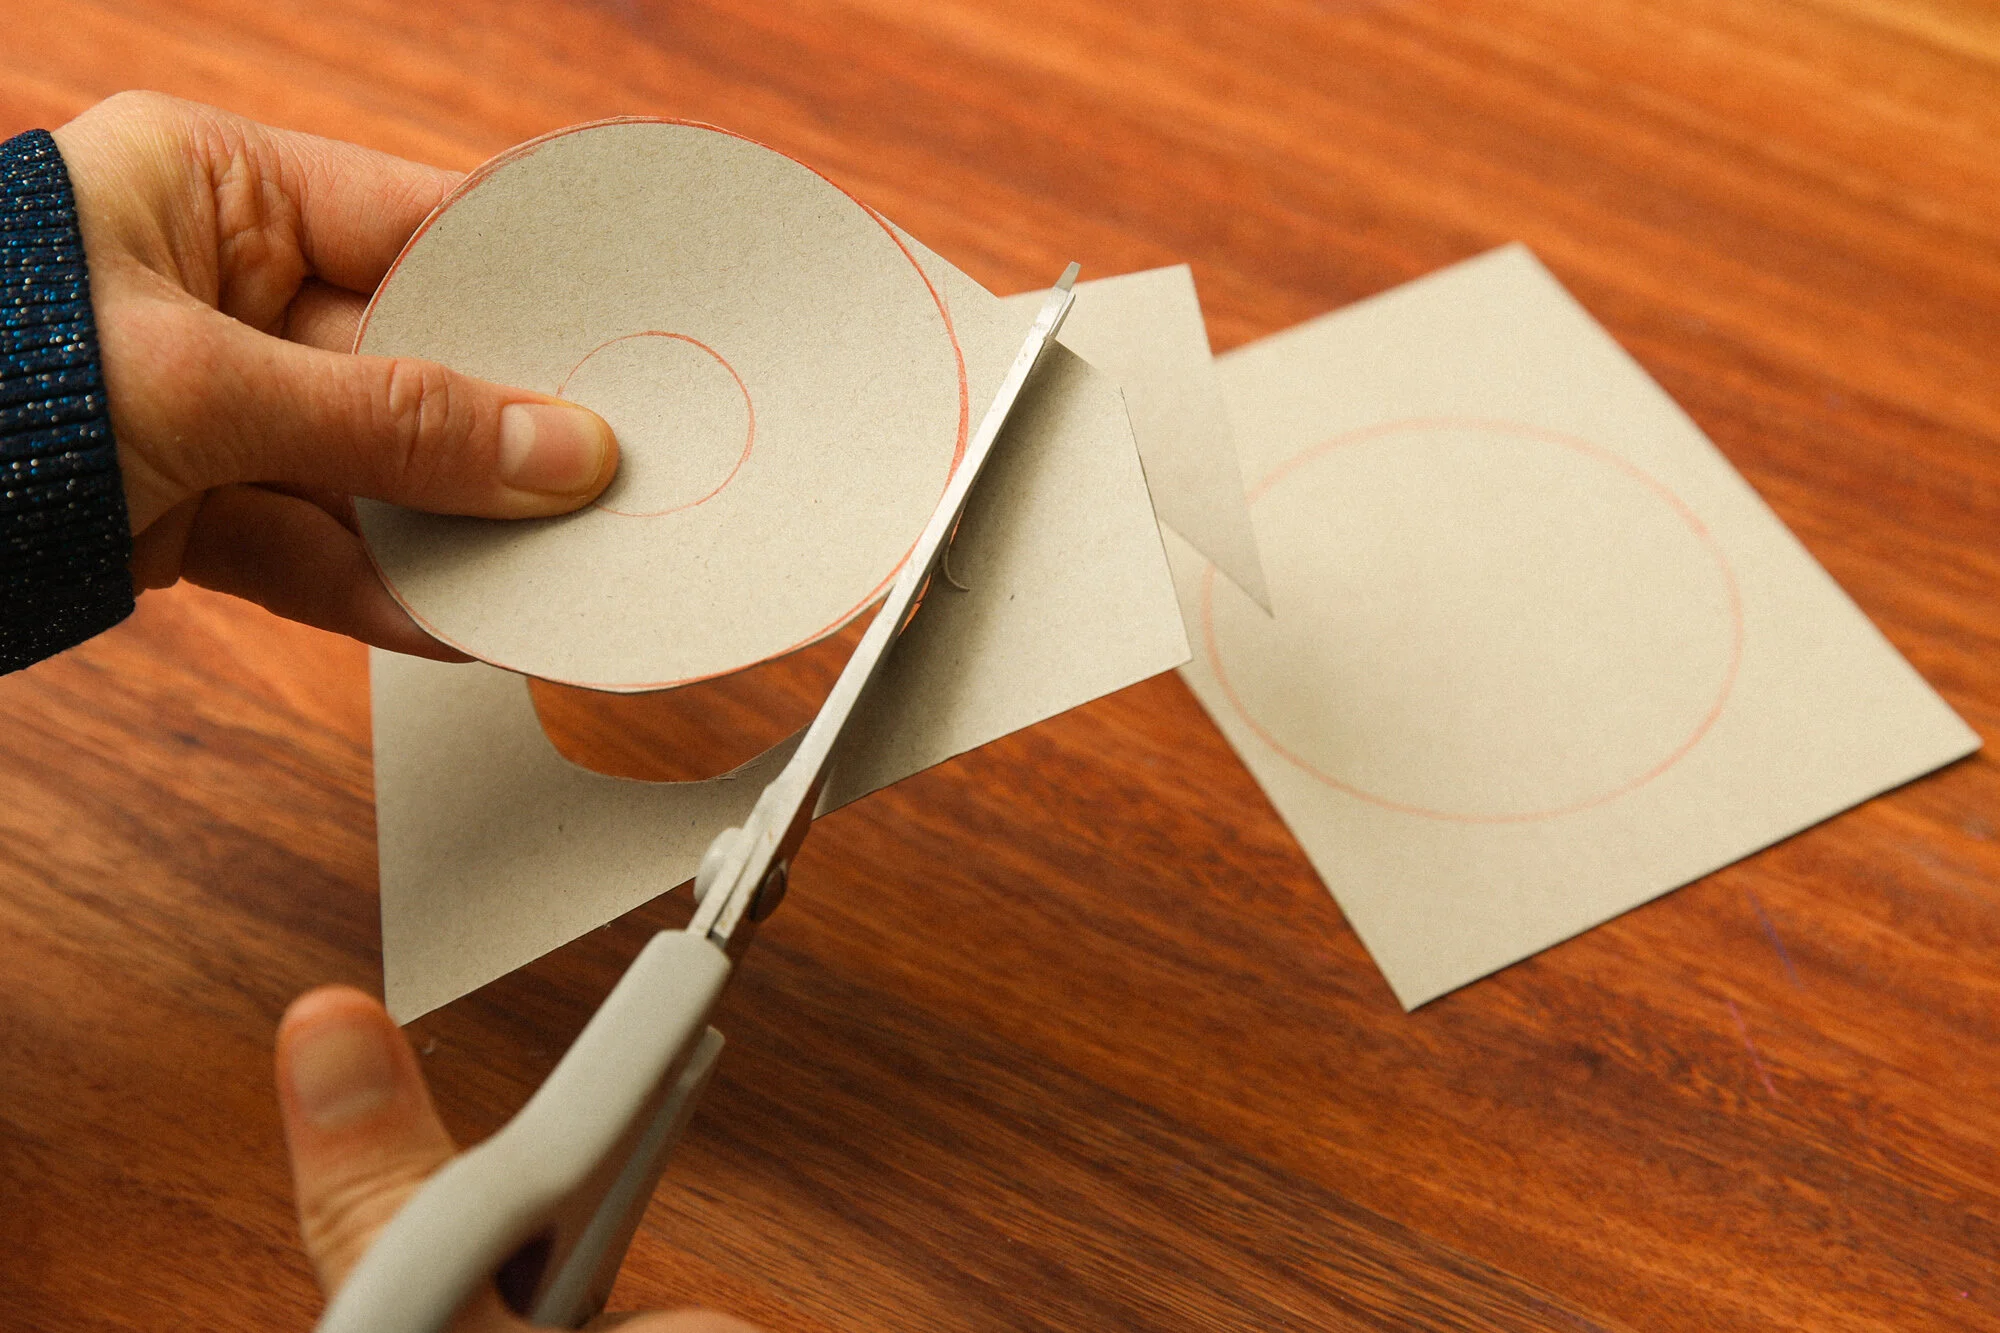
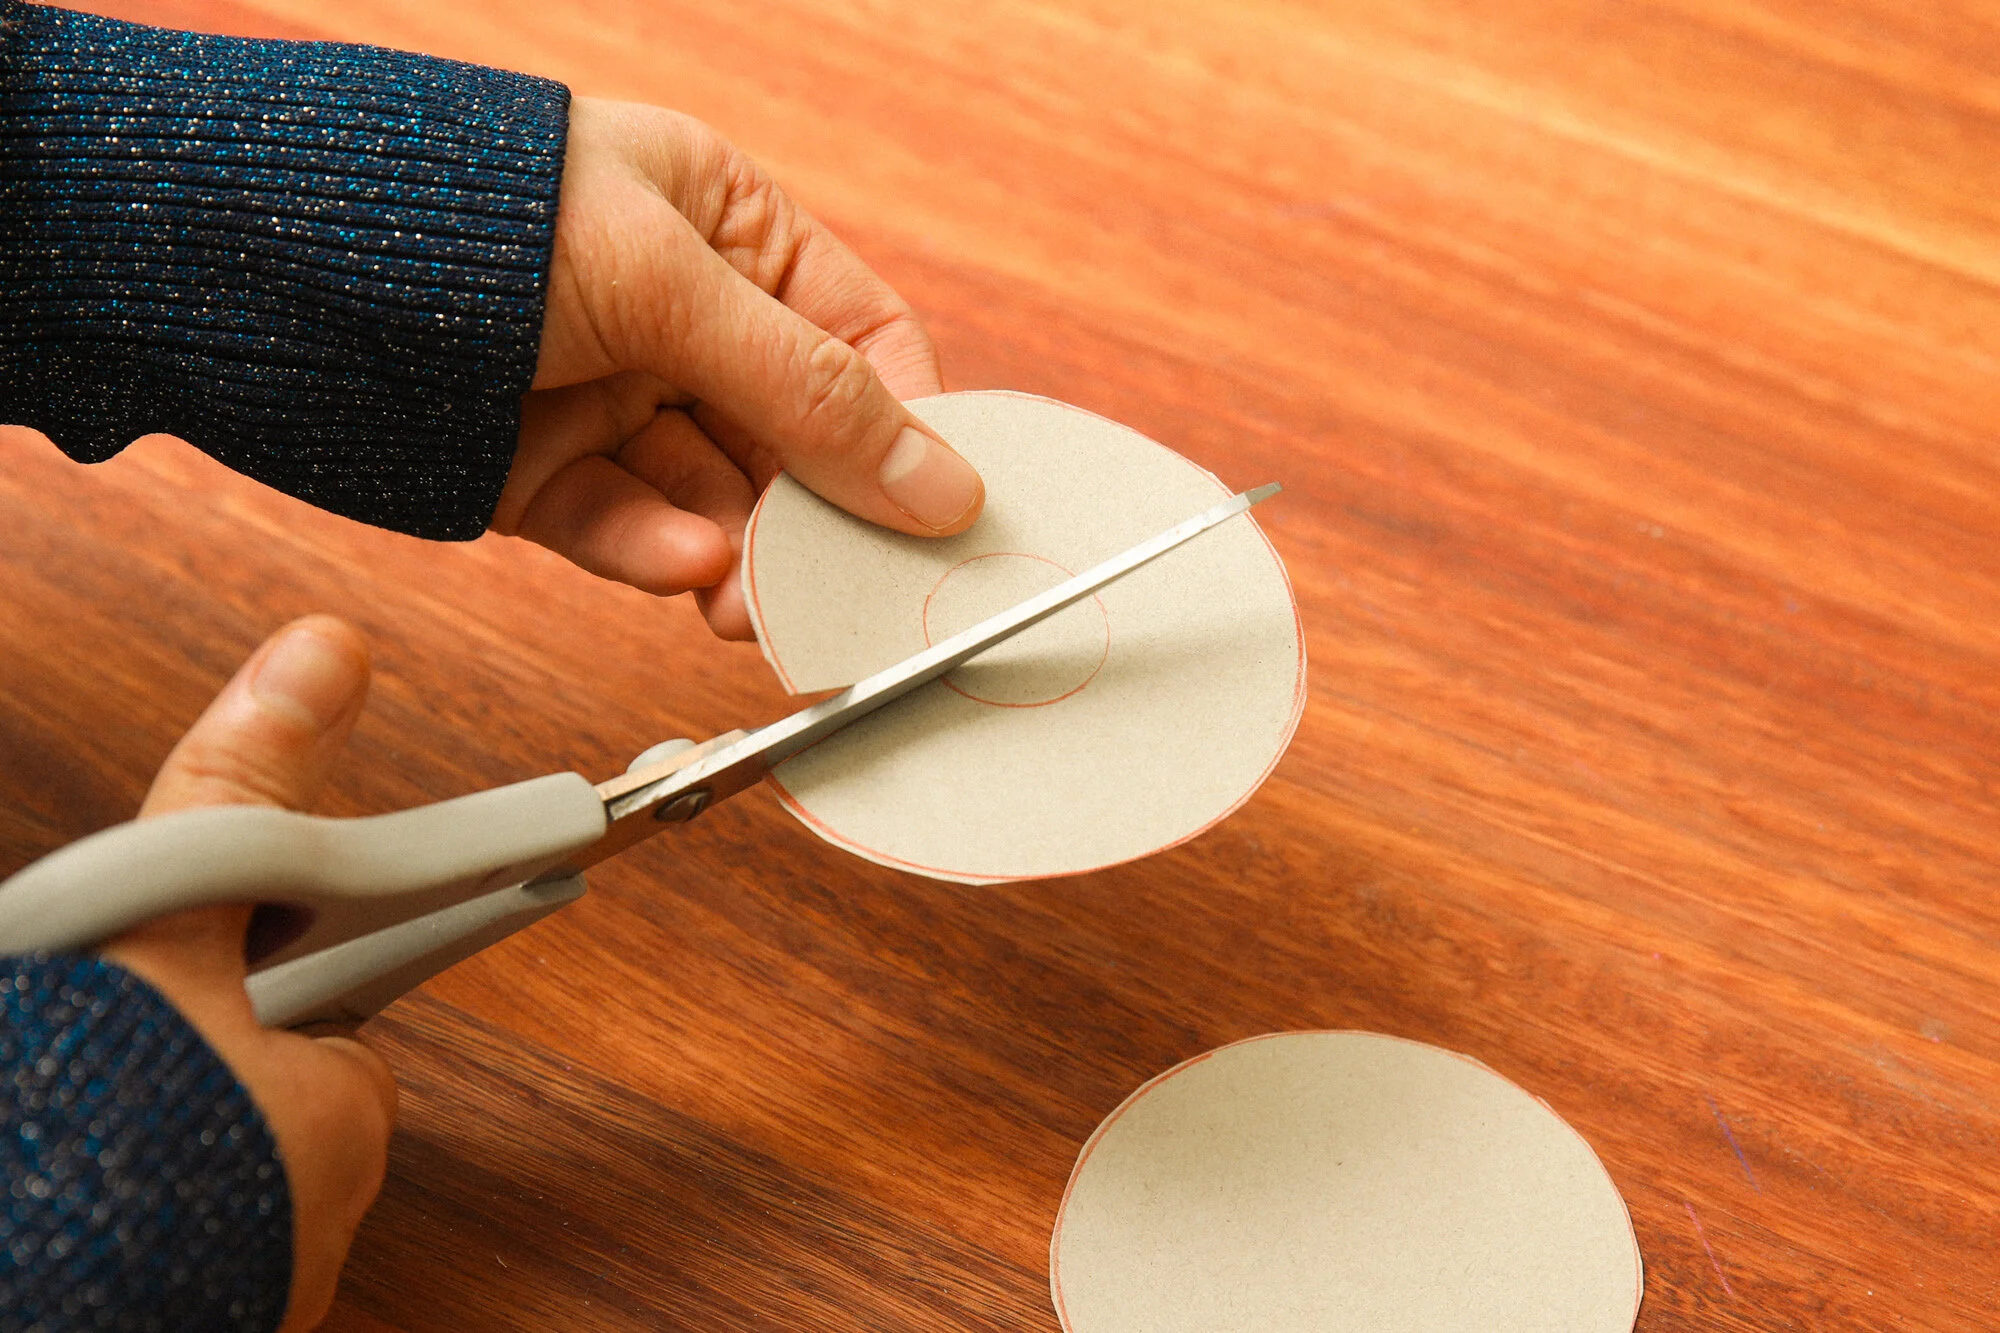
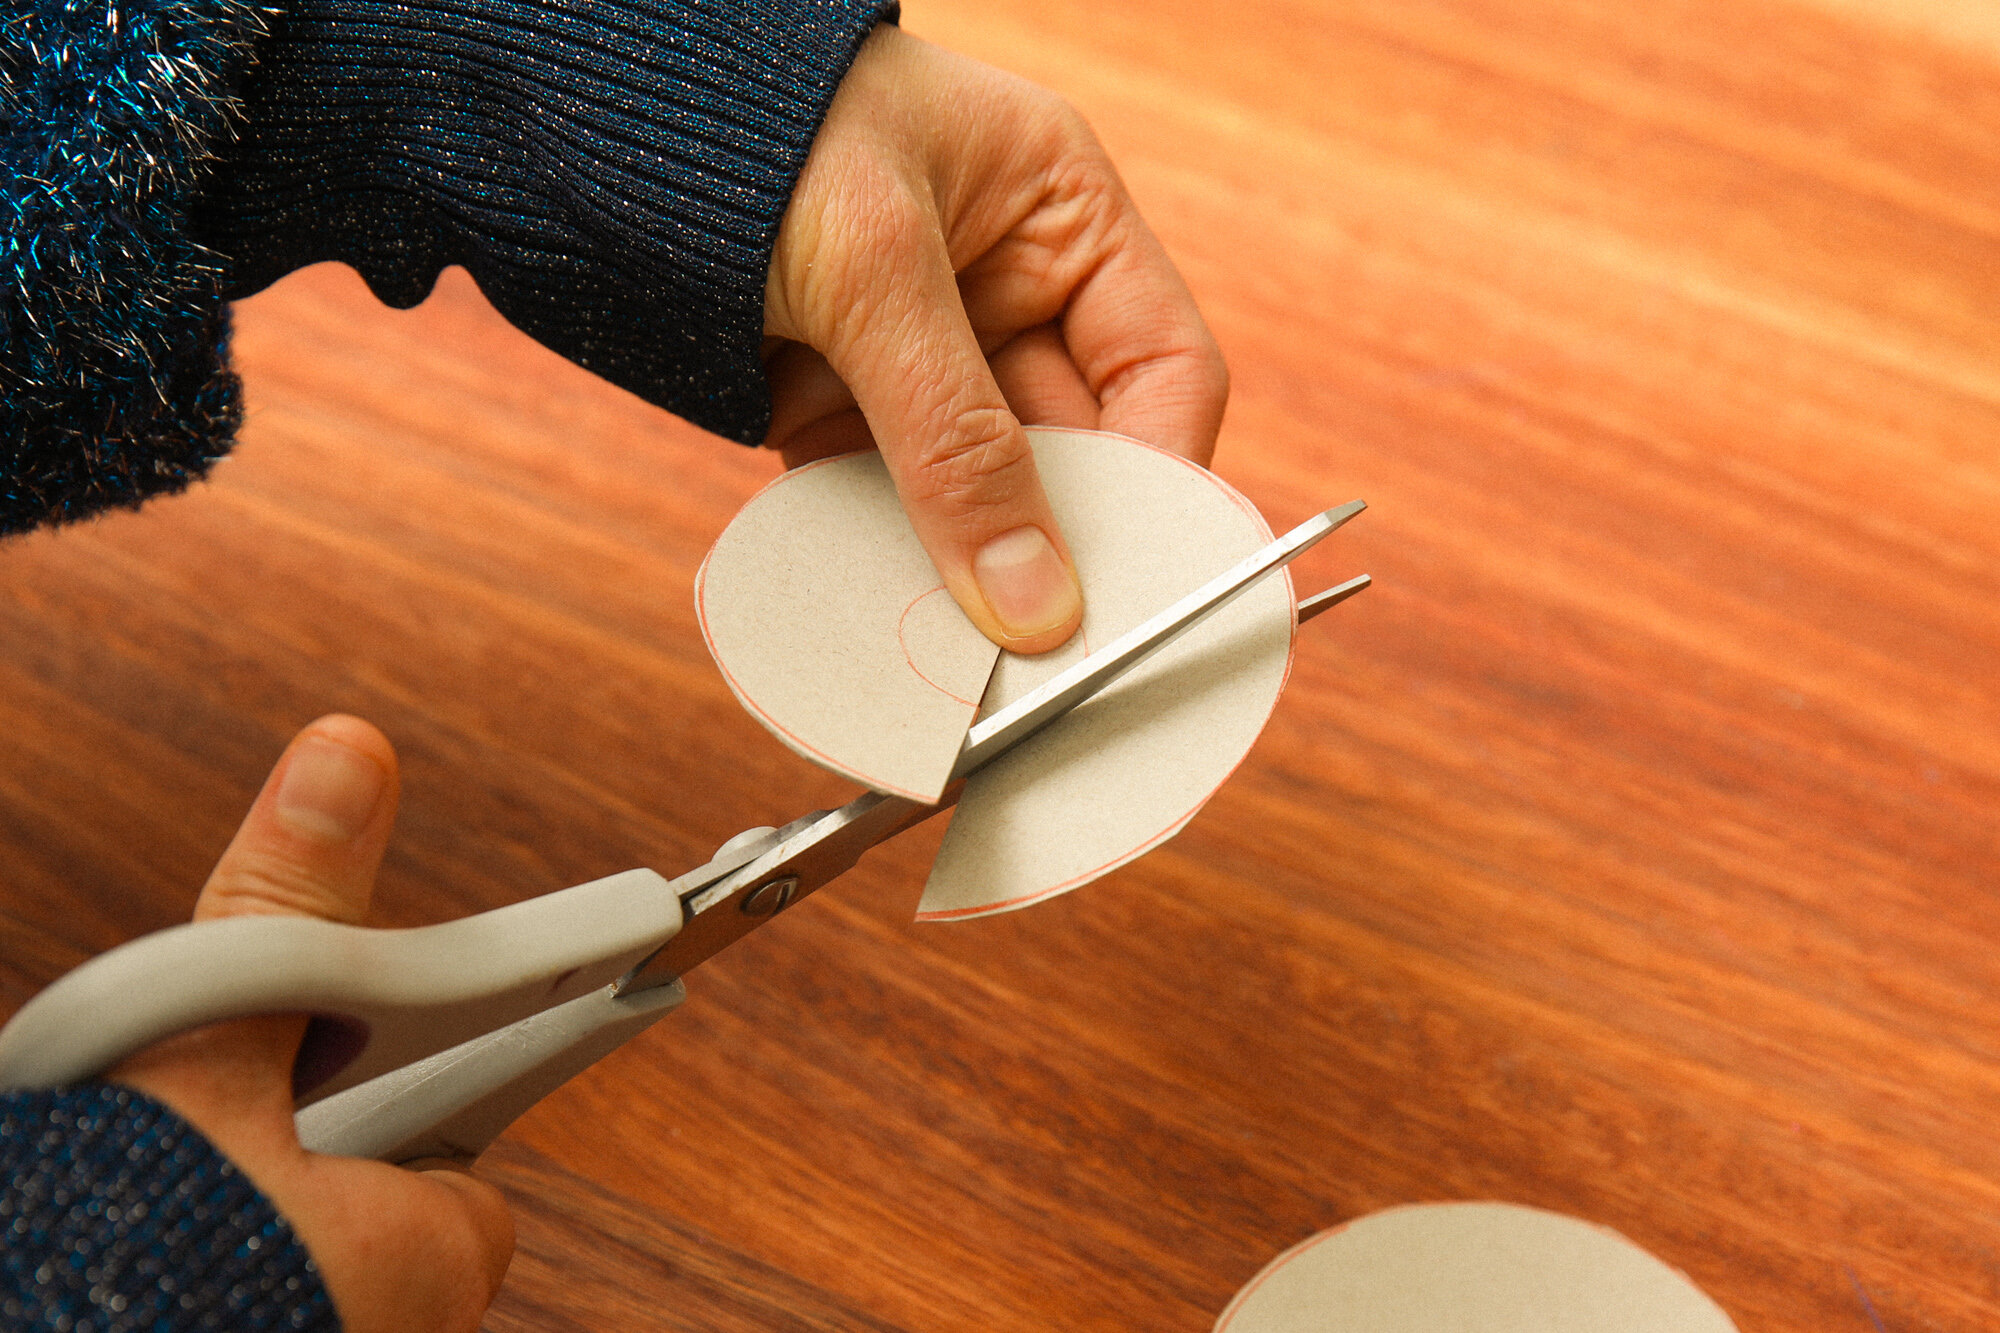
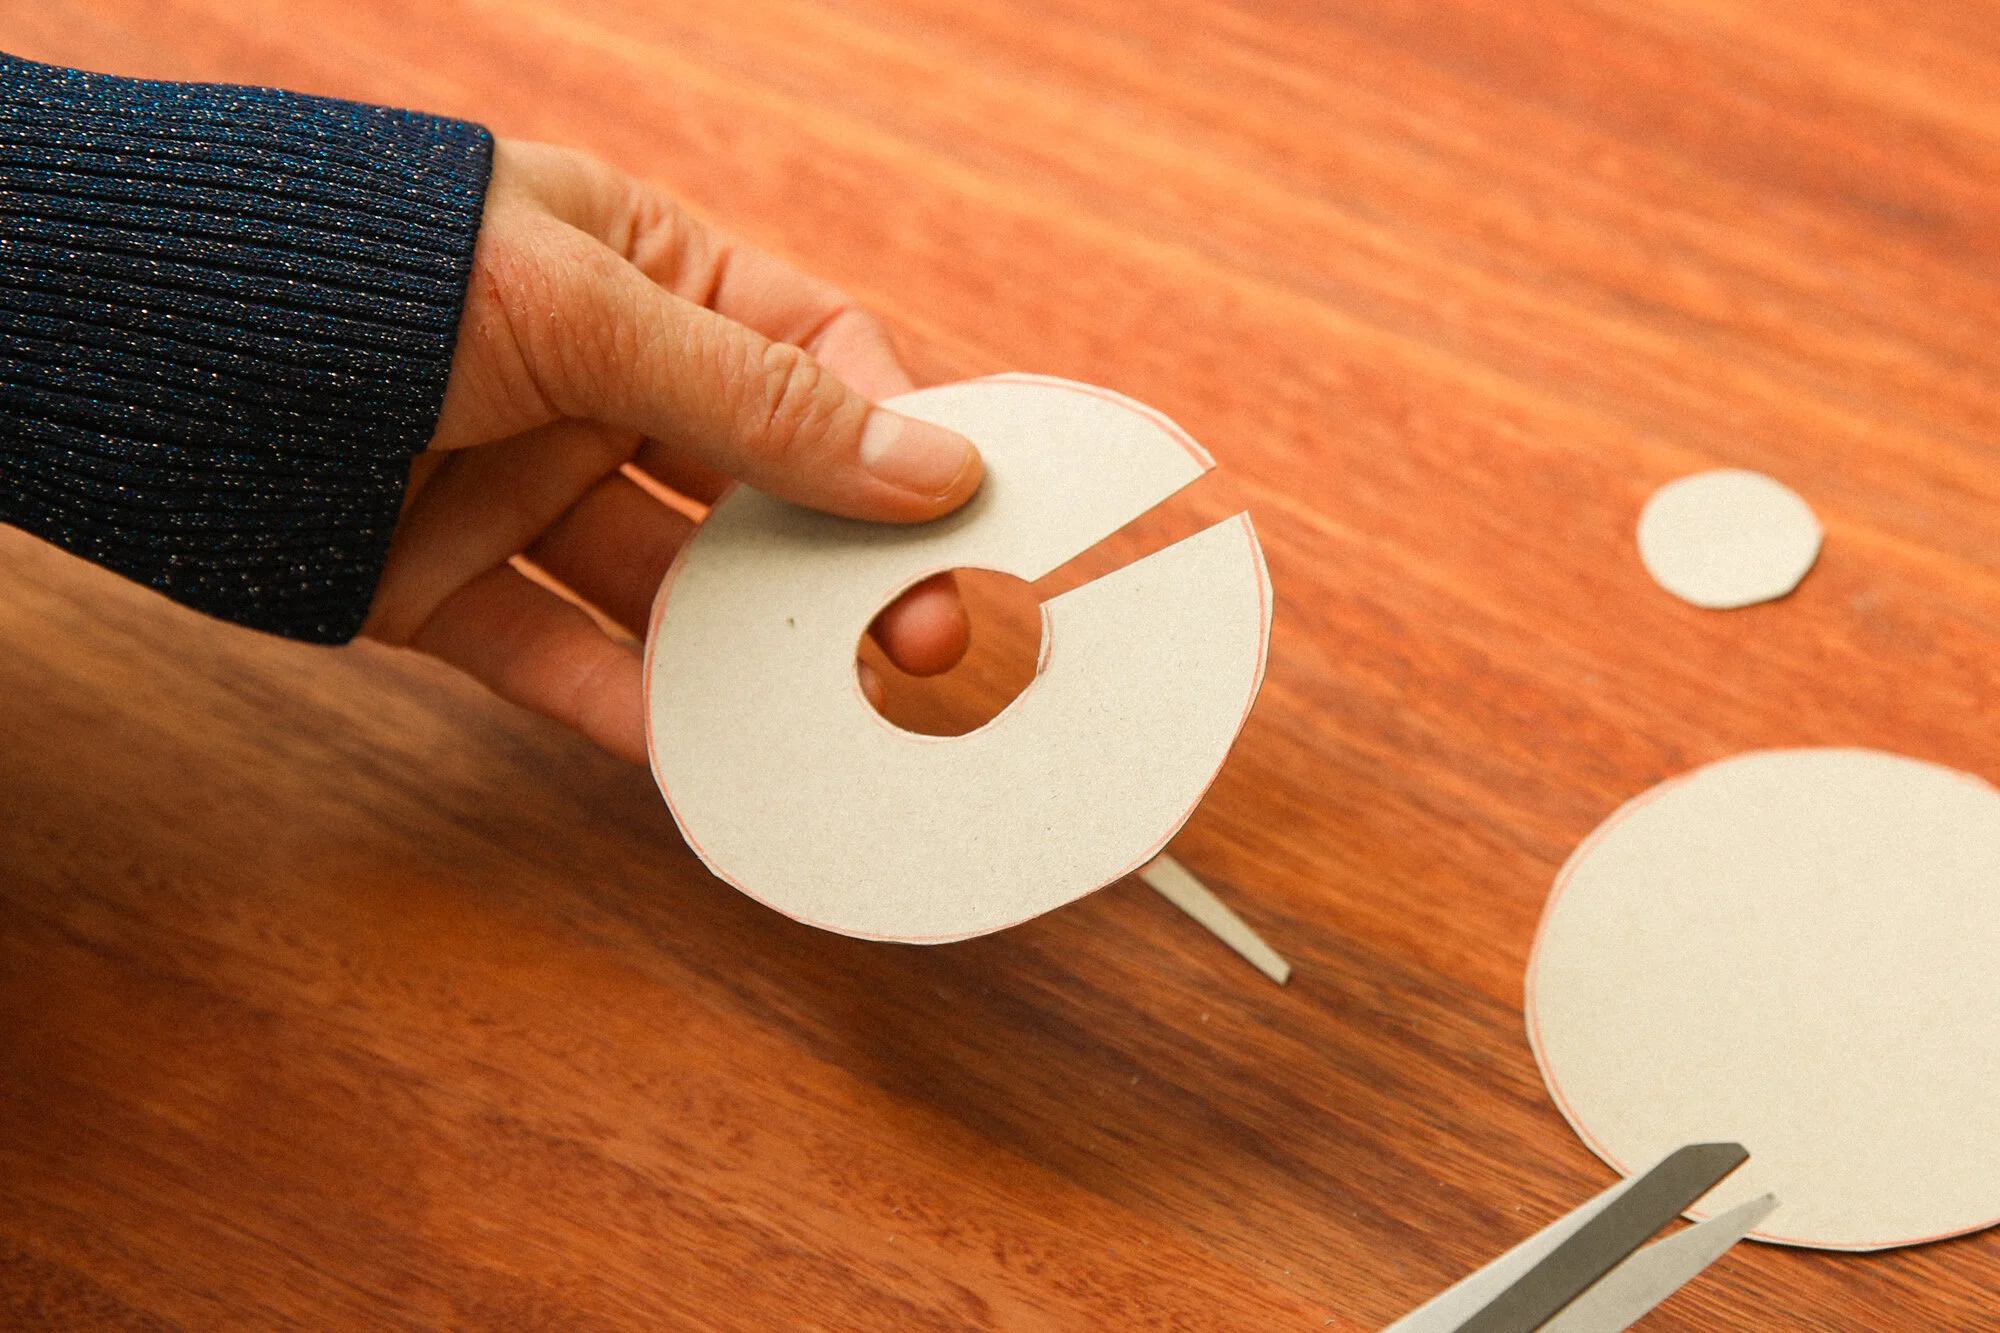
STEP TWO: Take a pair of scissors and cut out both shapes so that you are left with two discs. Cut your way from the outside edge to the centre of the circle, and then cut along the outline of the smaller circle to create a narrow keyhole shape. Repeat so that you have two identical pieces of card (you can use the first finished disc as a template for the second).
Note: Little ones may need help with this step.
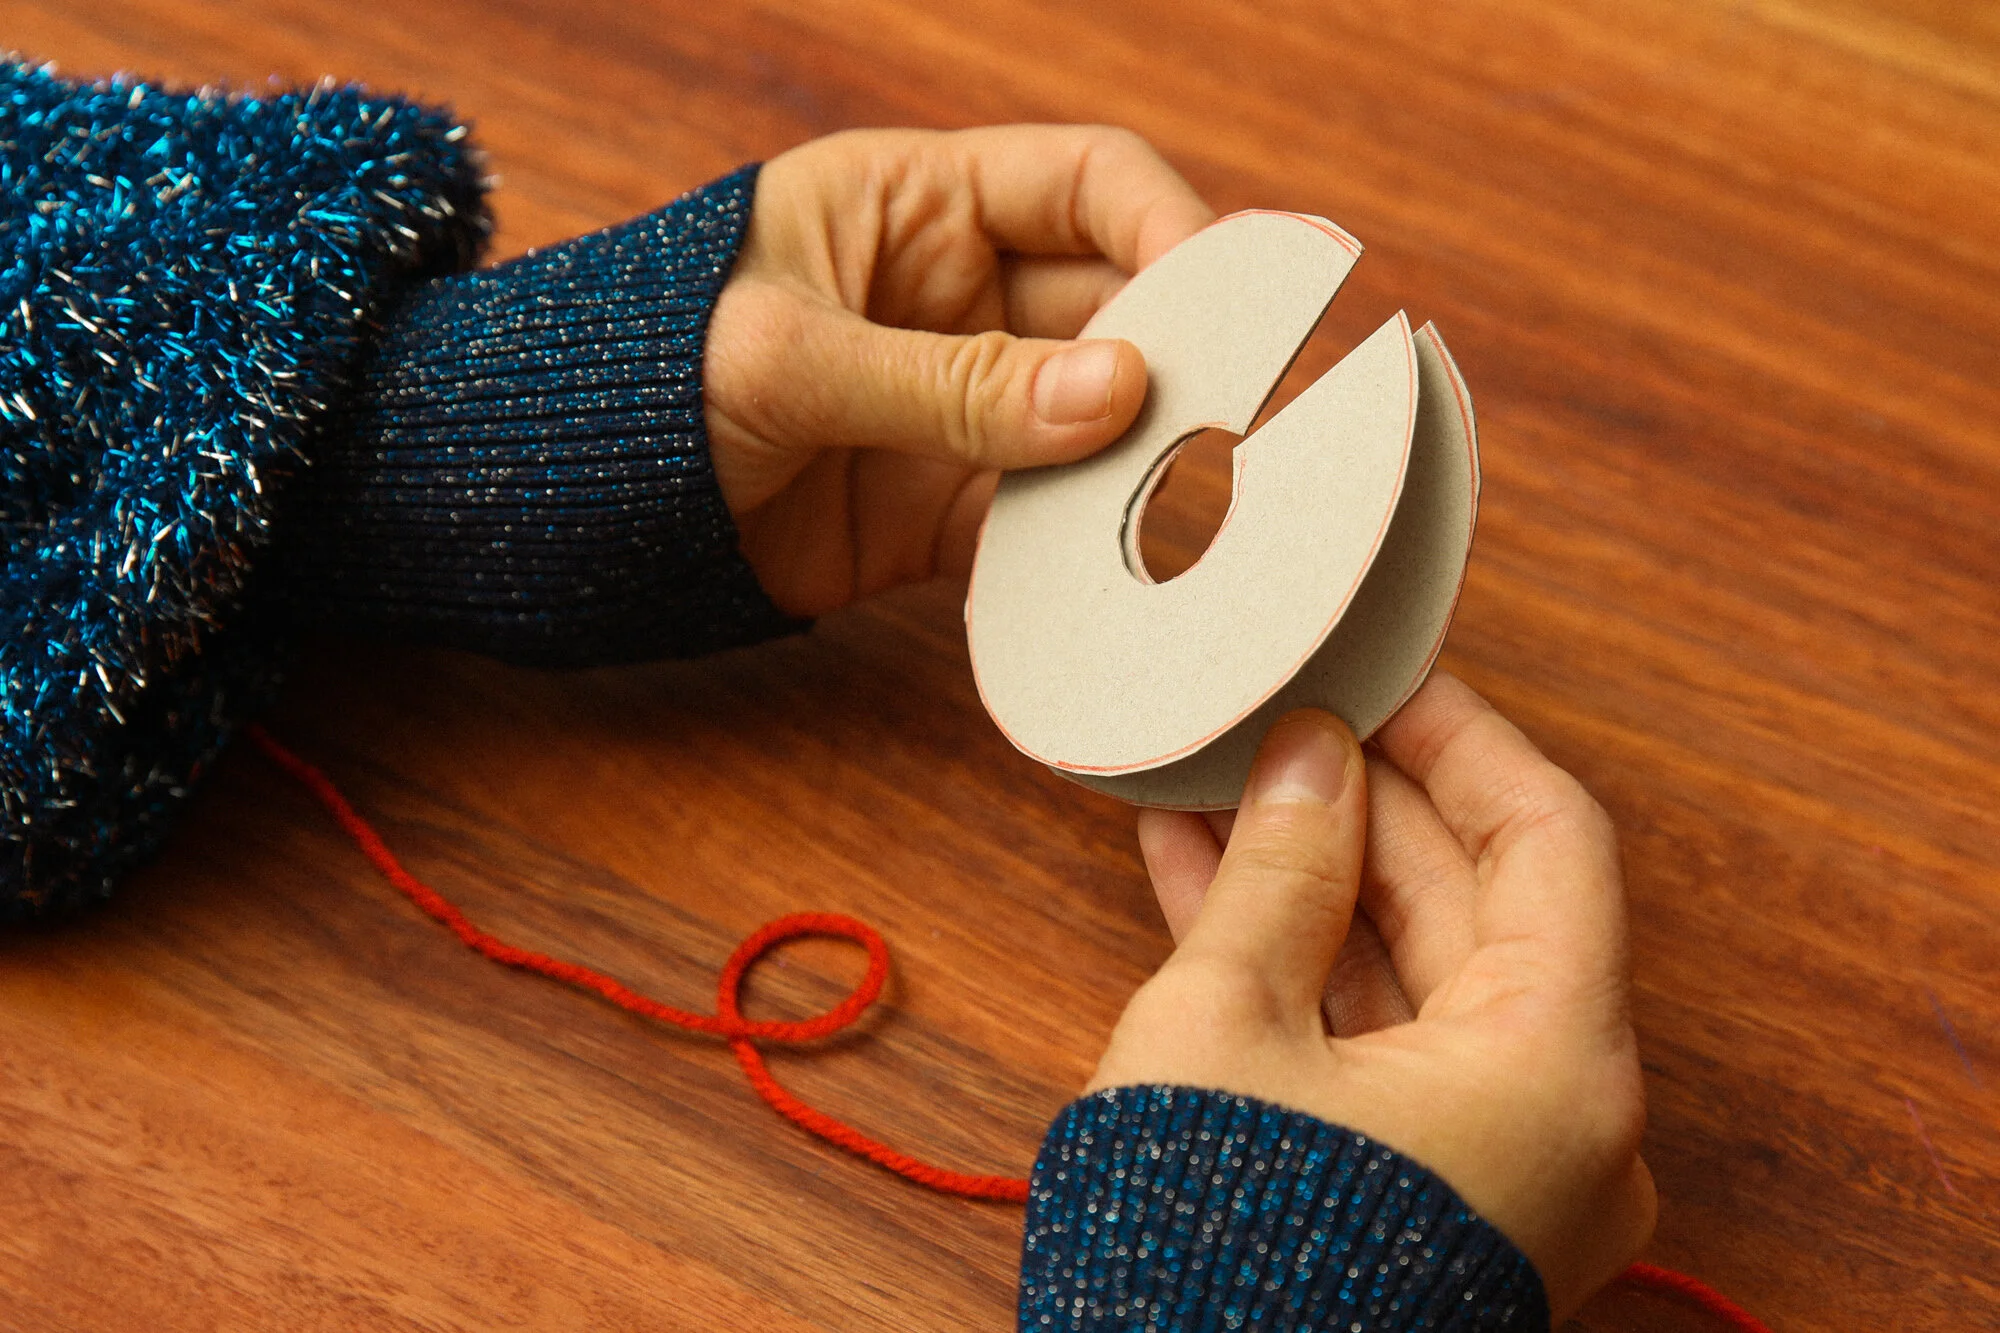
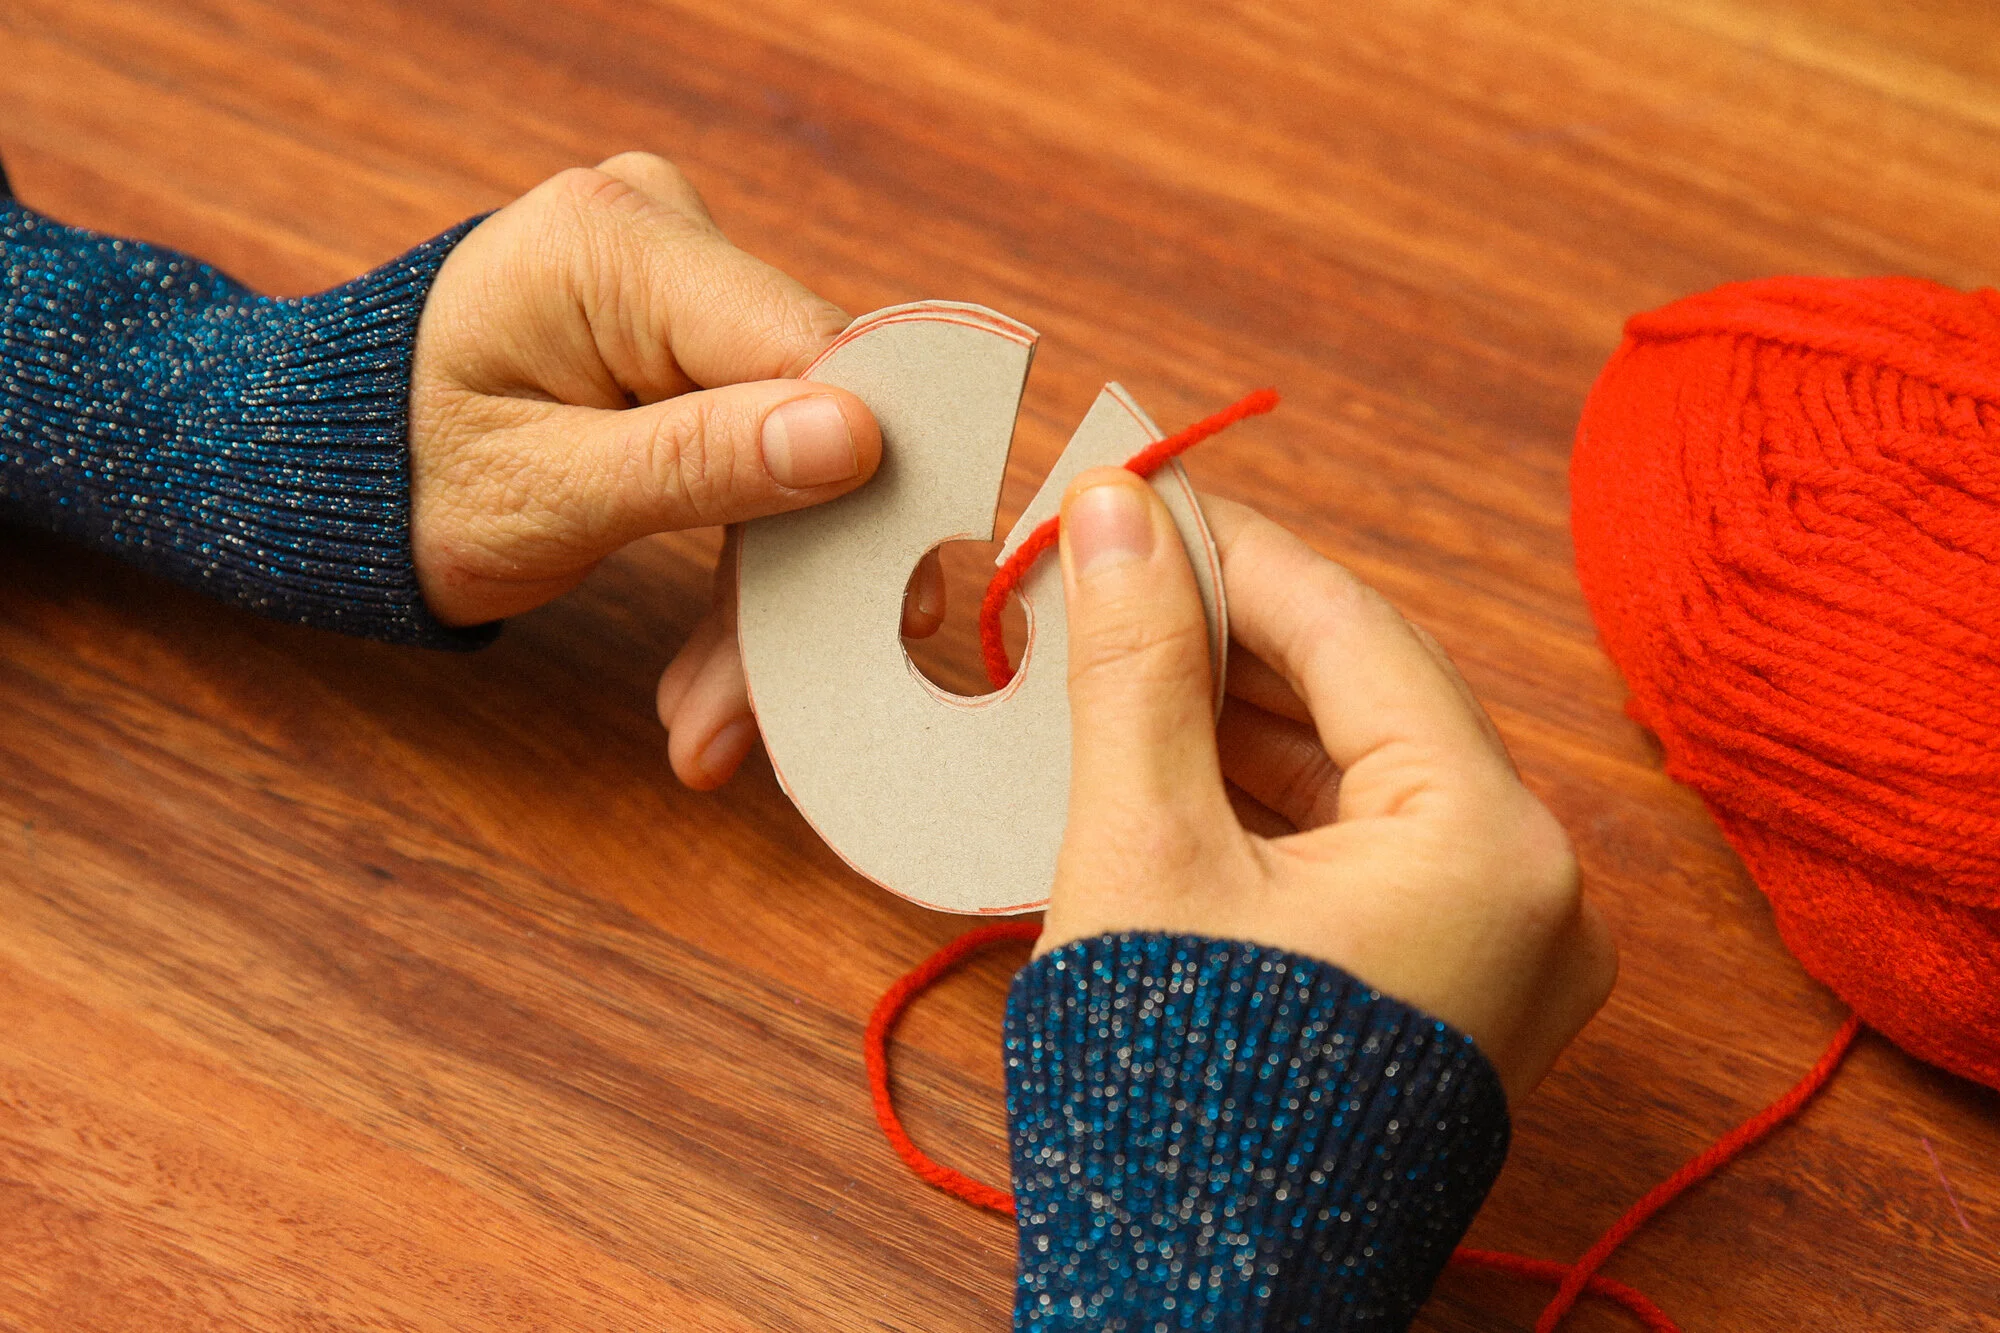
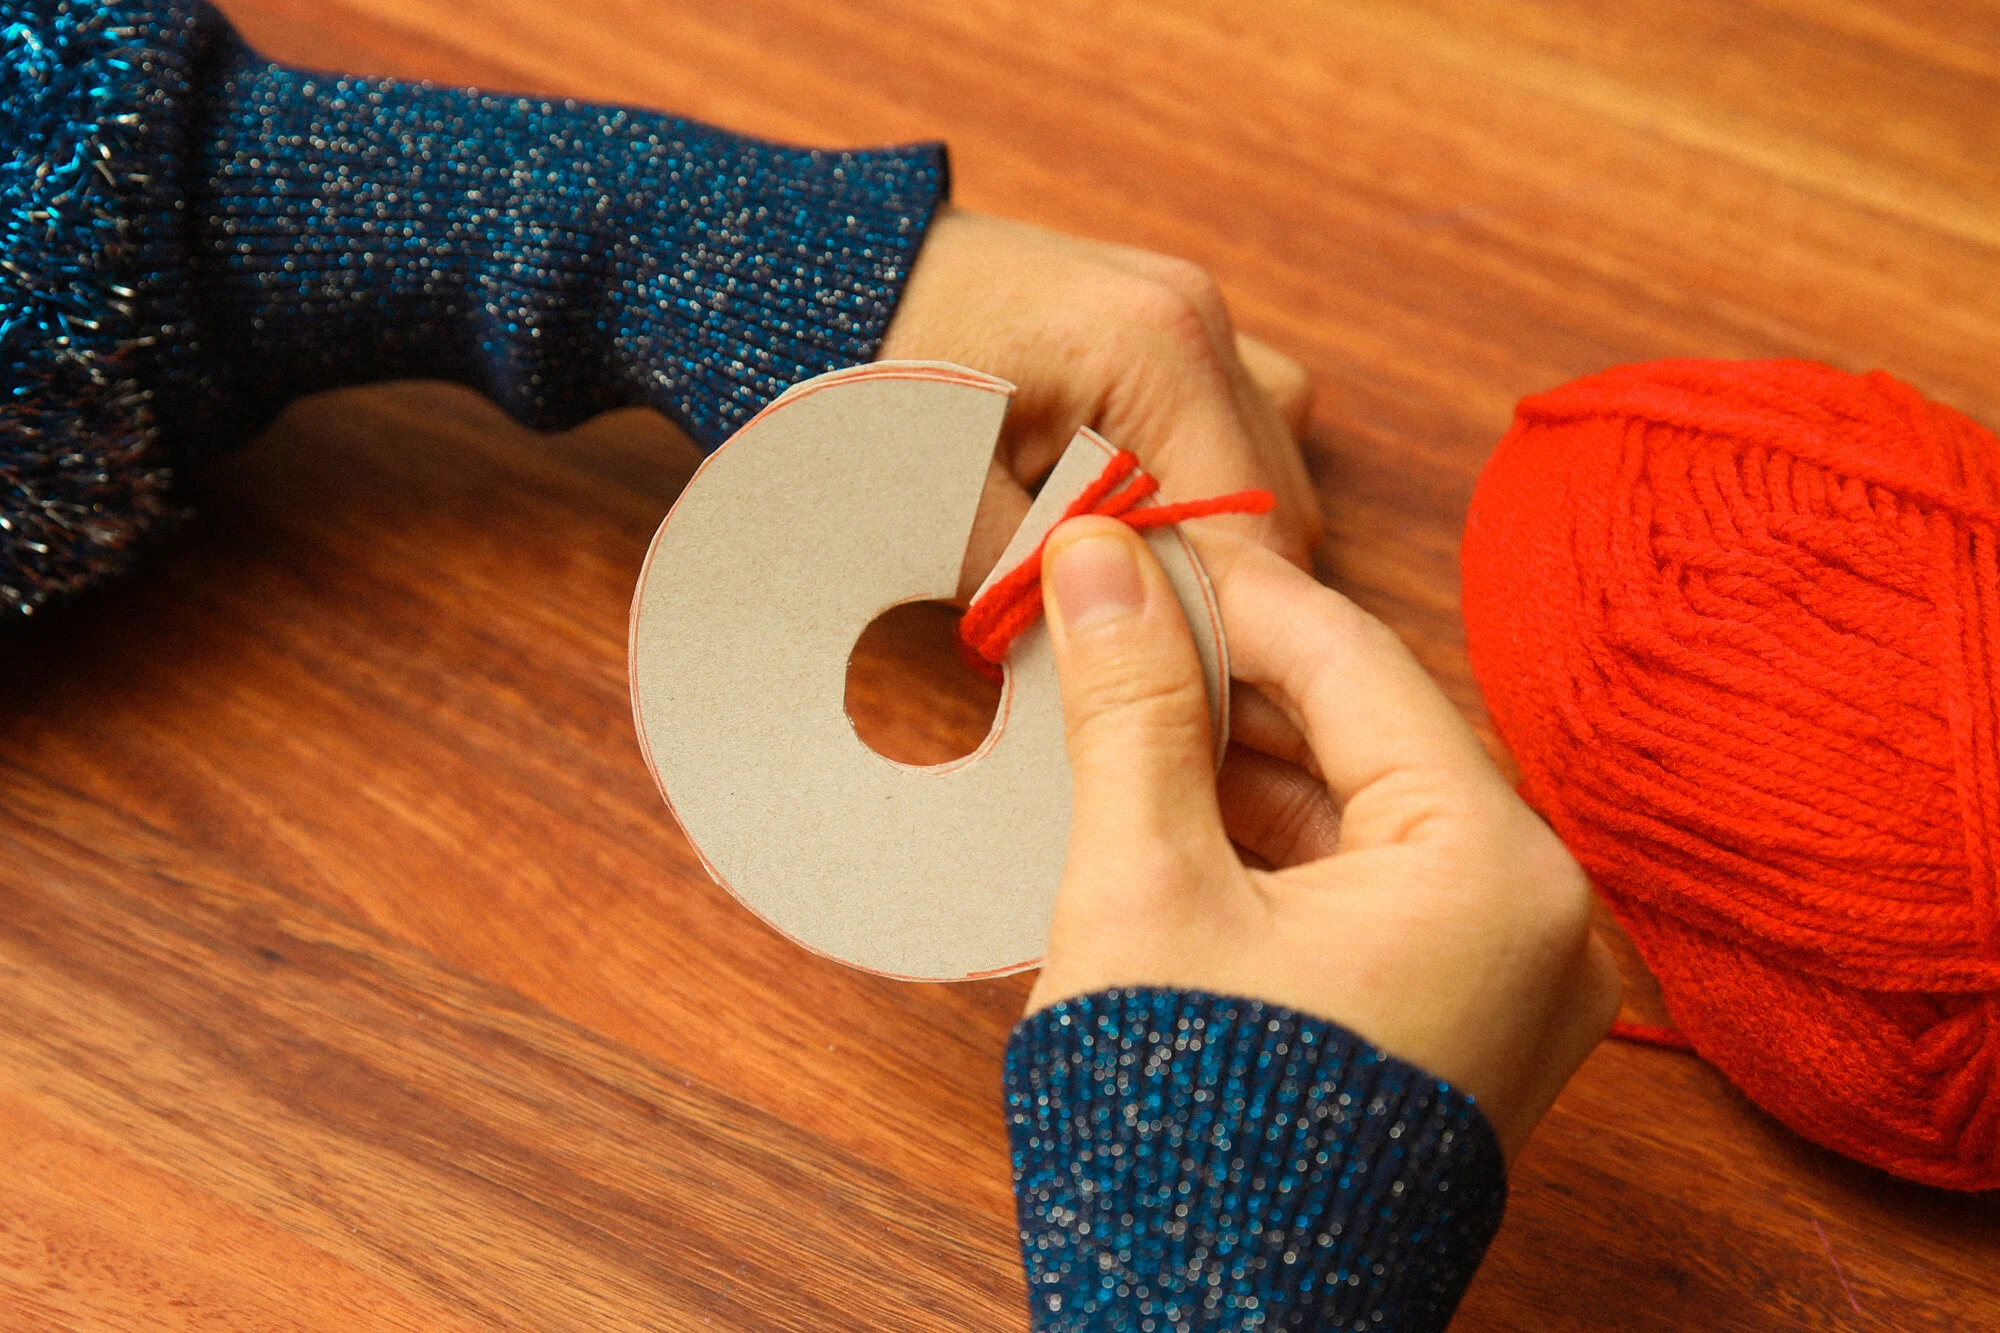
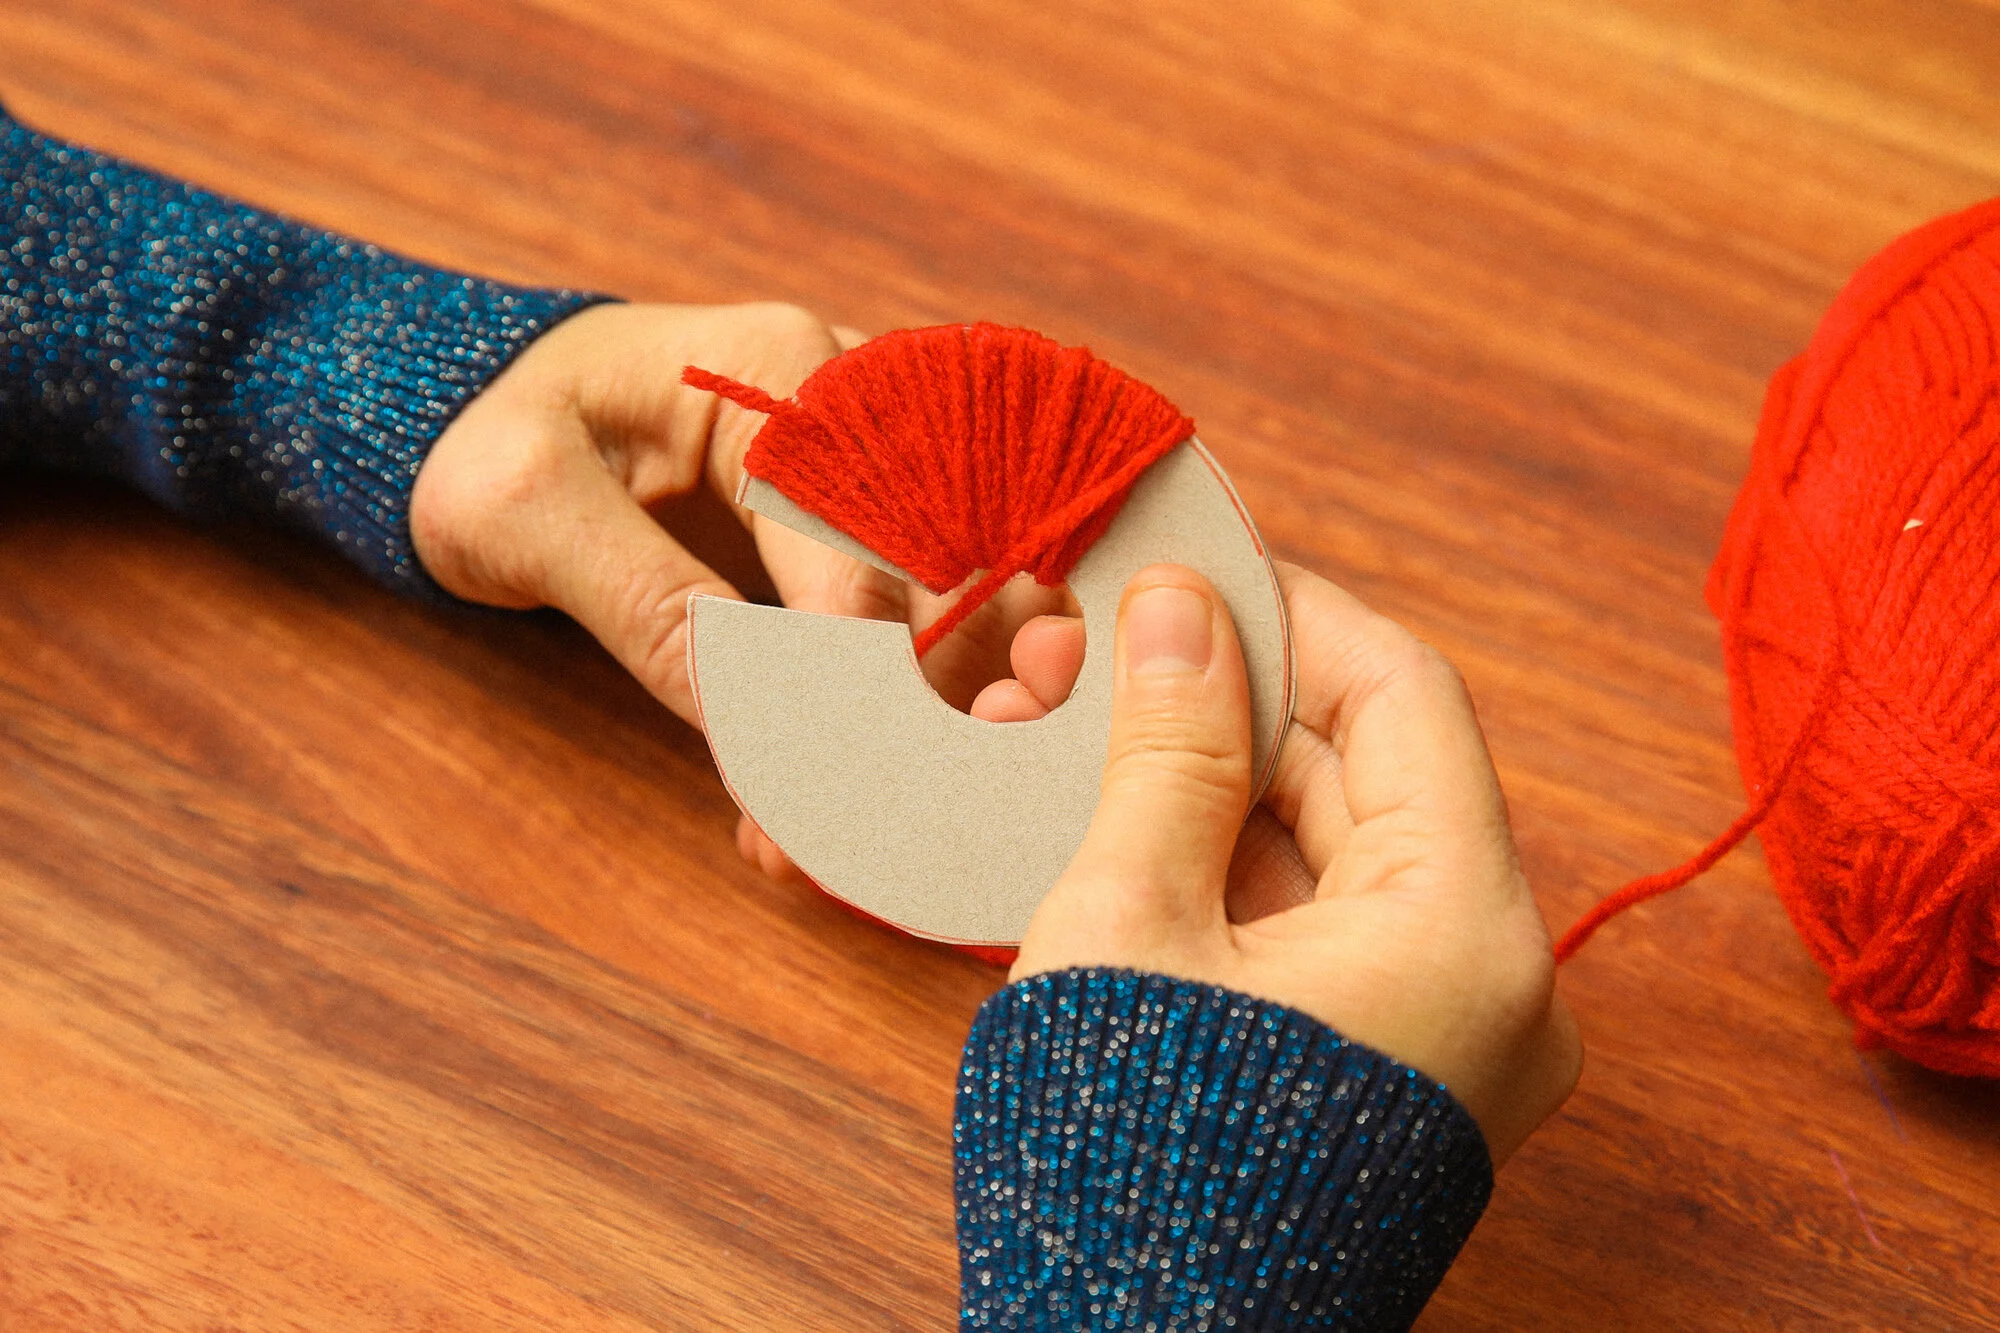
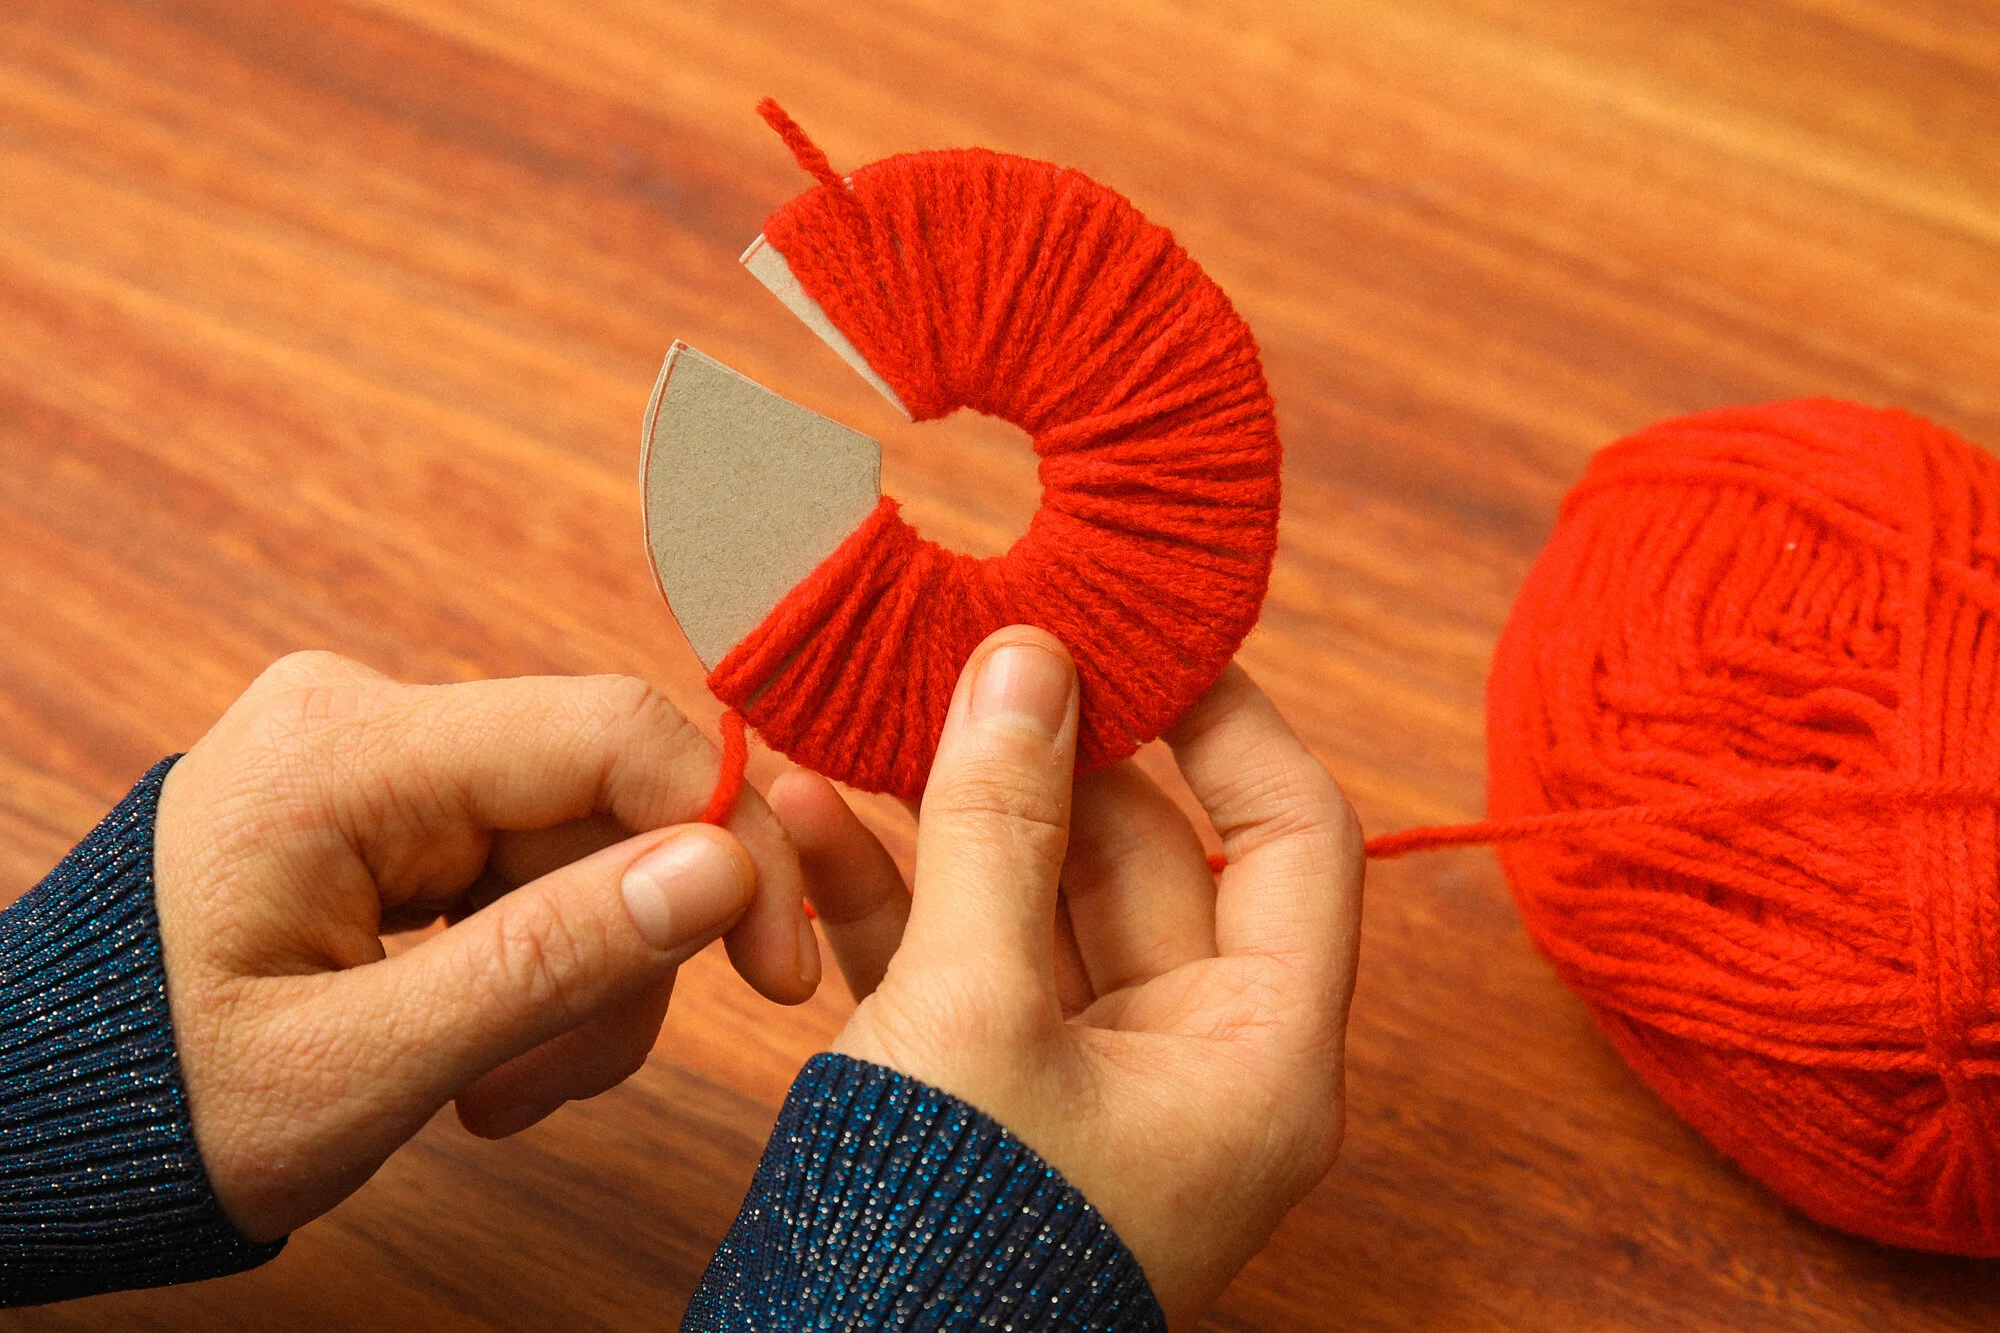
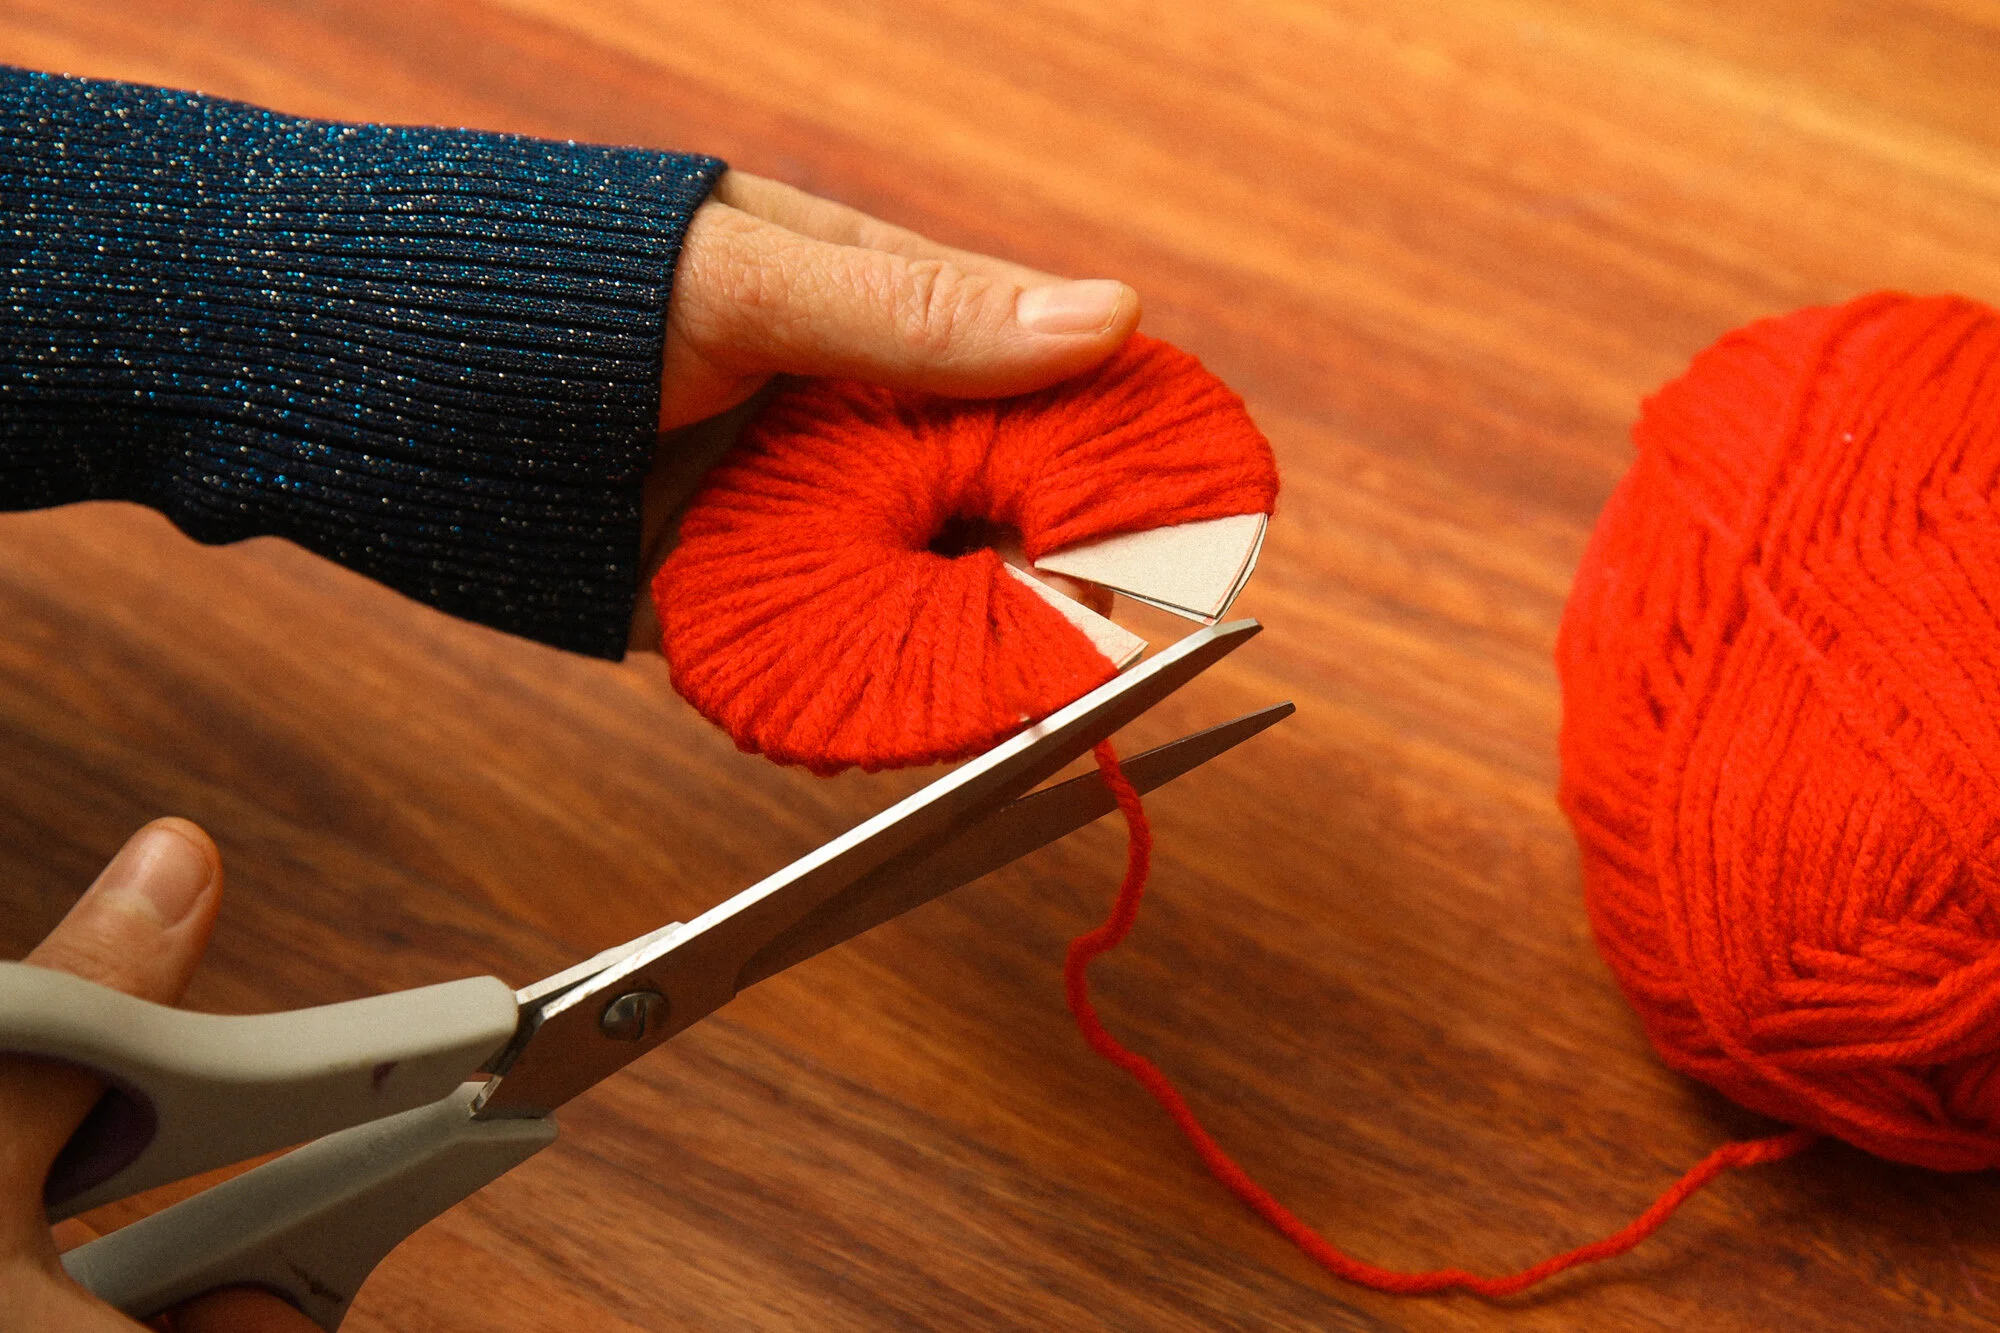
STEP THREE: Stack discs so that the keyholes line up and begin looping yarn around it from one side around to the other. To make it easy, unravel a bit of yarn at a time so that you don’t need to move the entire ball. Make sure during this stage that the yarn is taught but not too tight (looping it too tight will make it difficult to cut off discs later).
STEP FOUR: When you’ve finished looping, use your scissors to snip off excess.
Note: Pom poms look fluffiest when they are full! For this tutorial I looped two layers of yarn around discs, but you could try three and the most daring could try four!)
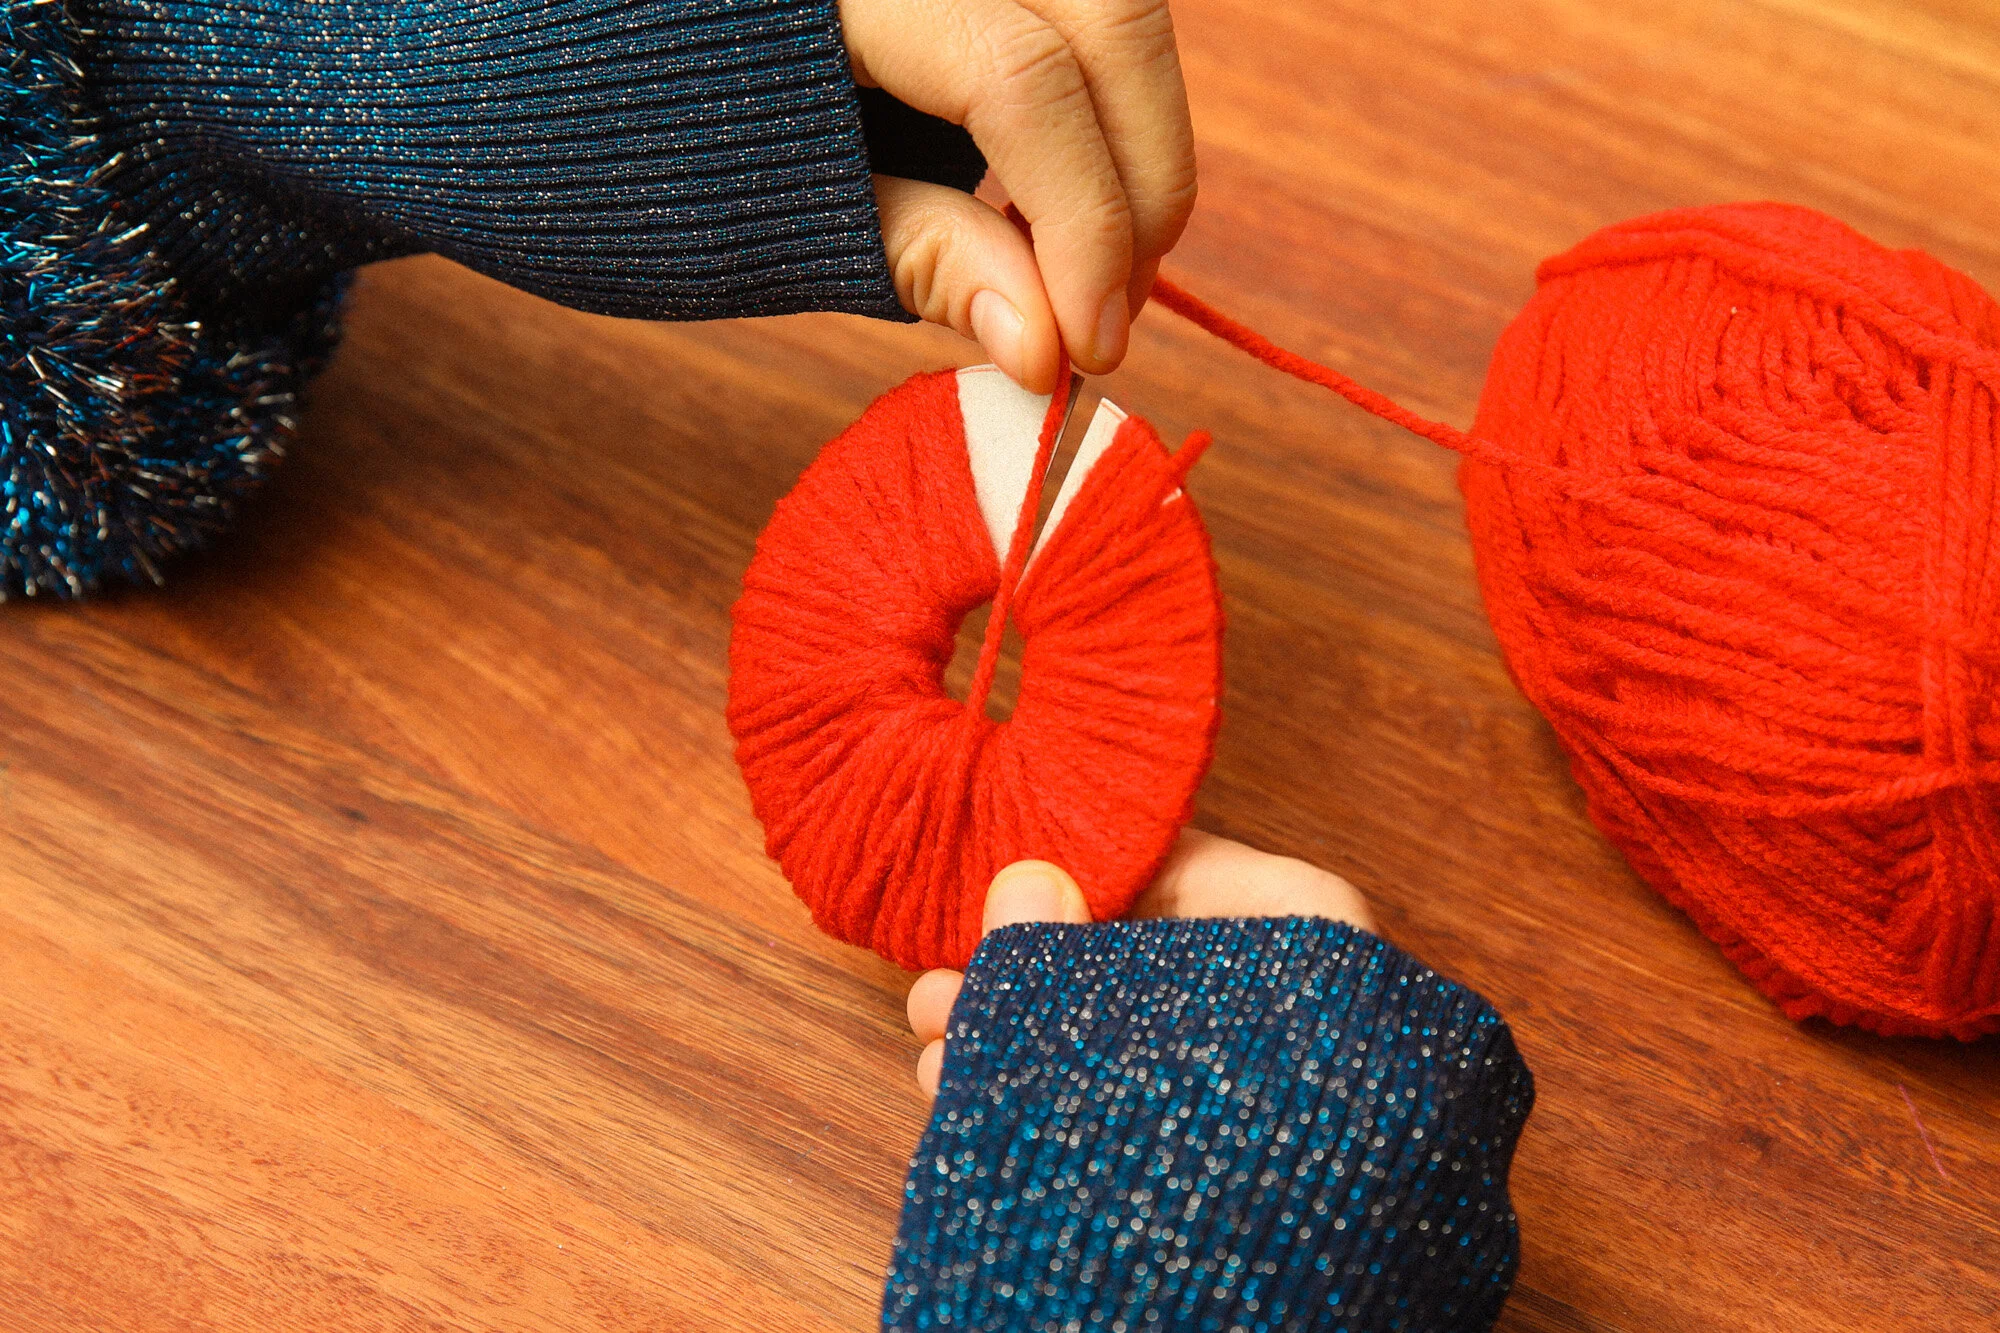
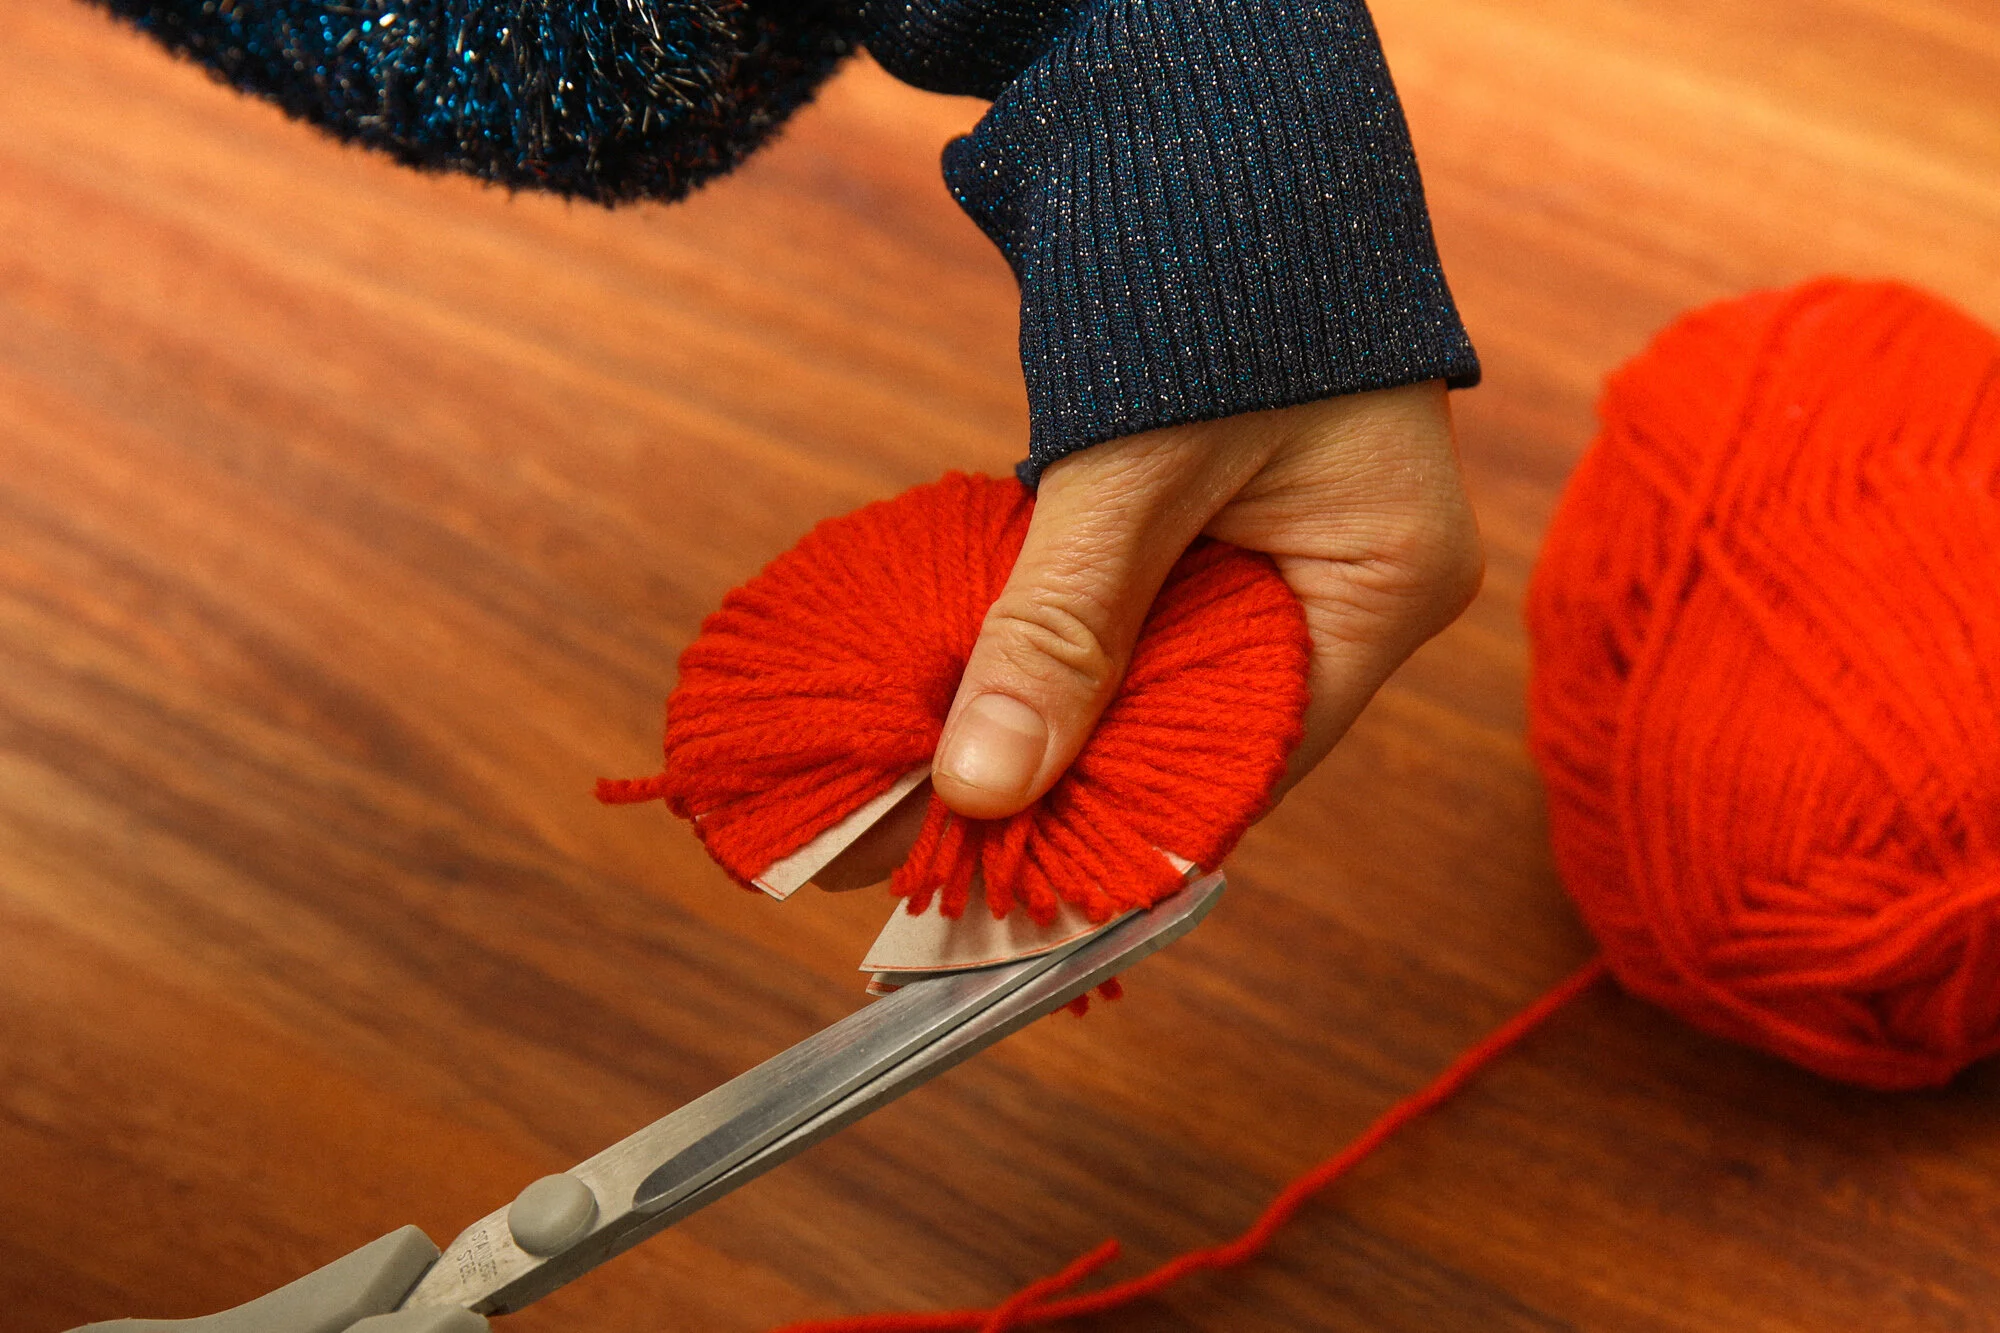
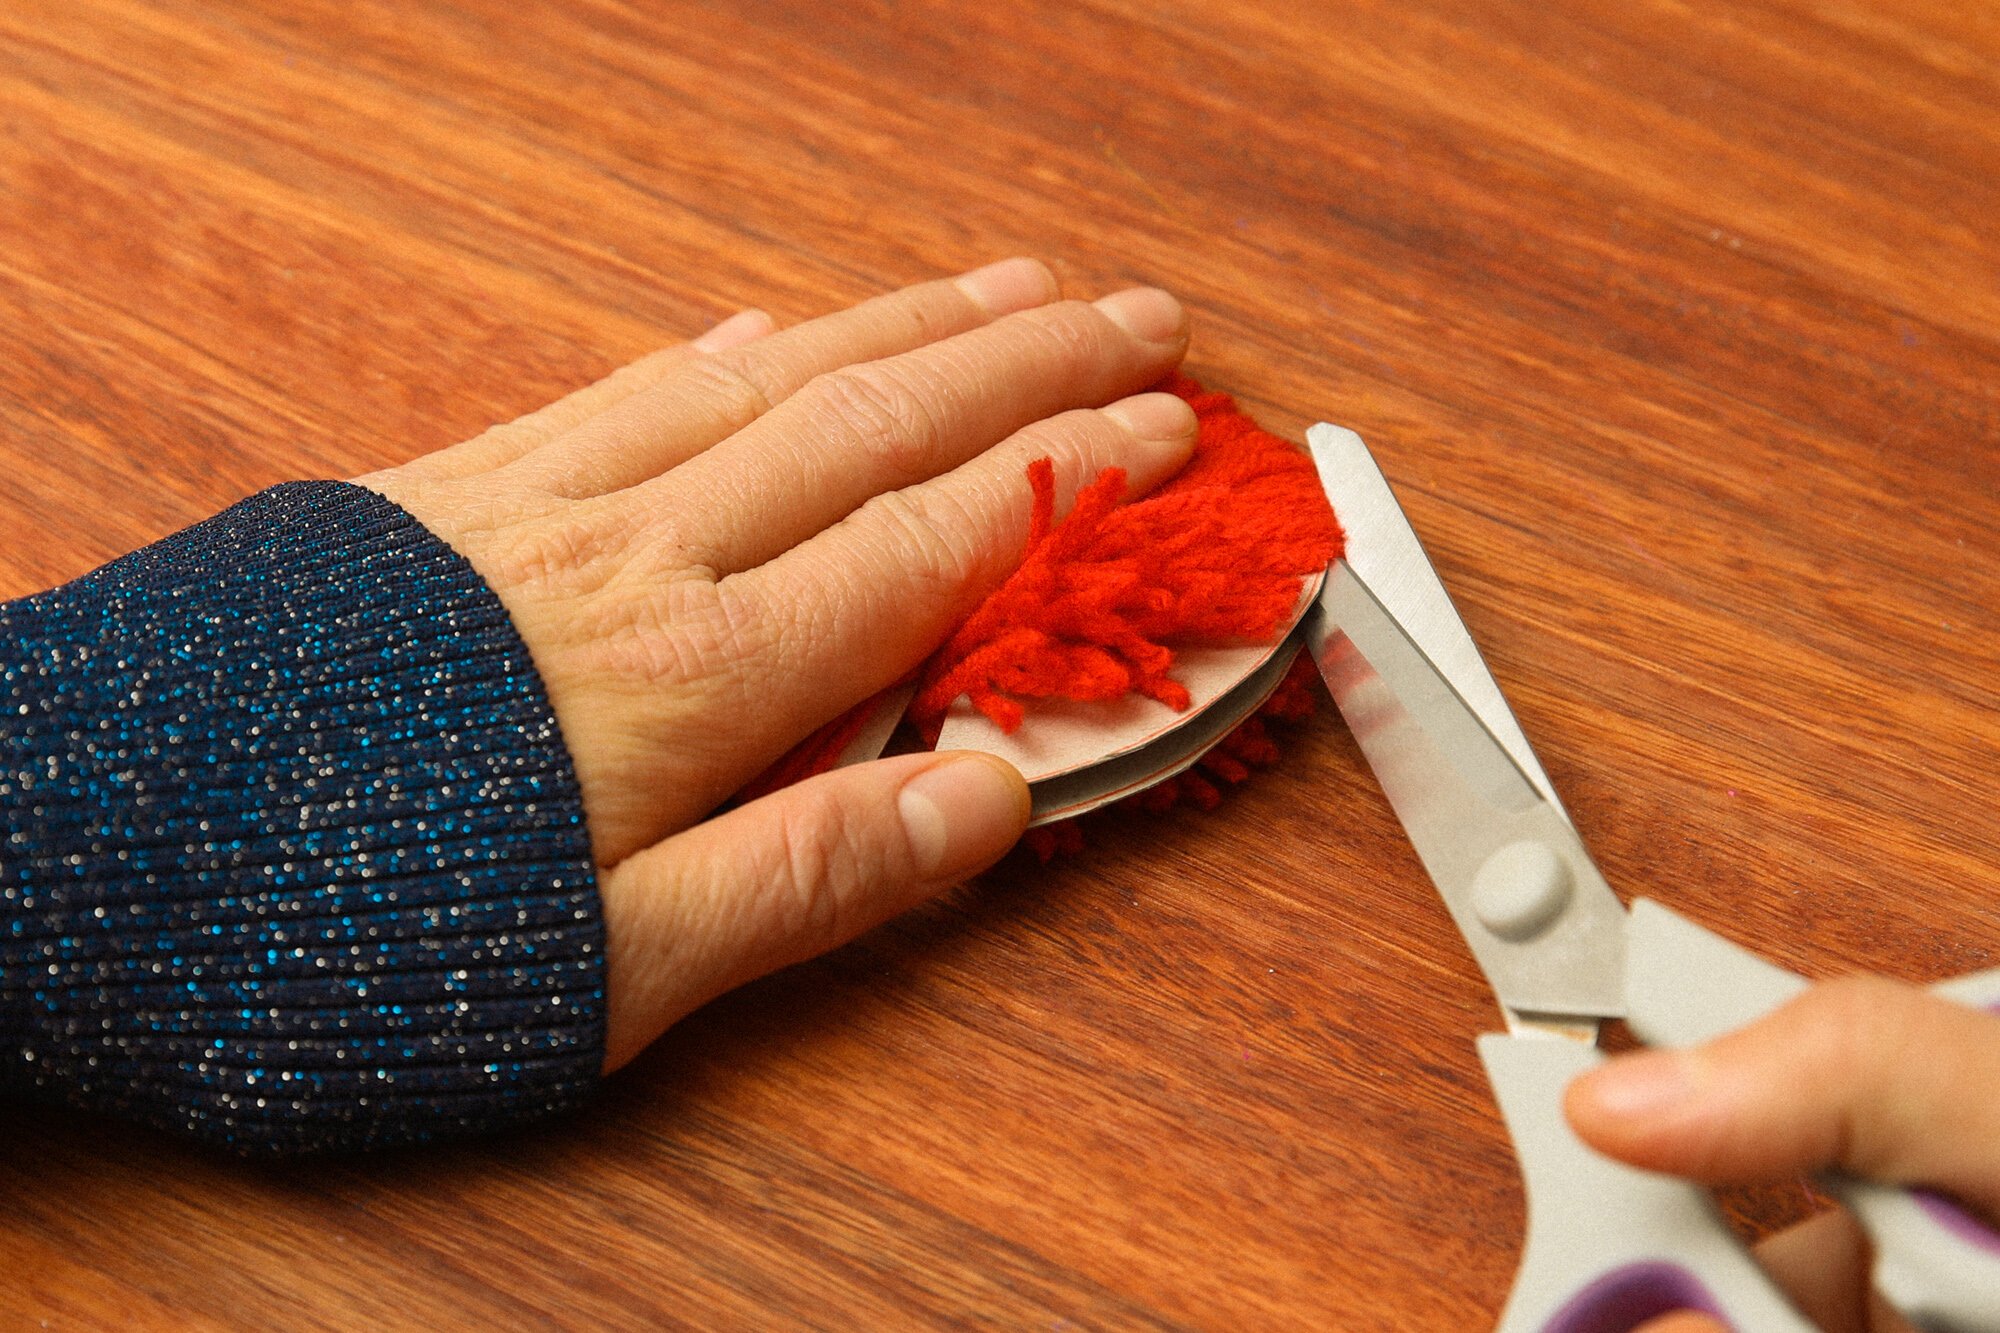
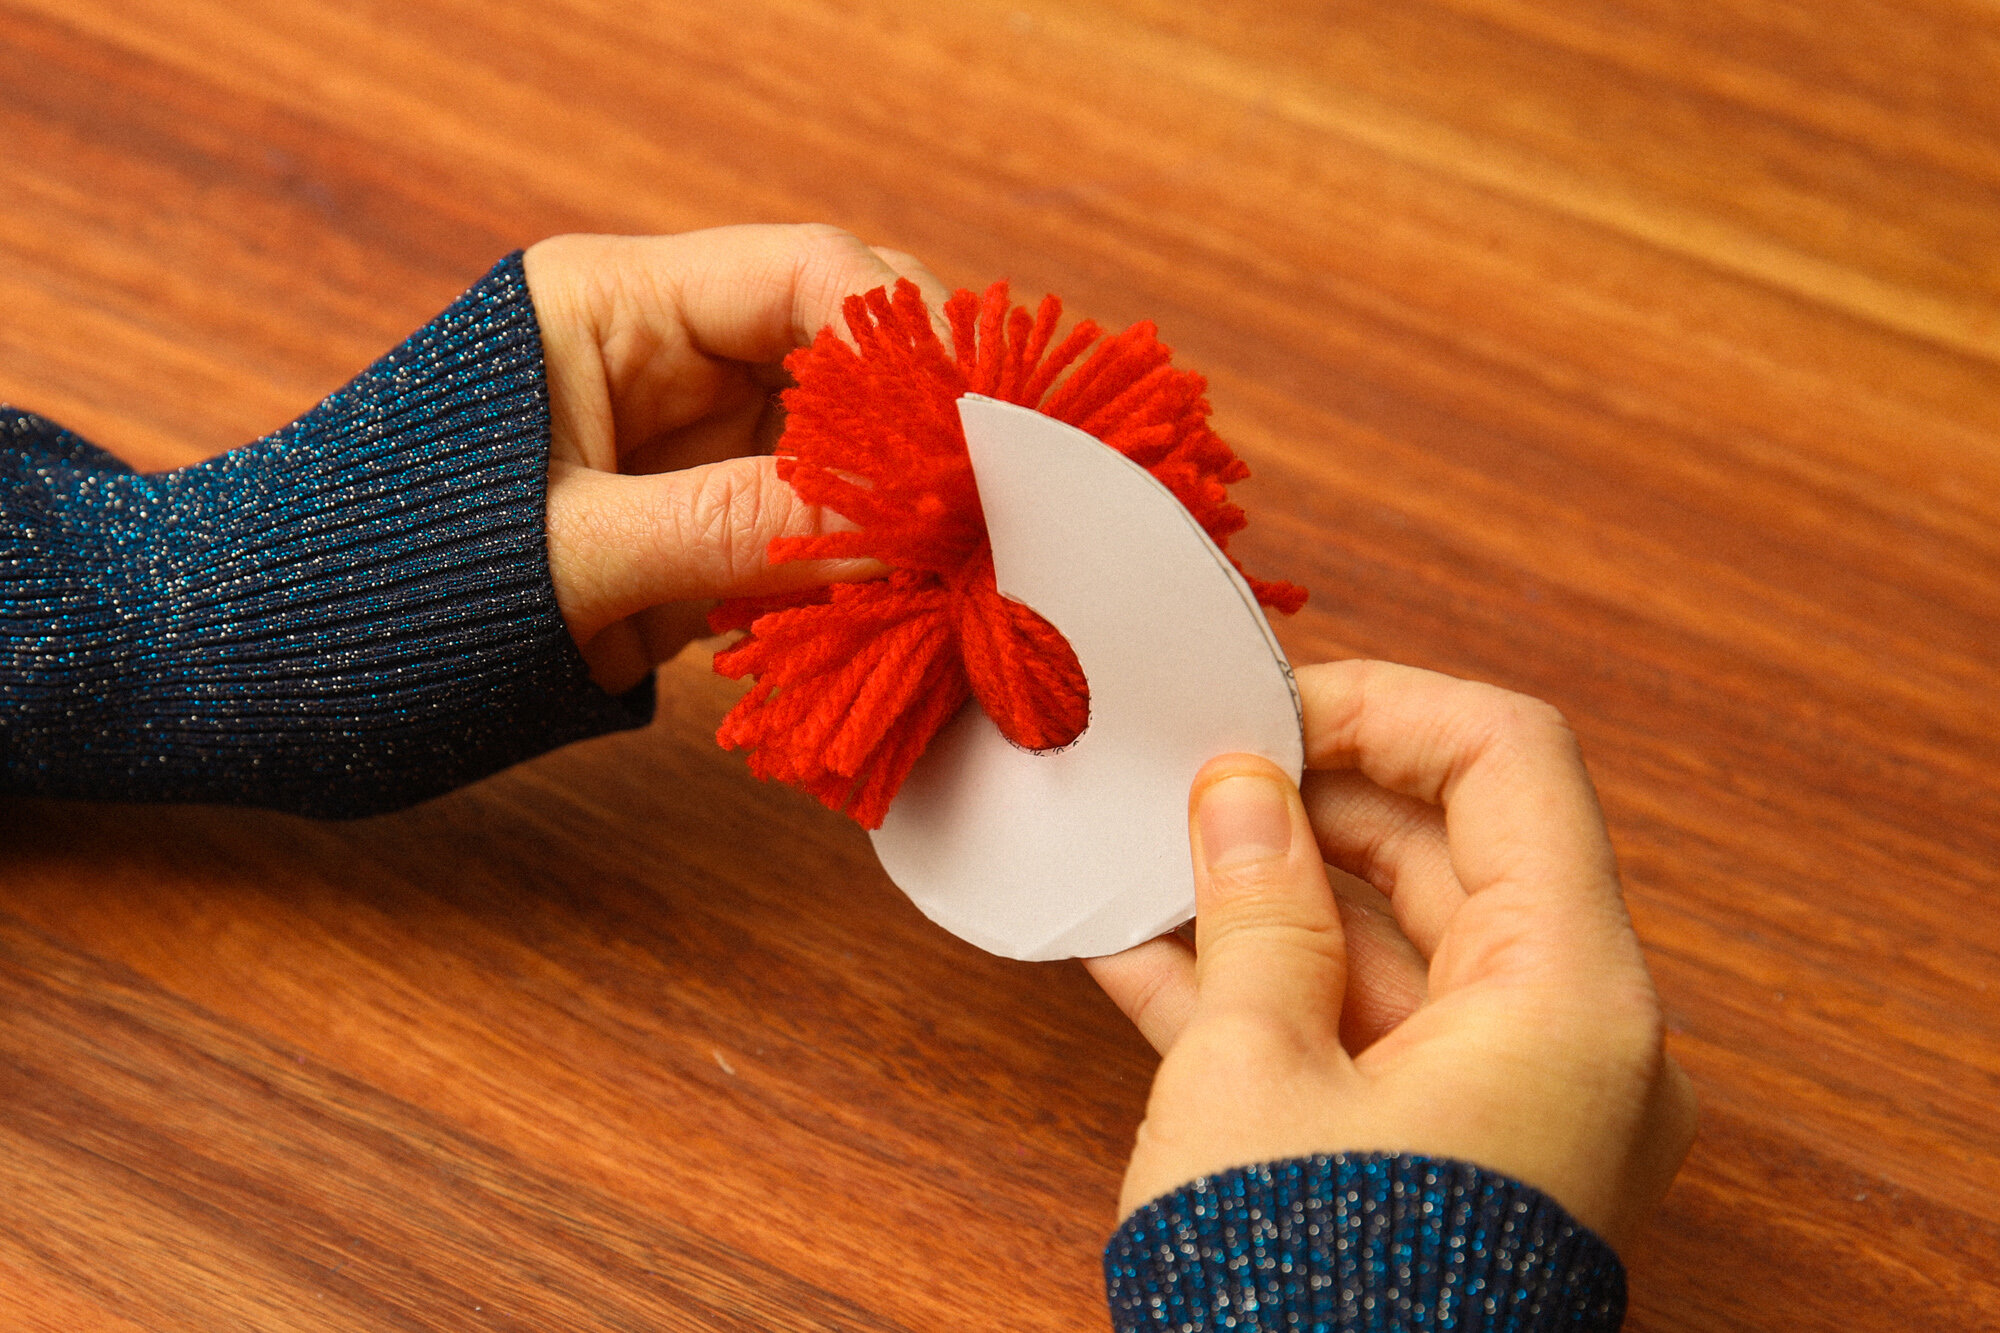
STEP FIVE: This bit can be tricky! Take your scissors and wedge the bottom blade in between the two card discs. Begin cutting around the edge to release yarn from the discs being careful to keep it in place.
Note: Laying the discs flat on a tabletop and holding the yarn in place with a flat hand is one way to keep yarn in place - just be careful of your fingers!
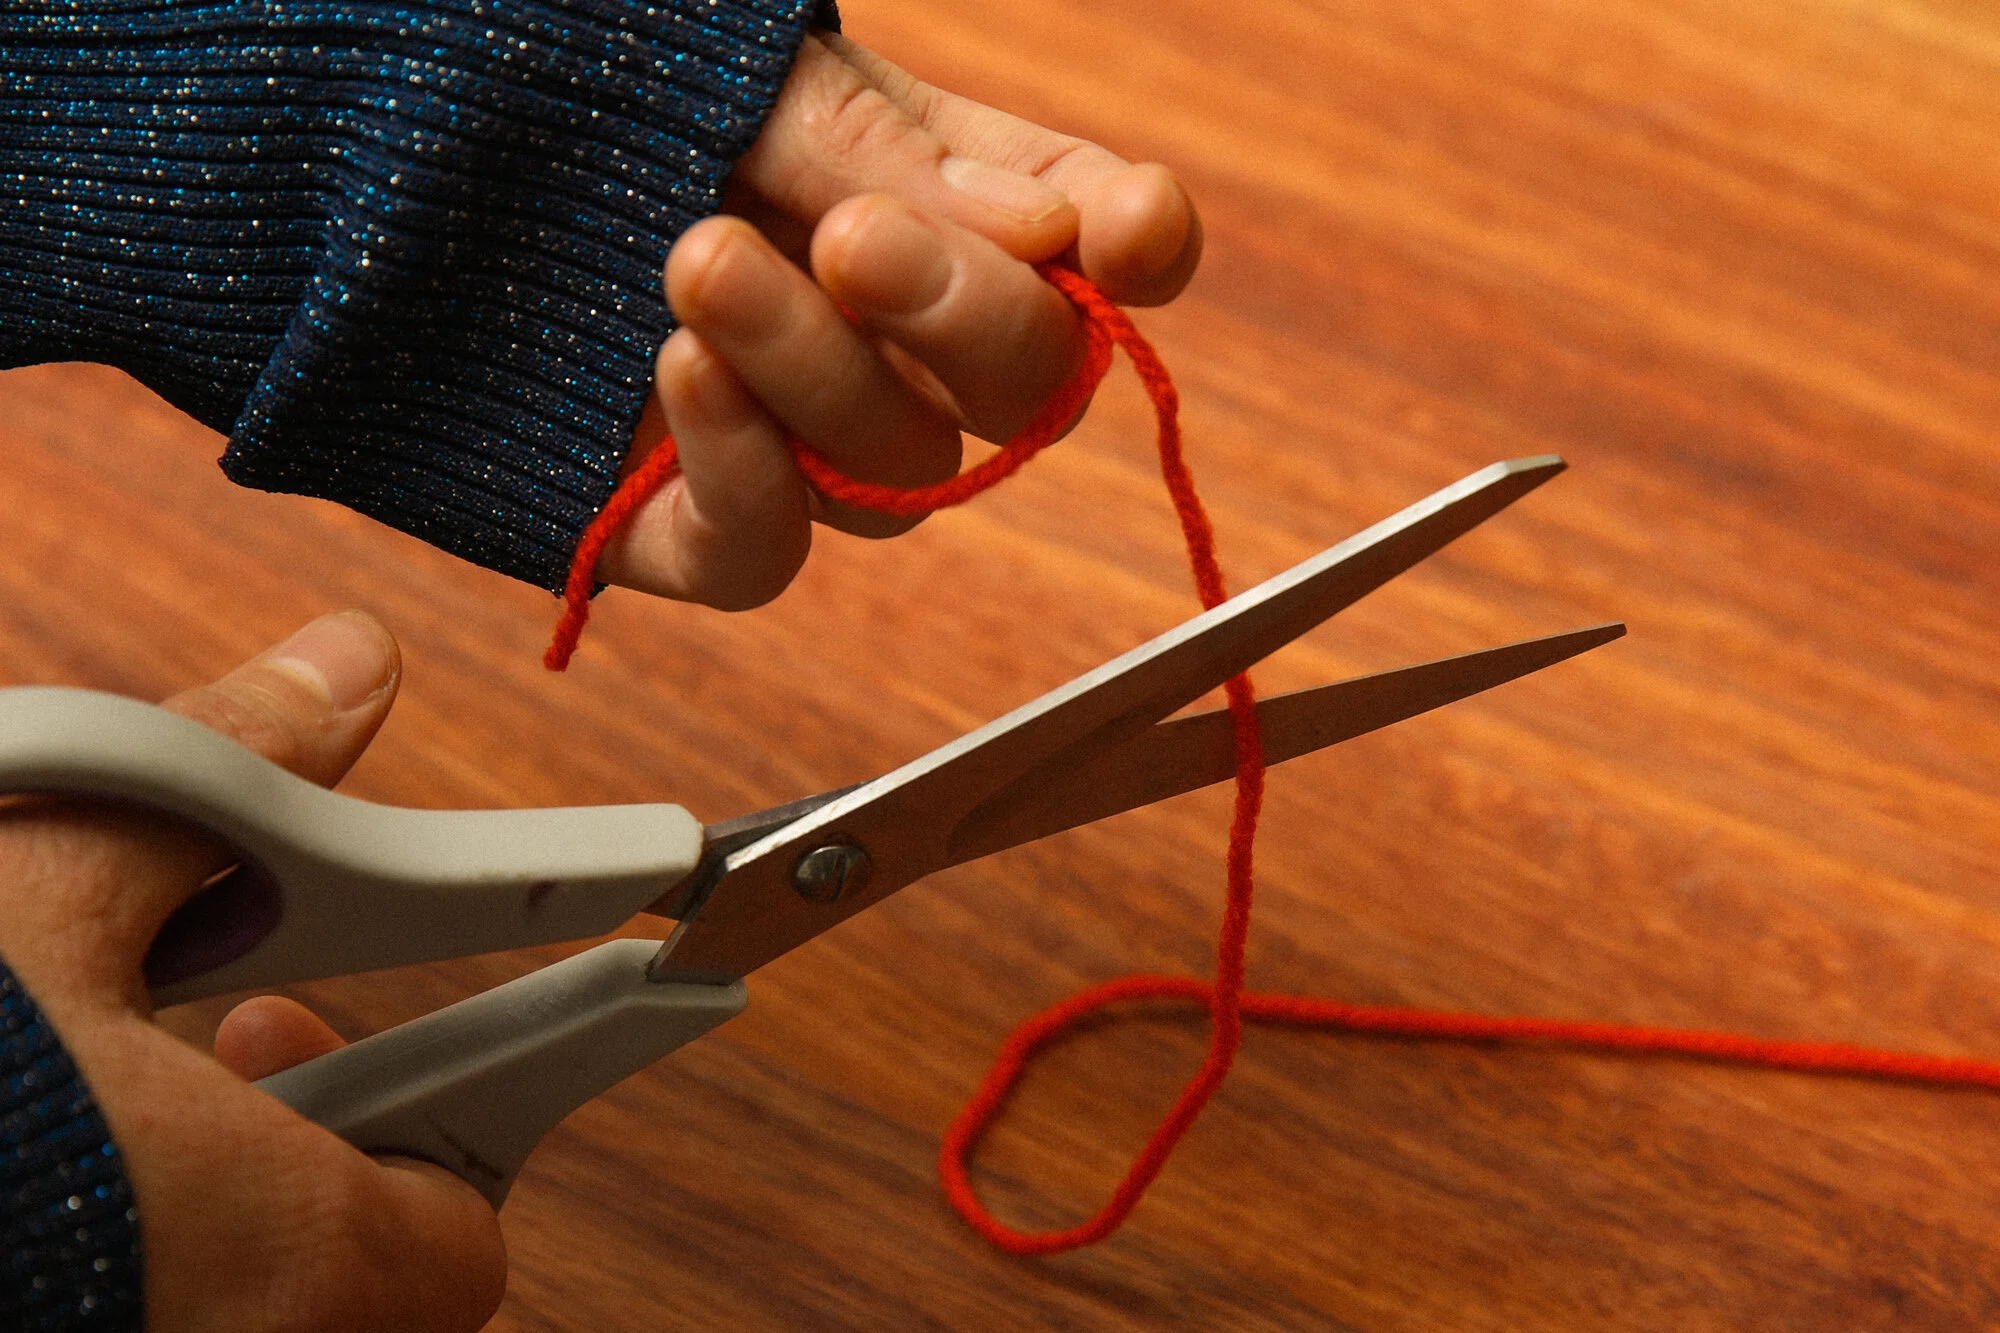
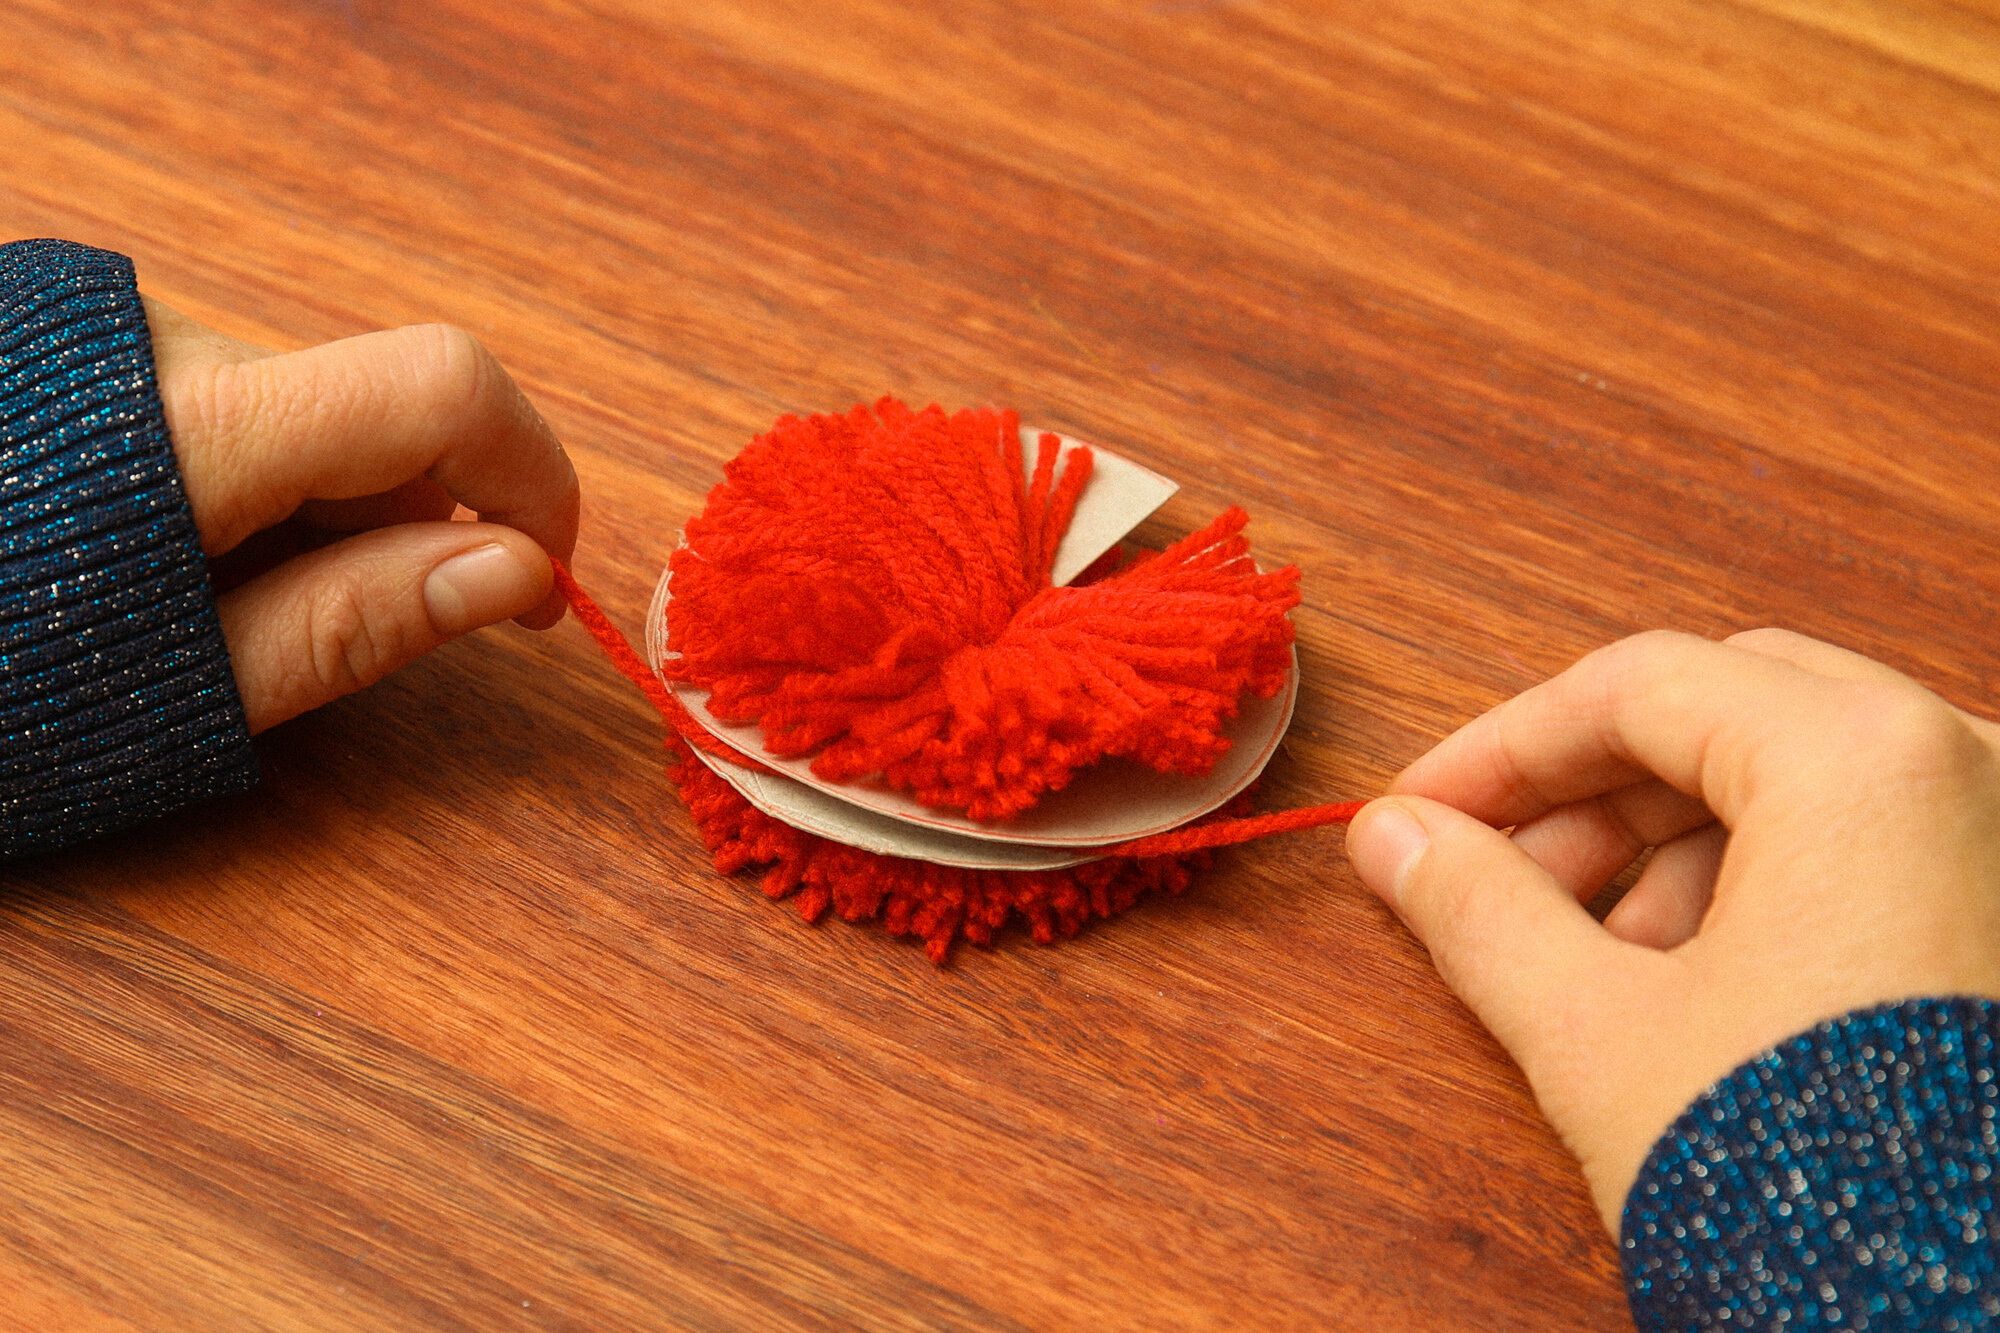
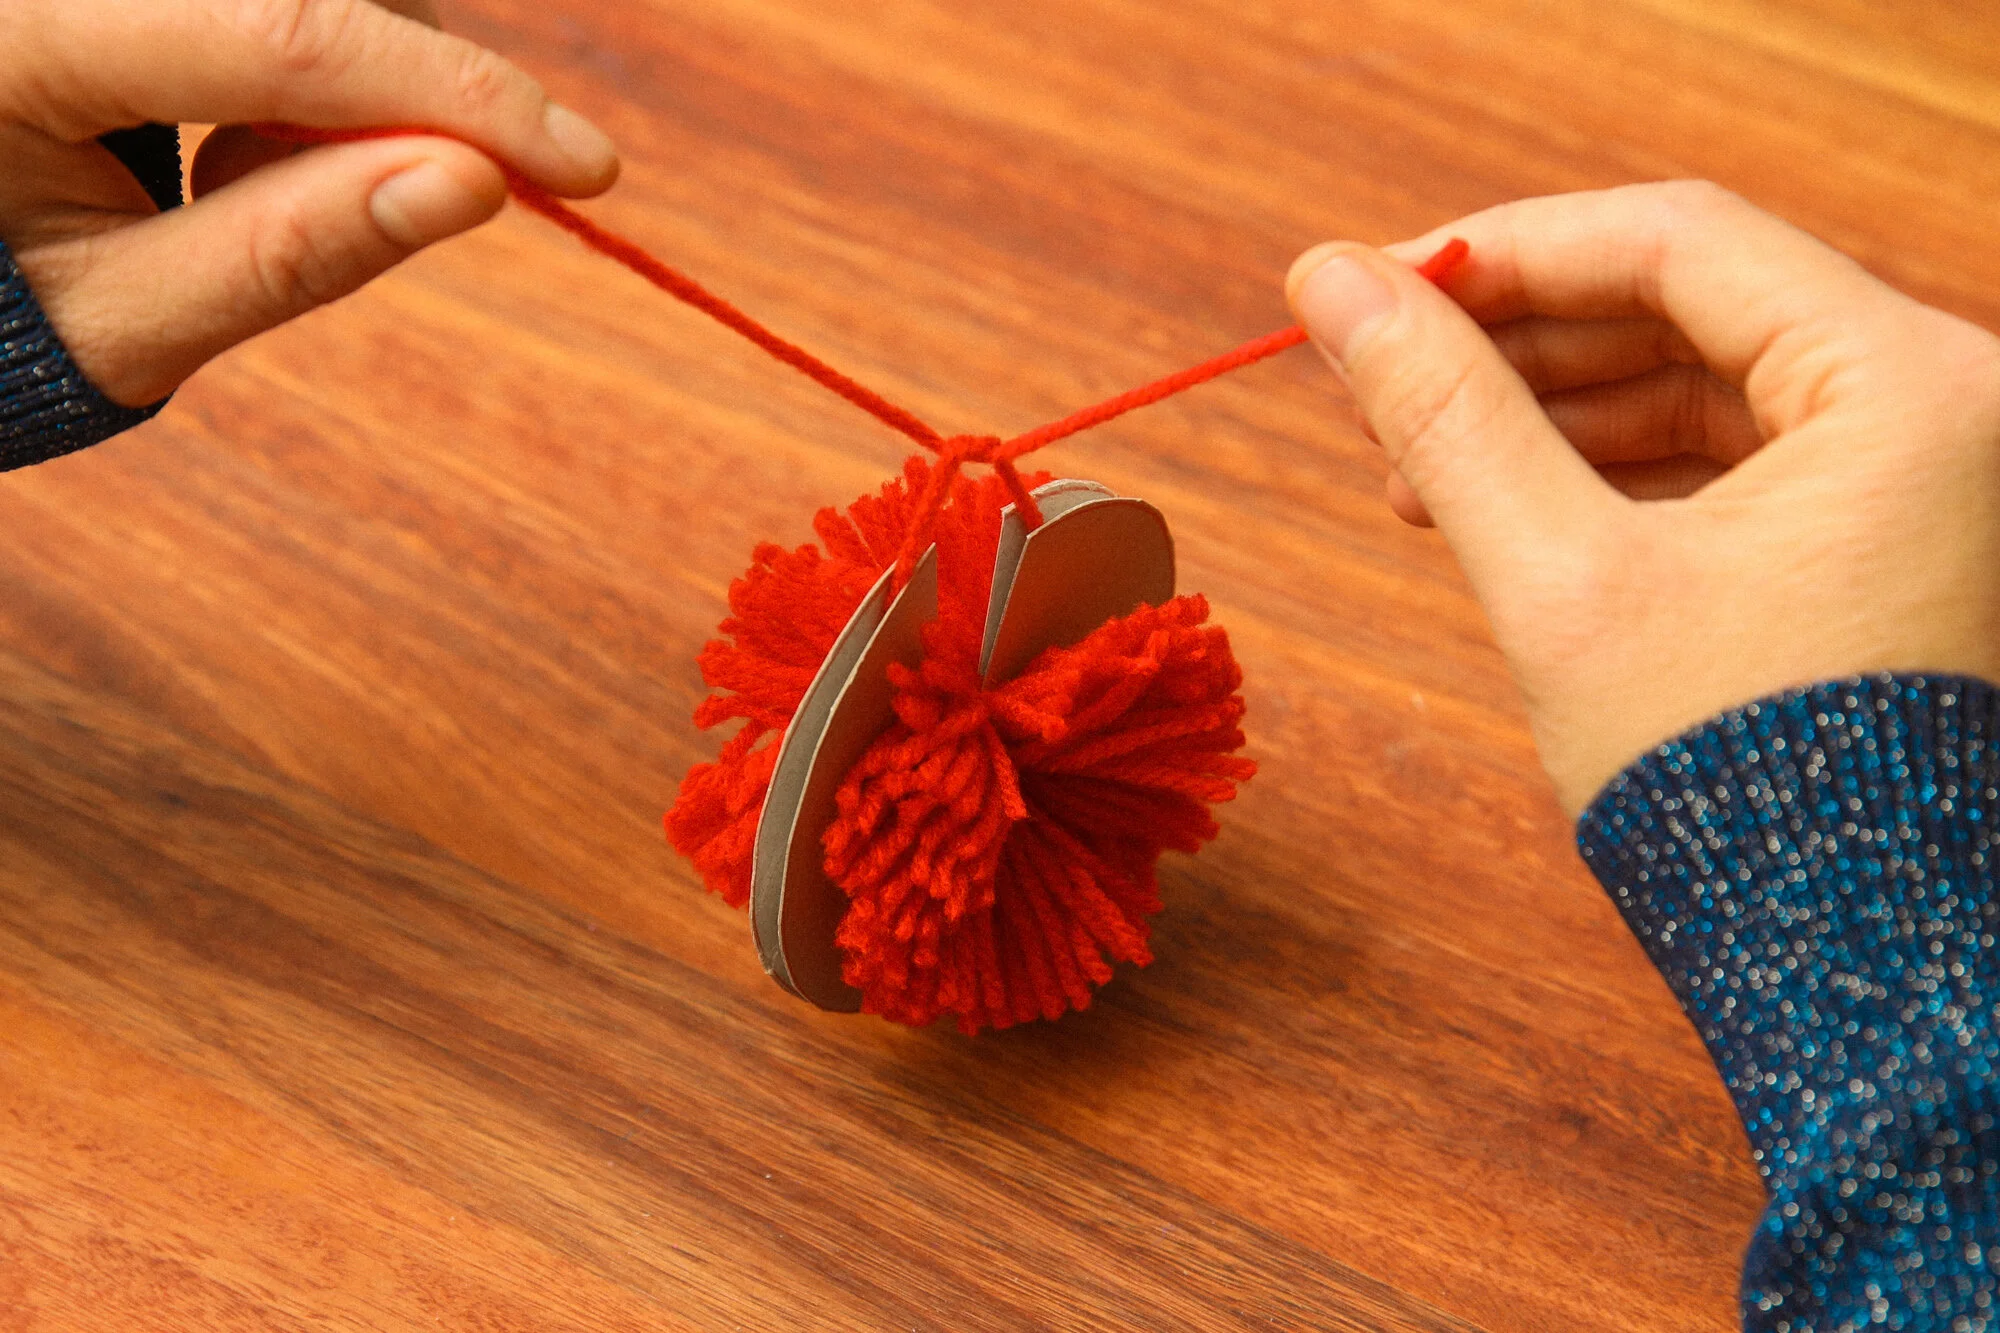
STEP SIX: Cut a piece of yarn (roughly 15cm long) and careful slip it between the two discs from the bottom and bring them to the top. Secure with a knot and trim of excess yarn.
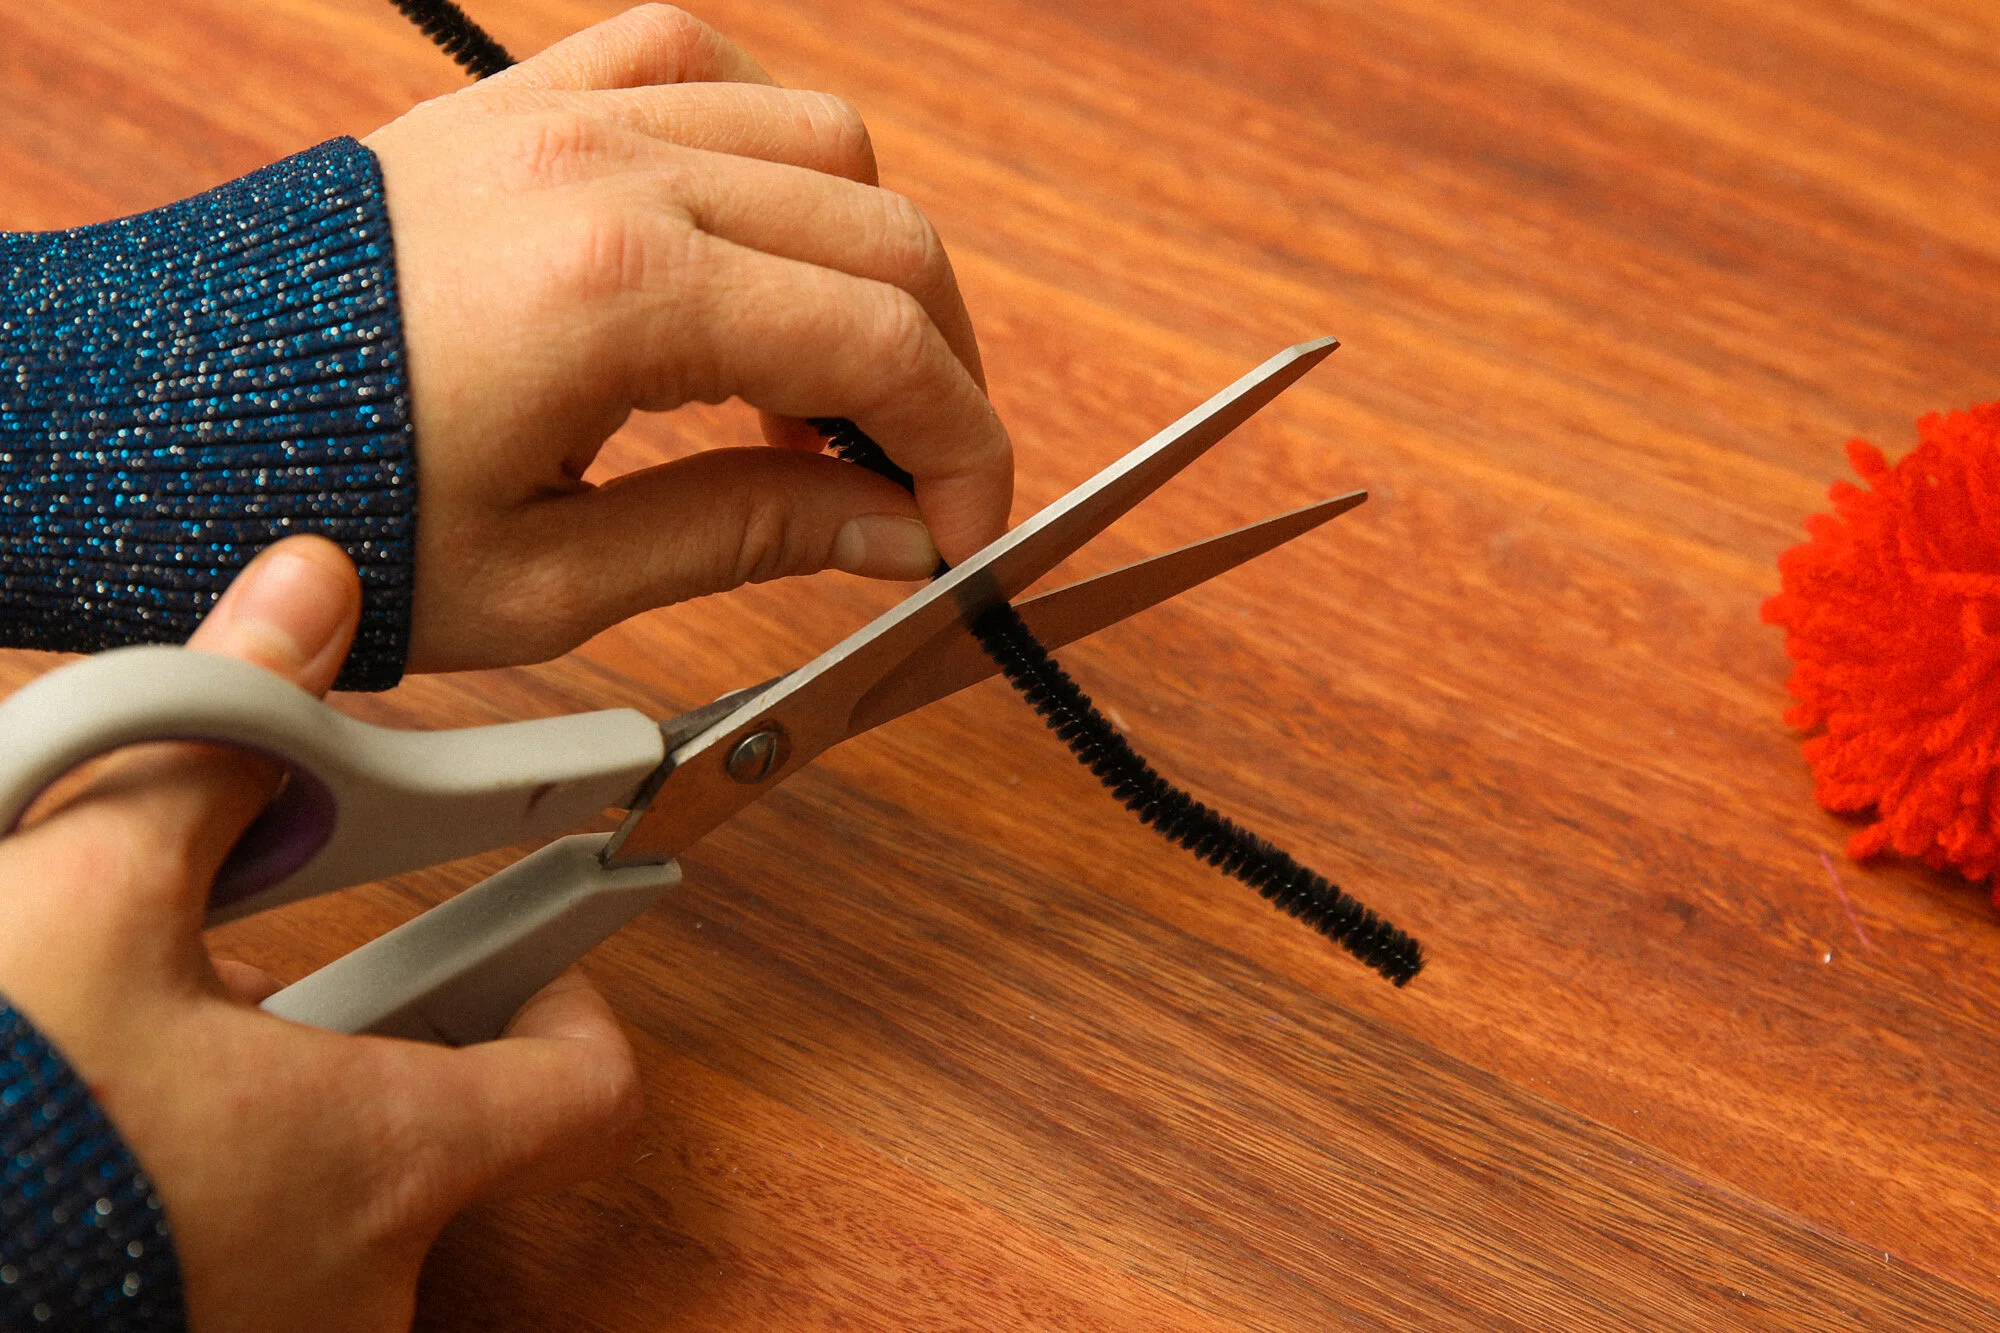
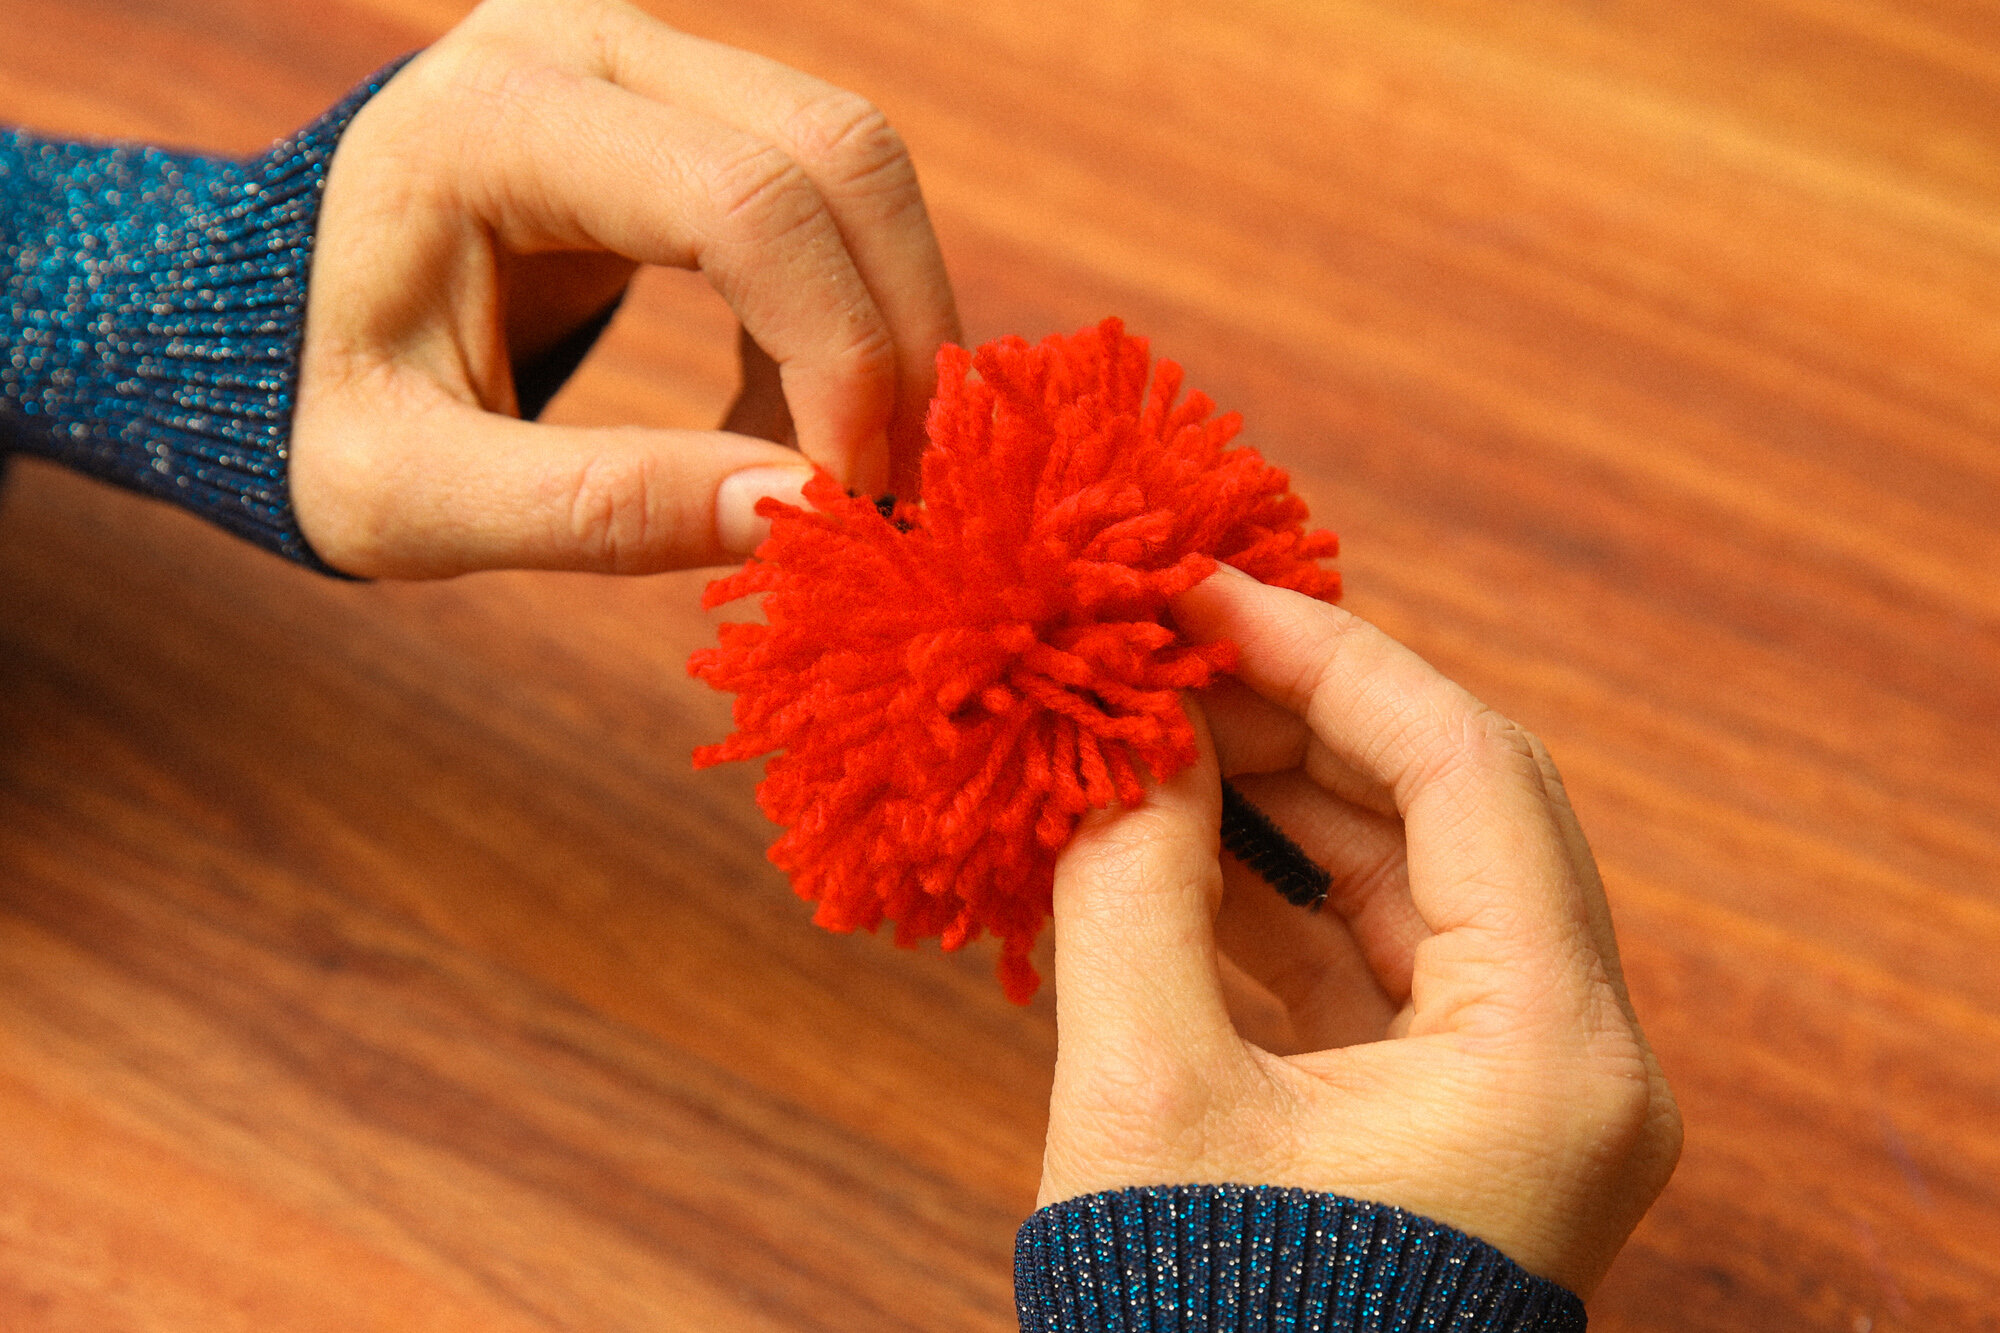
STEP SEVEN: Take your pipe-cleaner and cut a piece similar in length to the width of the pom-pom. Slot through the centre and bend end to create a small hook to hold stem in place.
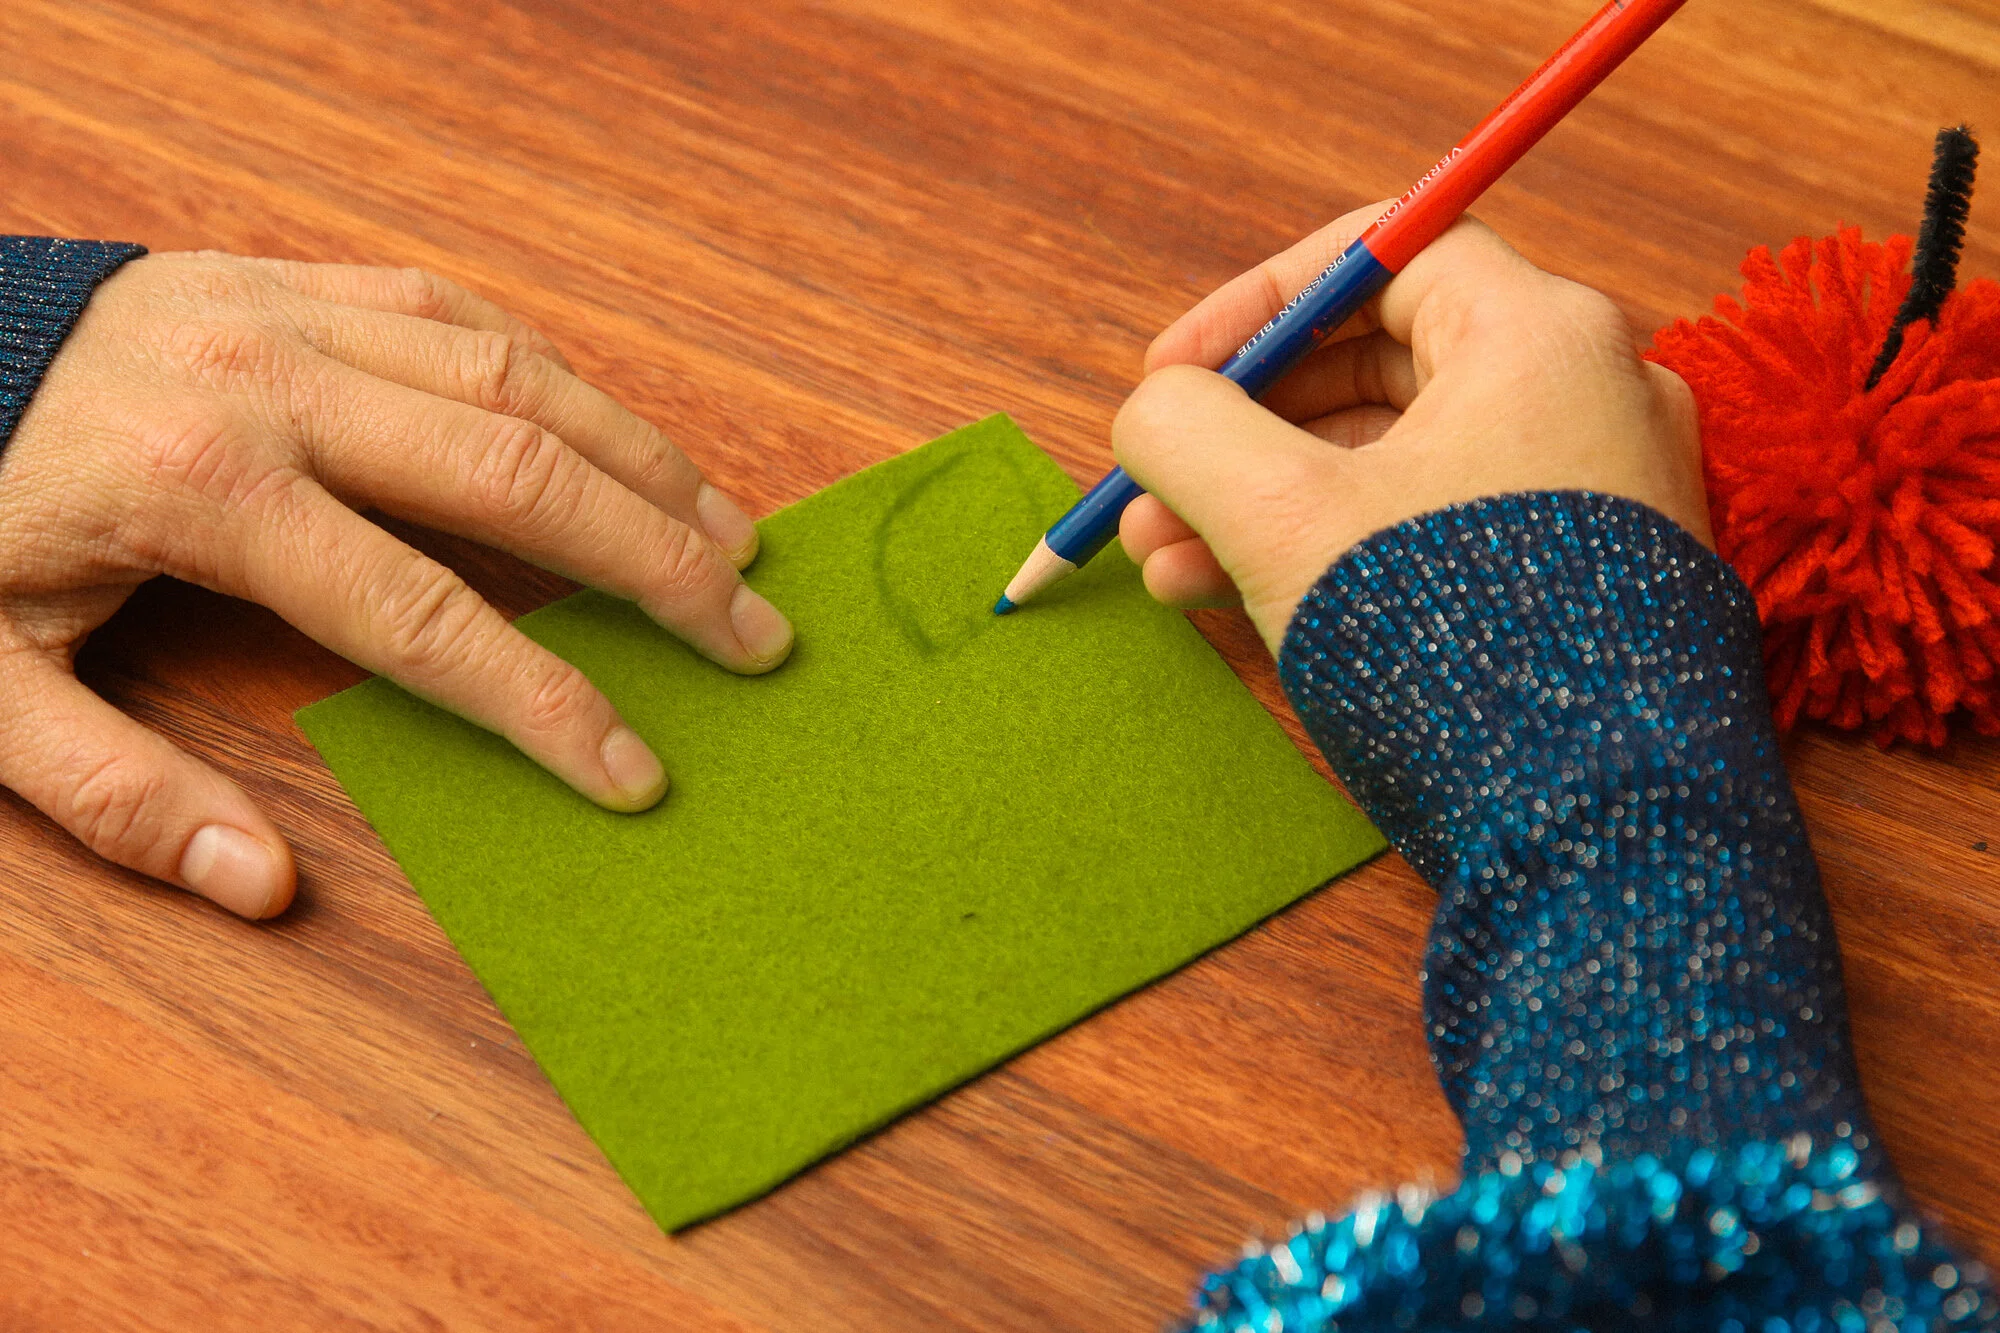
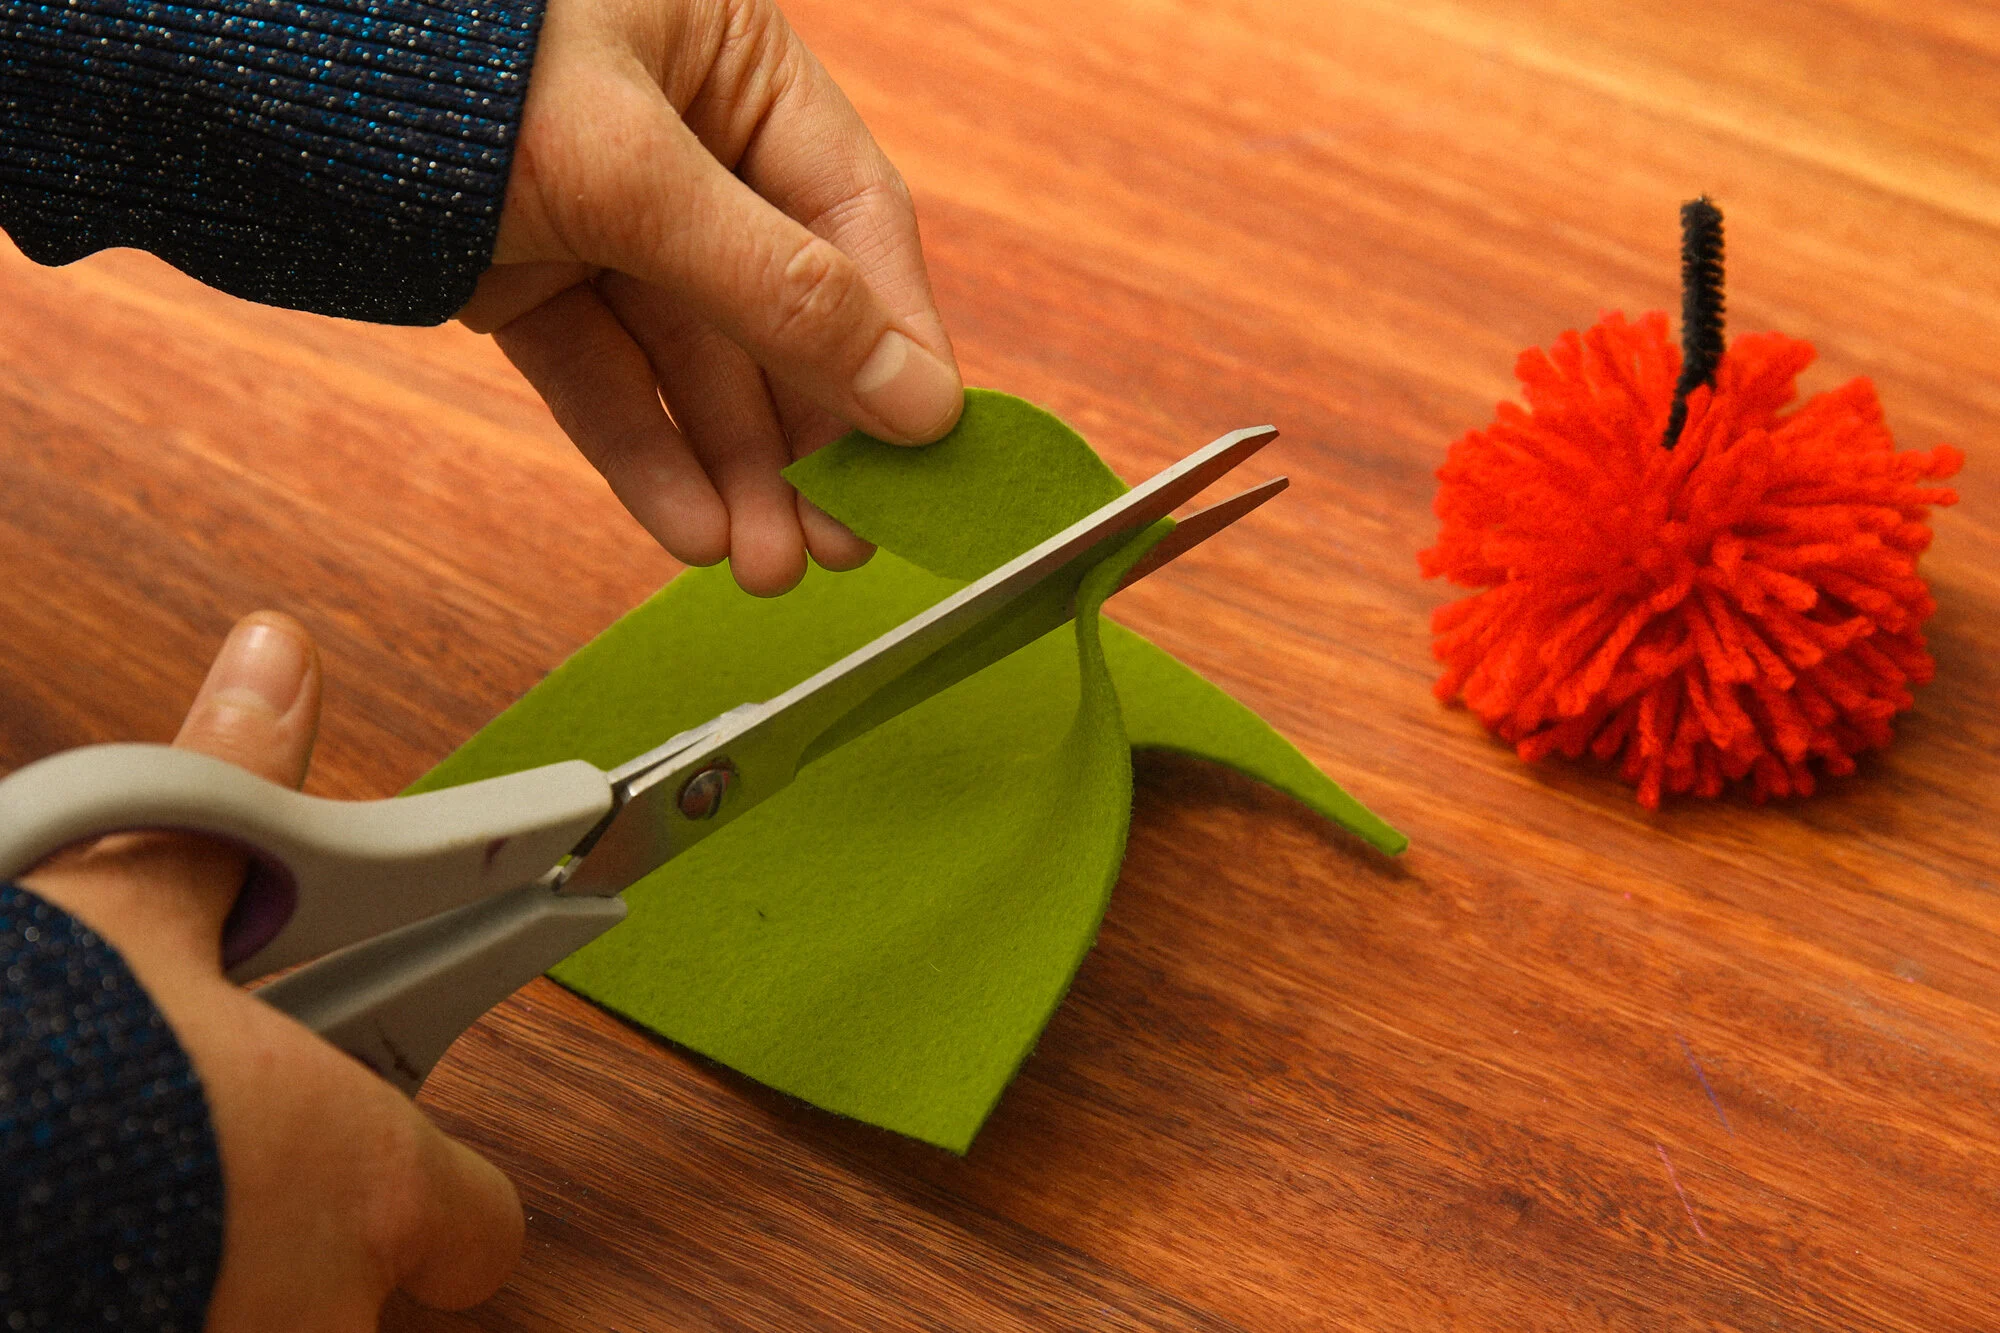
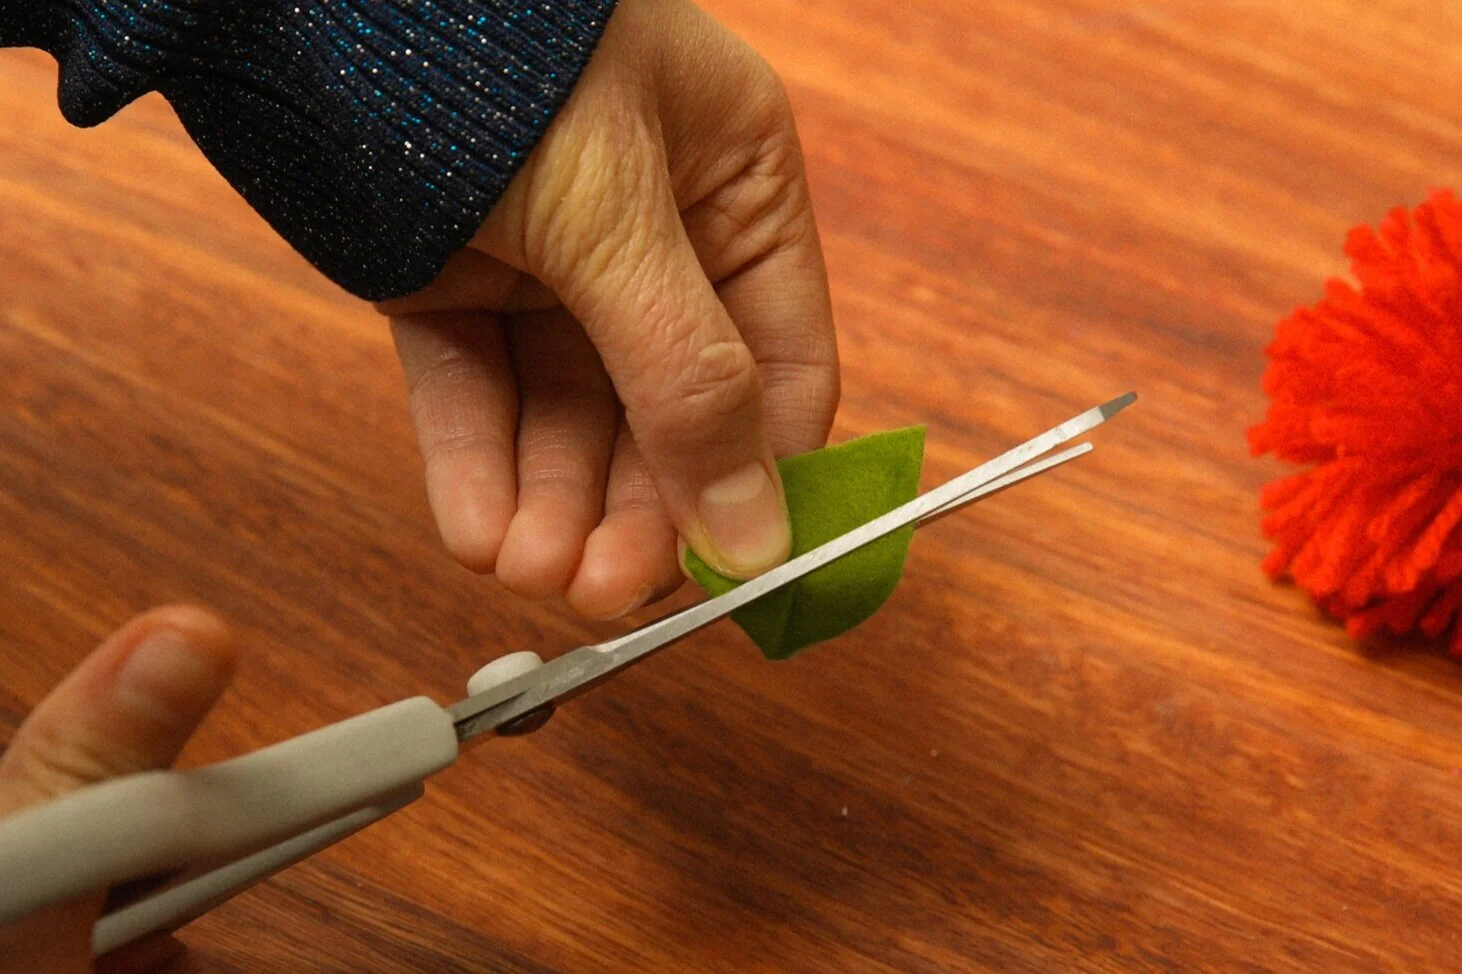
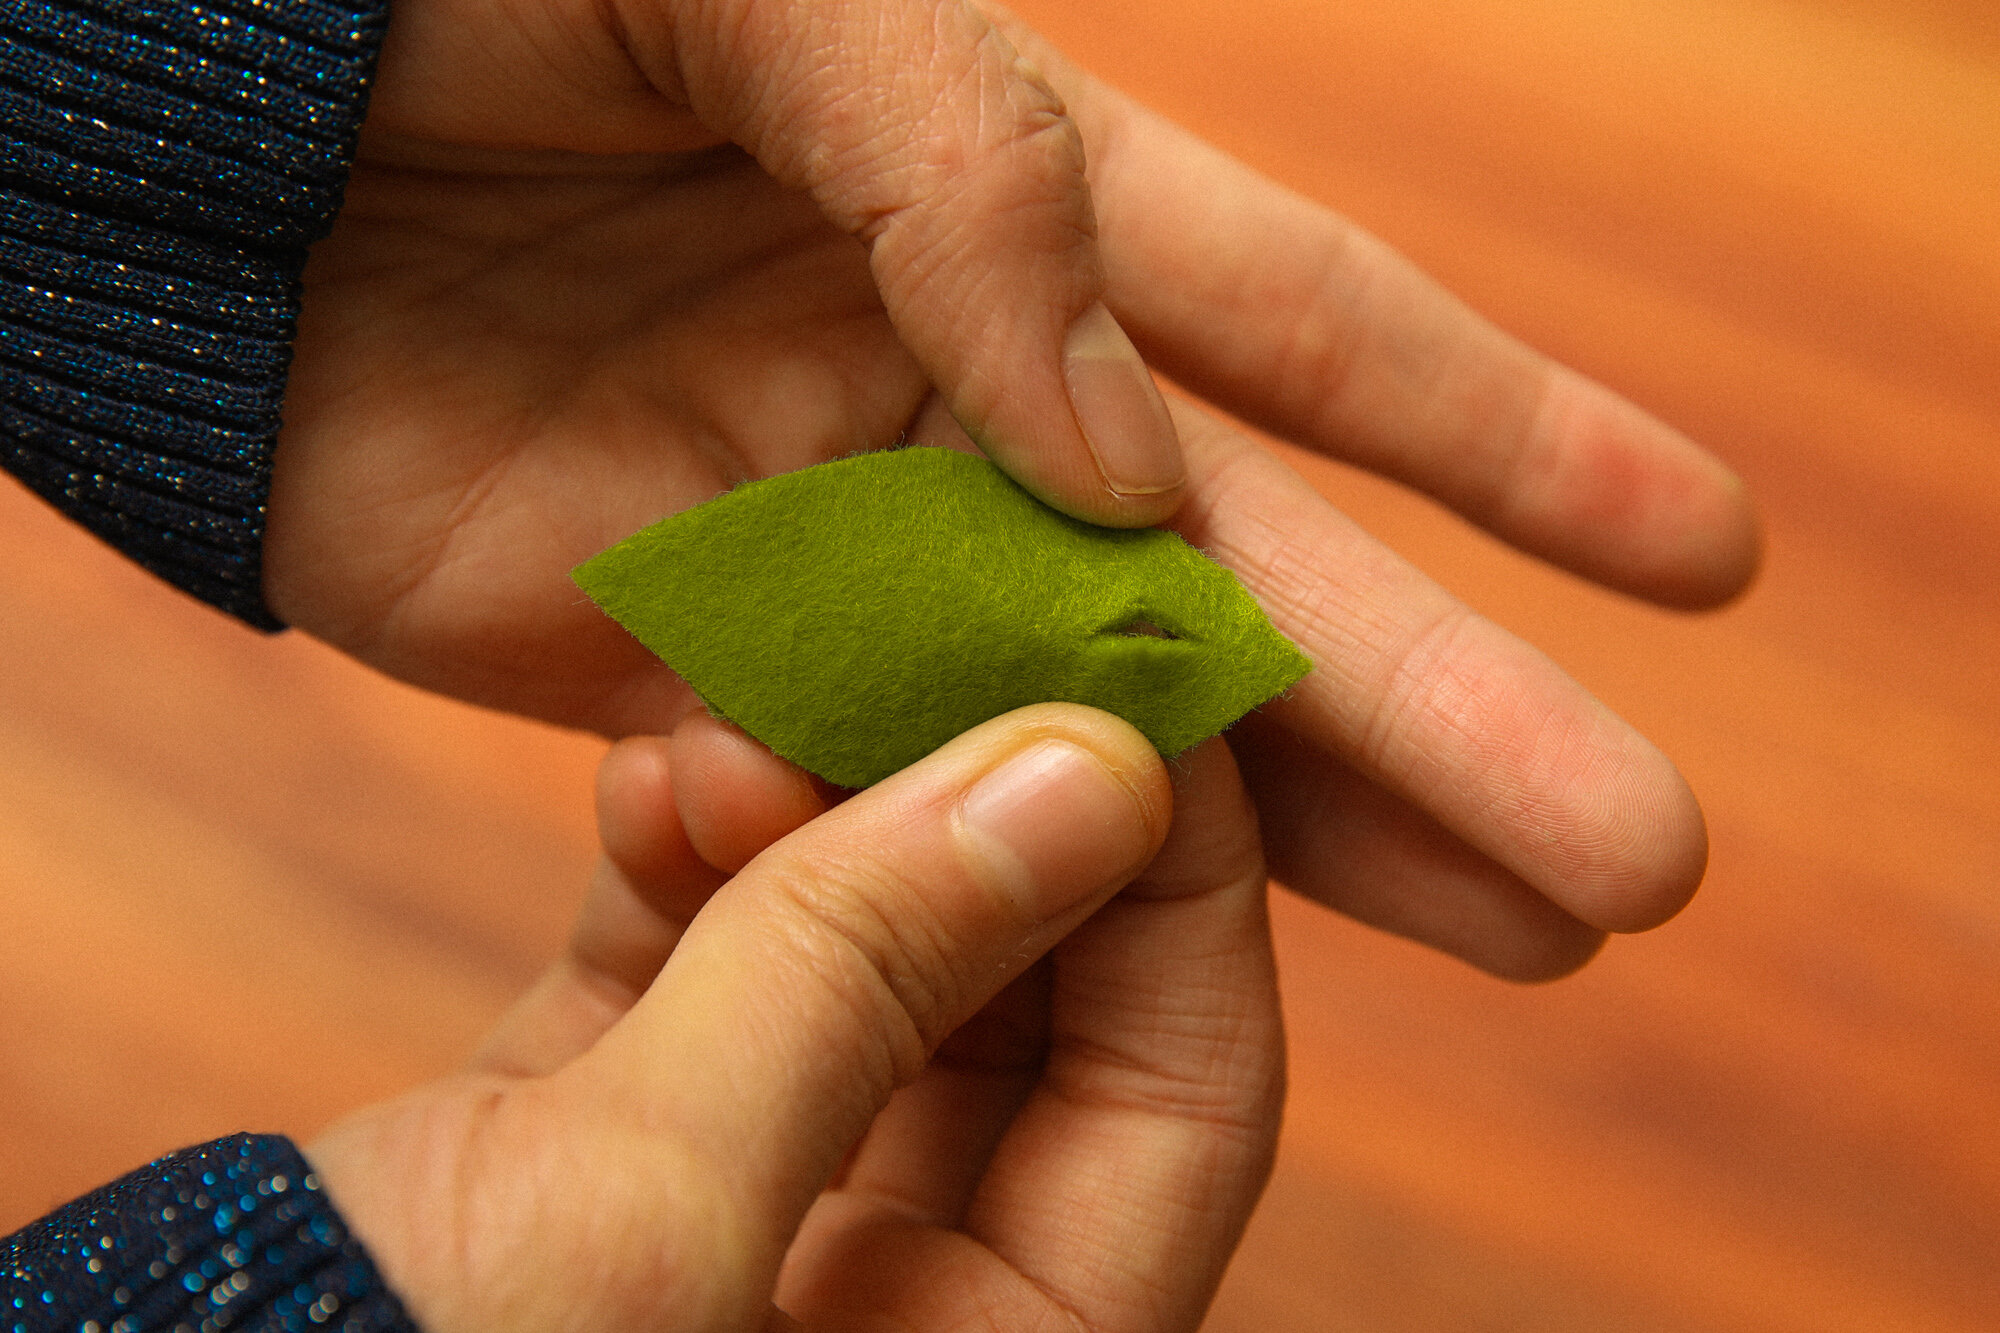
STEP EIGHT: Using a pencil, draw a leaf shape onto the felt / paper. Using scissors, carefully cut along the outline of the leaf. Fold the end of the leaf and make a tiny slice to create a small hole.
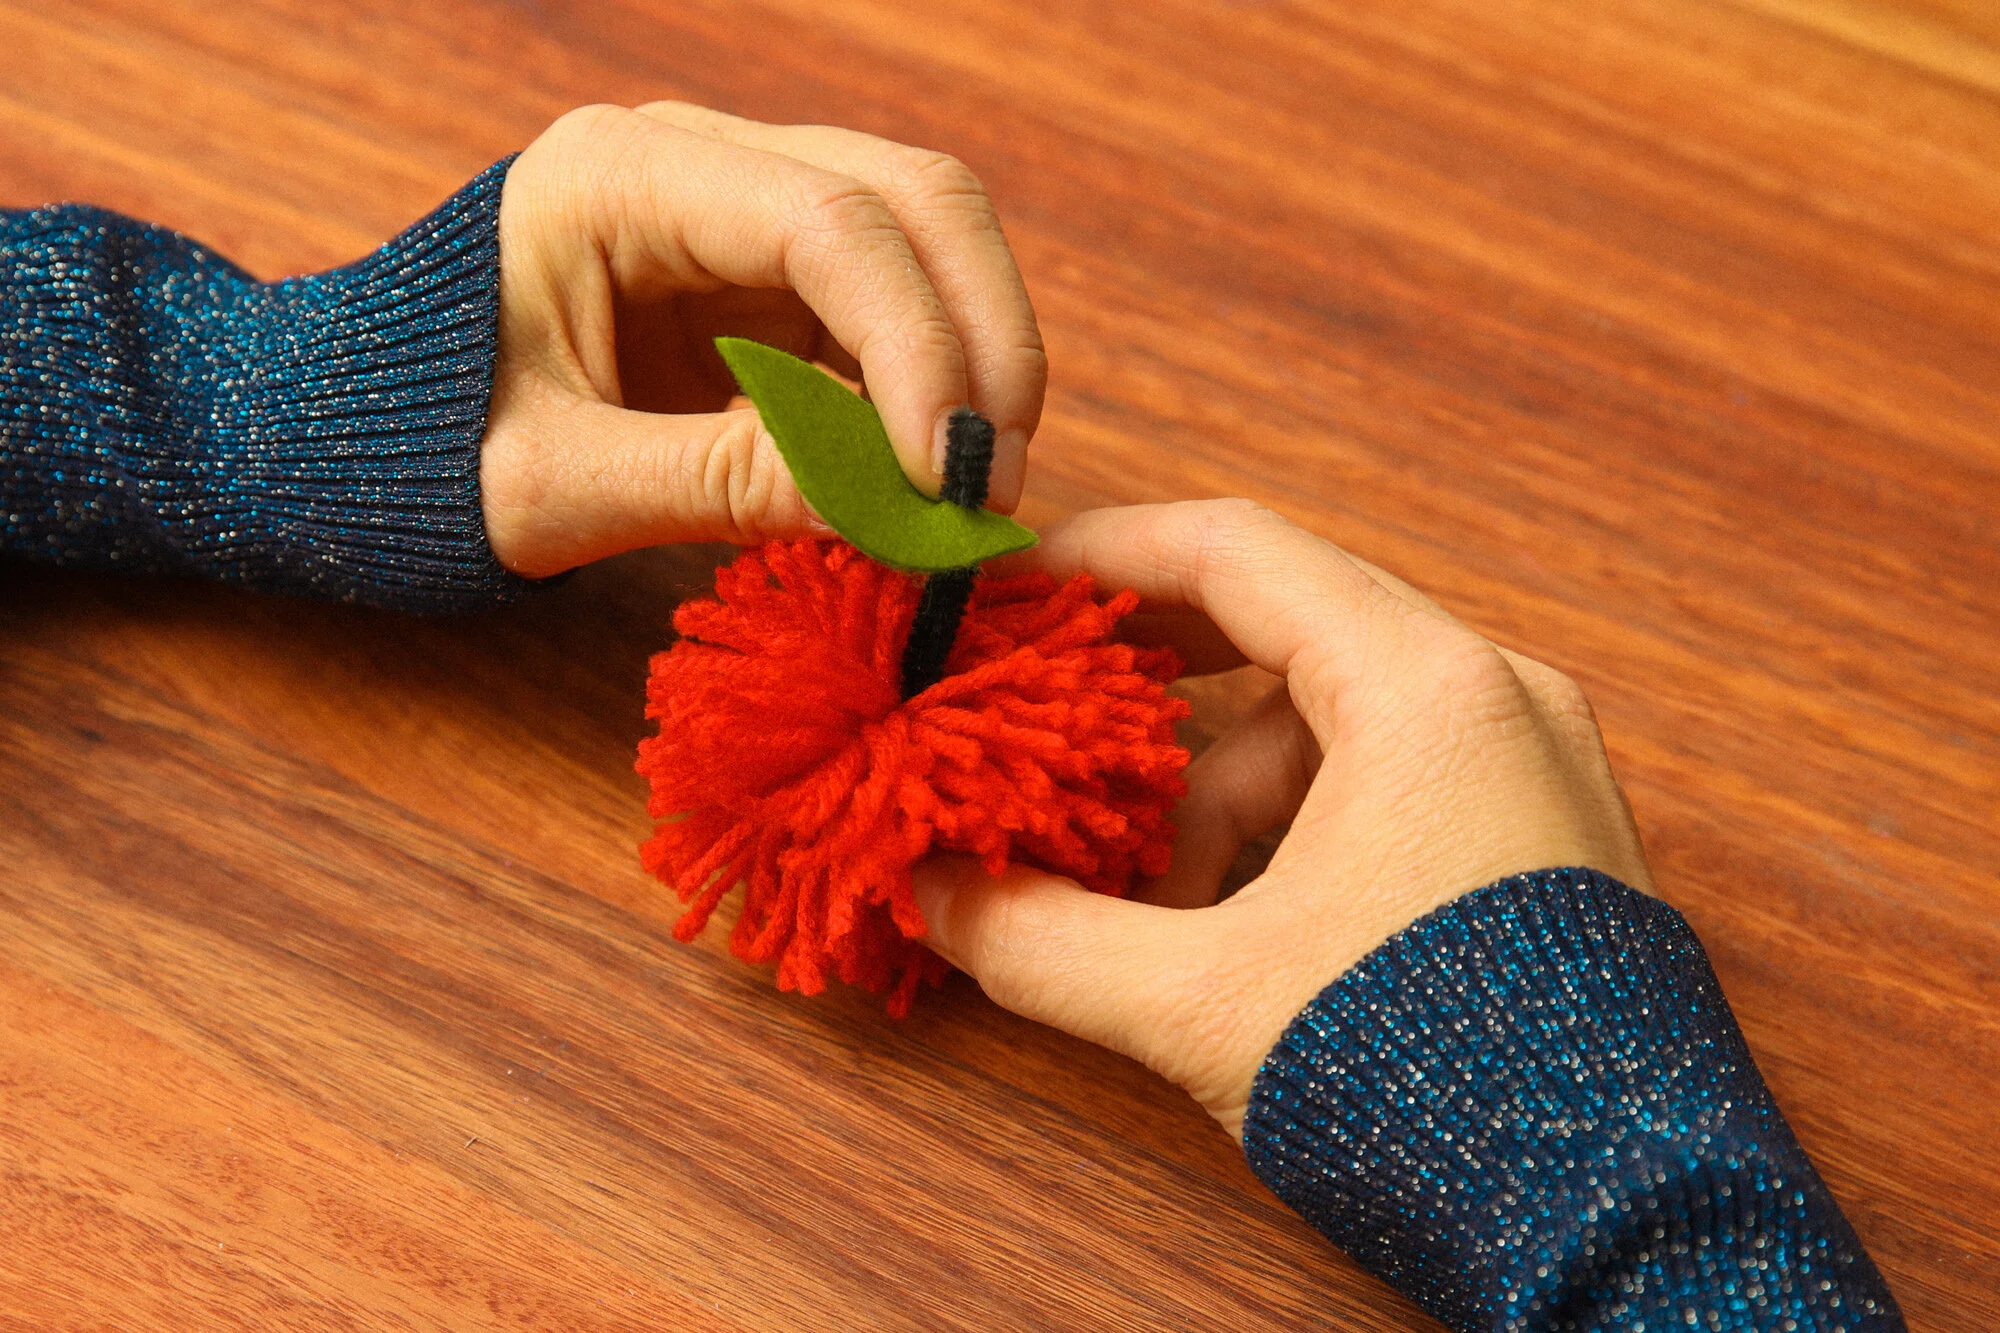
STEP NINE: Slot pipe-cleaner through the leaf. Tuck the base of the leaf into the pom pom so that the end of the leaf is angled upwards.
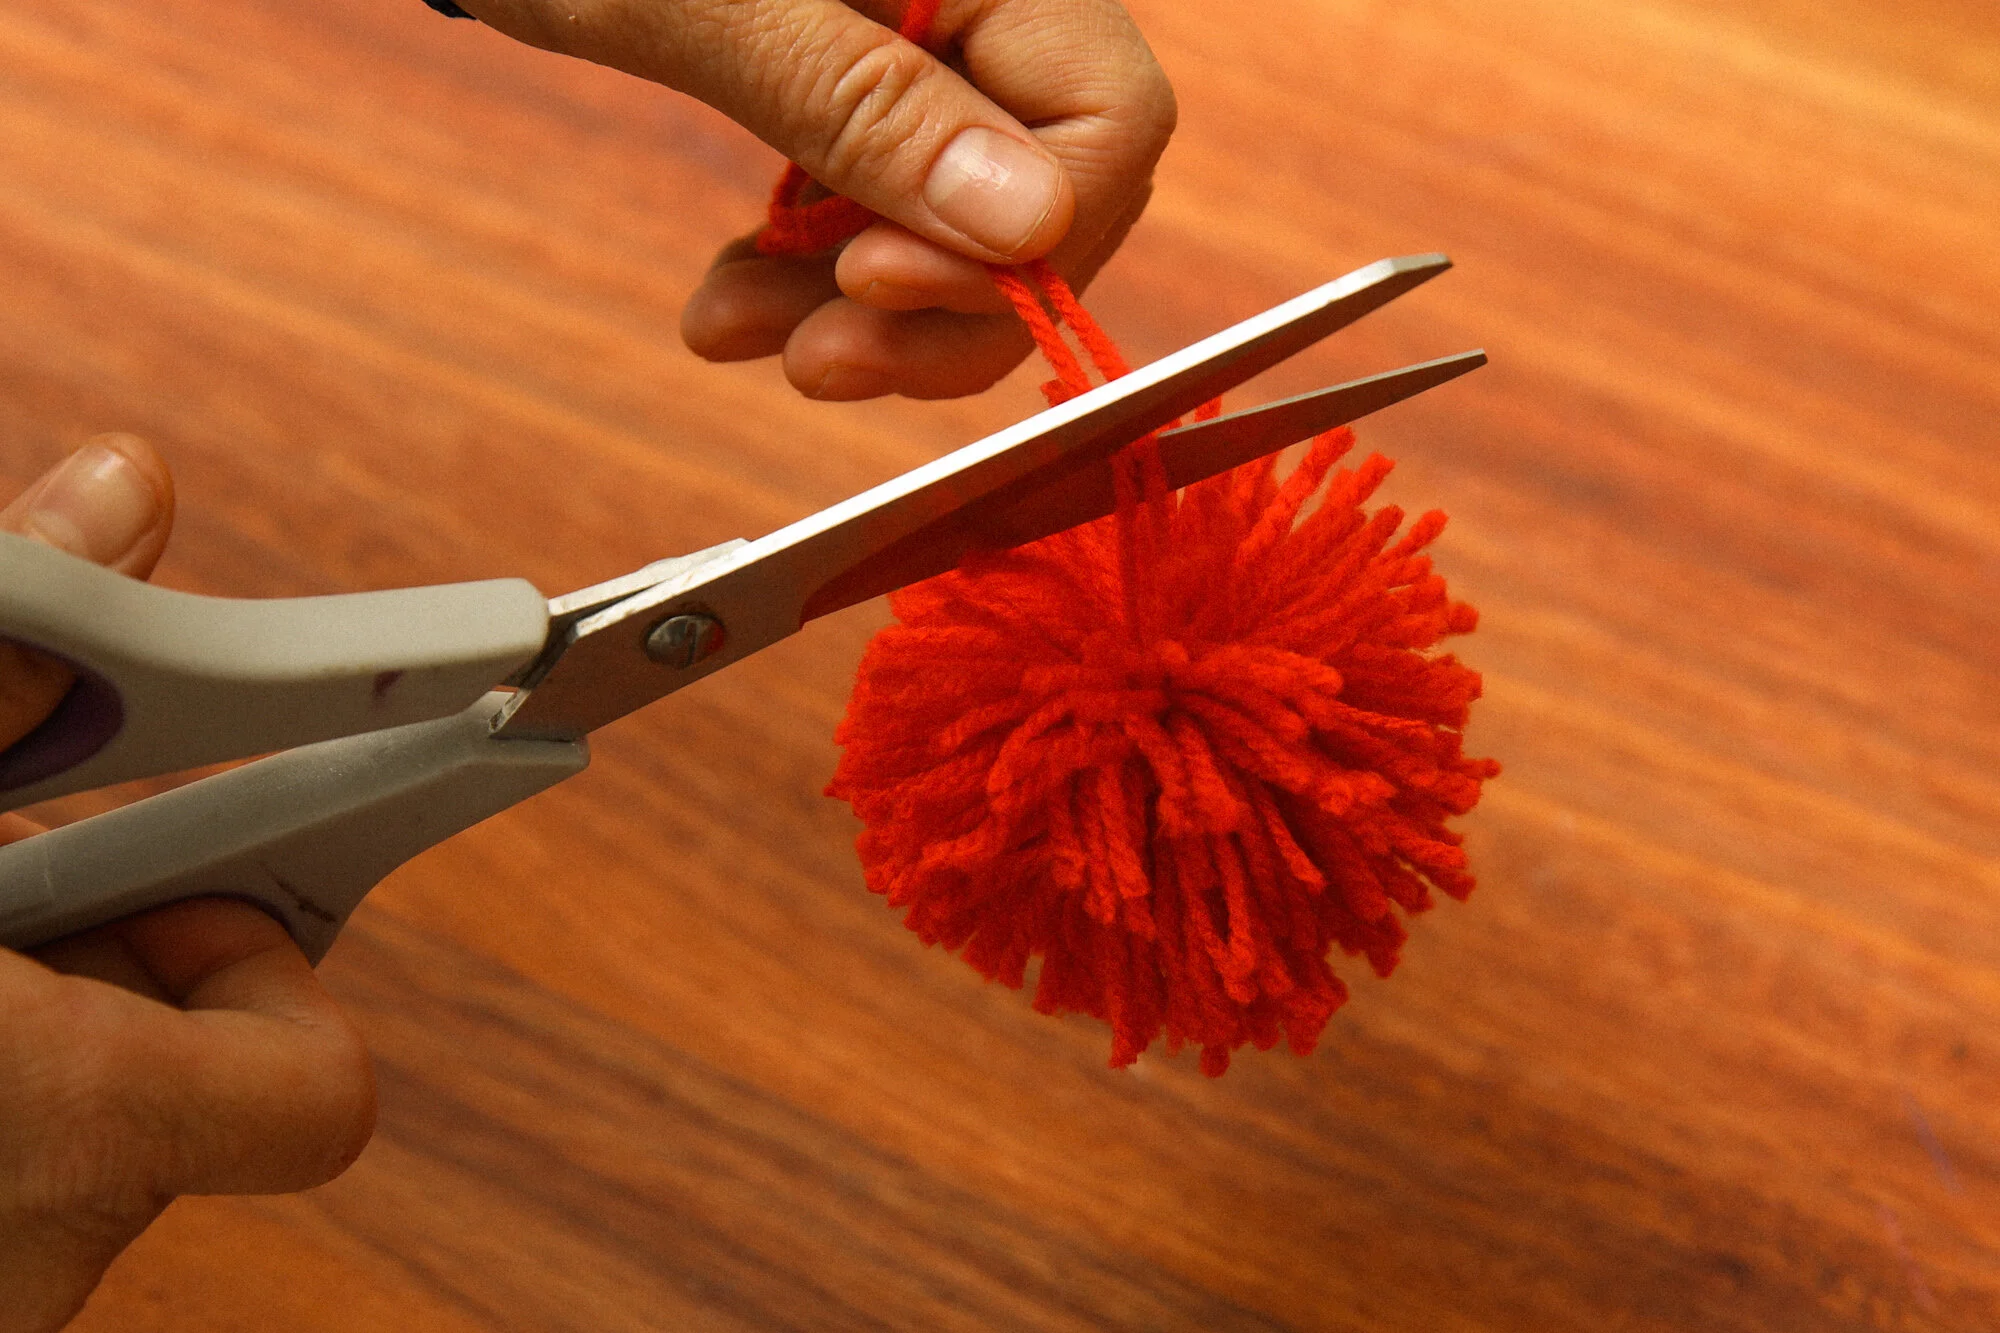
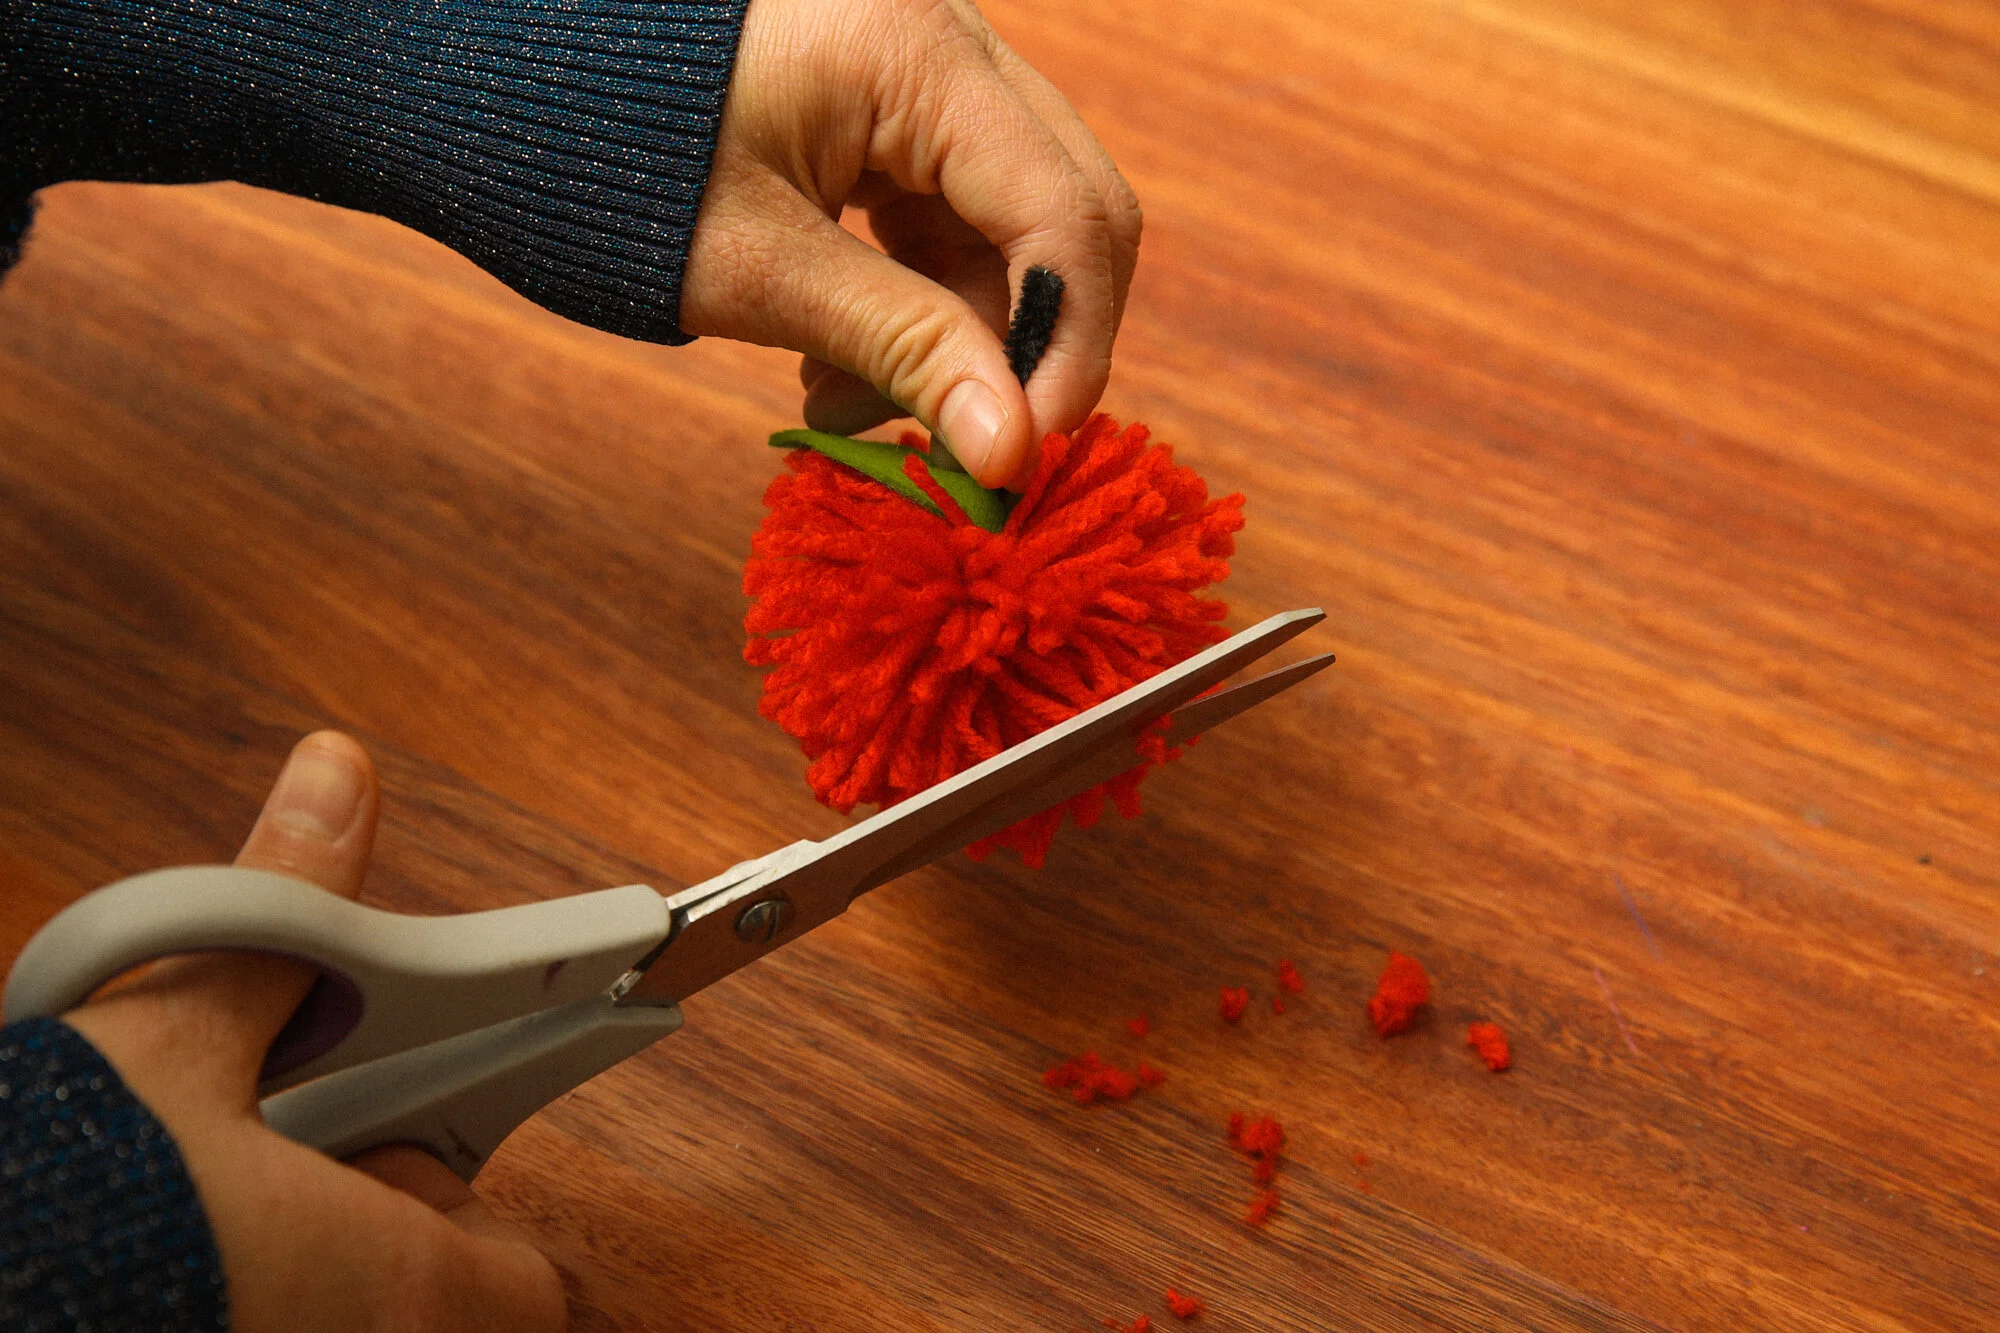
STEP TEN: Time for a haircut! Shake your pom pom to free any tangles. Then take your scissors and shape your pom-pom by trimming any loose ends. This step will make your pom pom look beautiful and plump!
And voila! You’re done!
